Setup an Elementor form with Dash Dolphin
Once you've created your connection and received your notification email address, you can configure your WordPress site to forward form submissions to Dash Dolphin.
1. Introduction
This tutorial guides you through setting up email notifications in Elementor forms to enable instant SMS alerts.
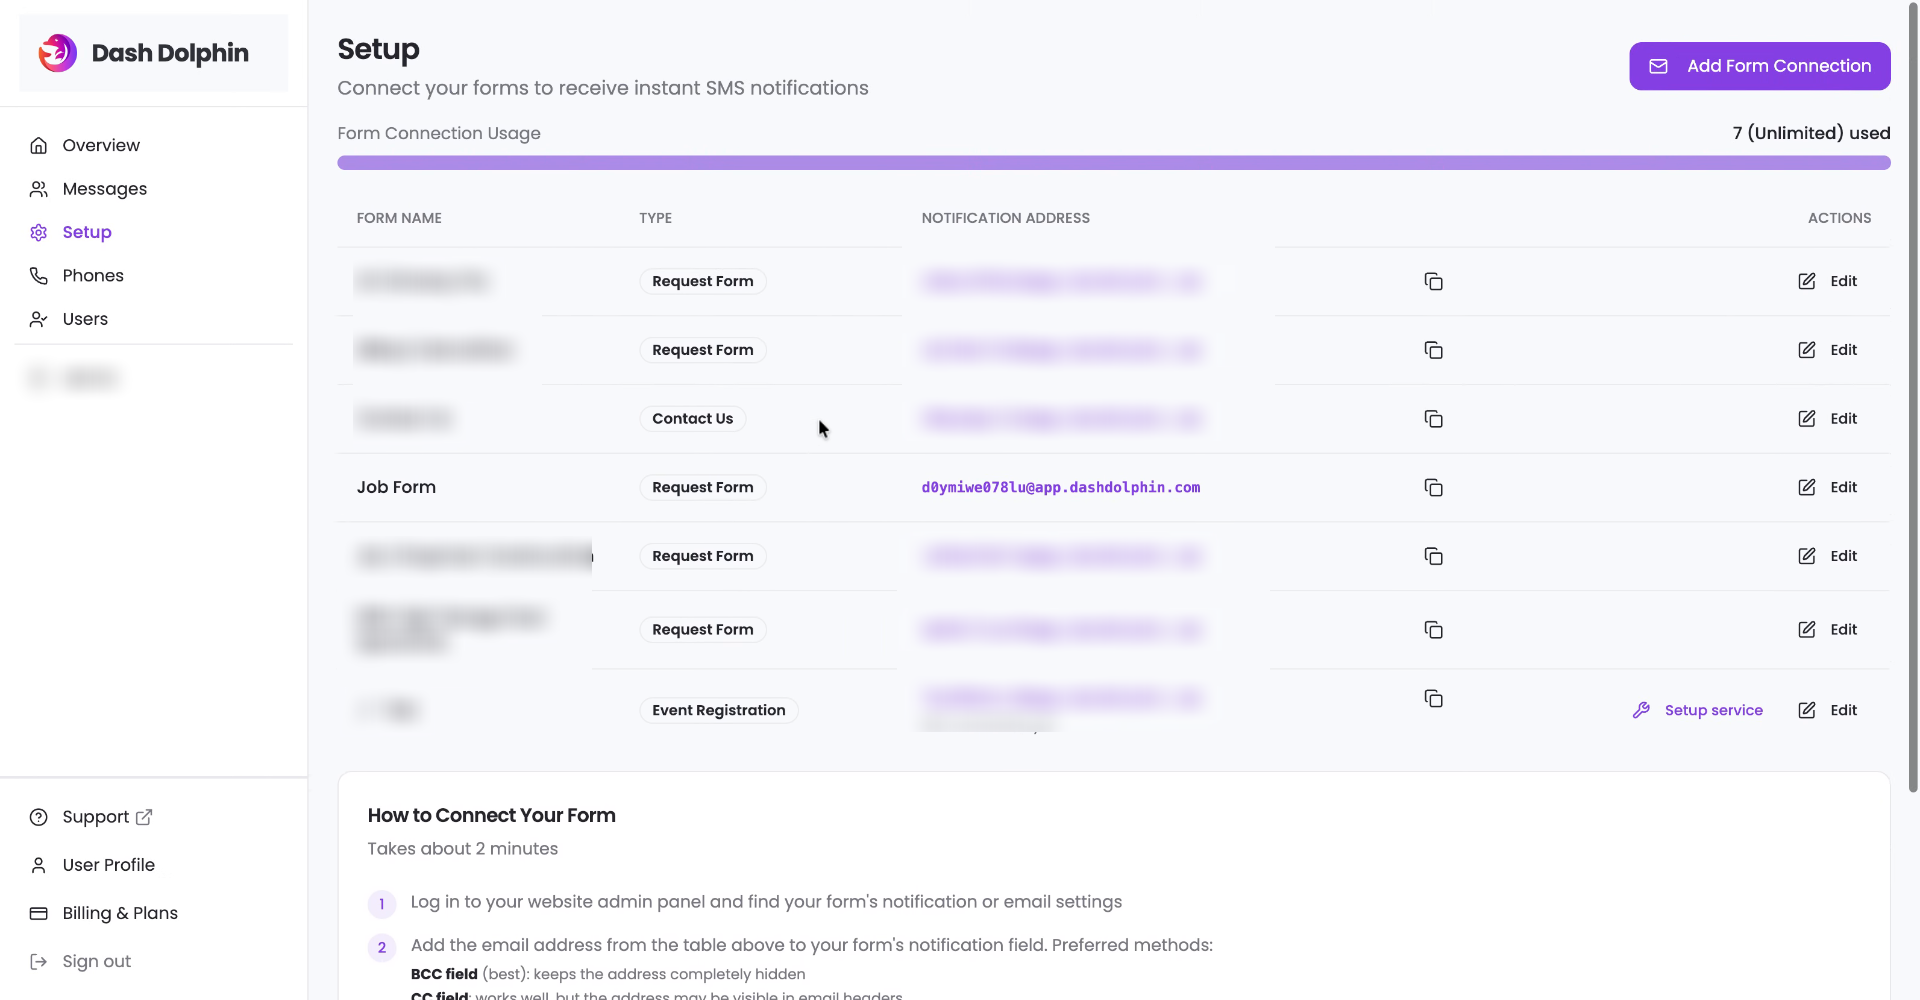
2. Copy Notification Email Address
Once you've created your connection and received your notification email address, copy the notification email address.

3. Access Your Wordpress Page
Navigate to your WordPress website and visit your WordPress login page. That's typically your URL forward slash WP dash admin. This may be a different URL if you have custom settings.
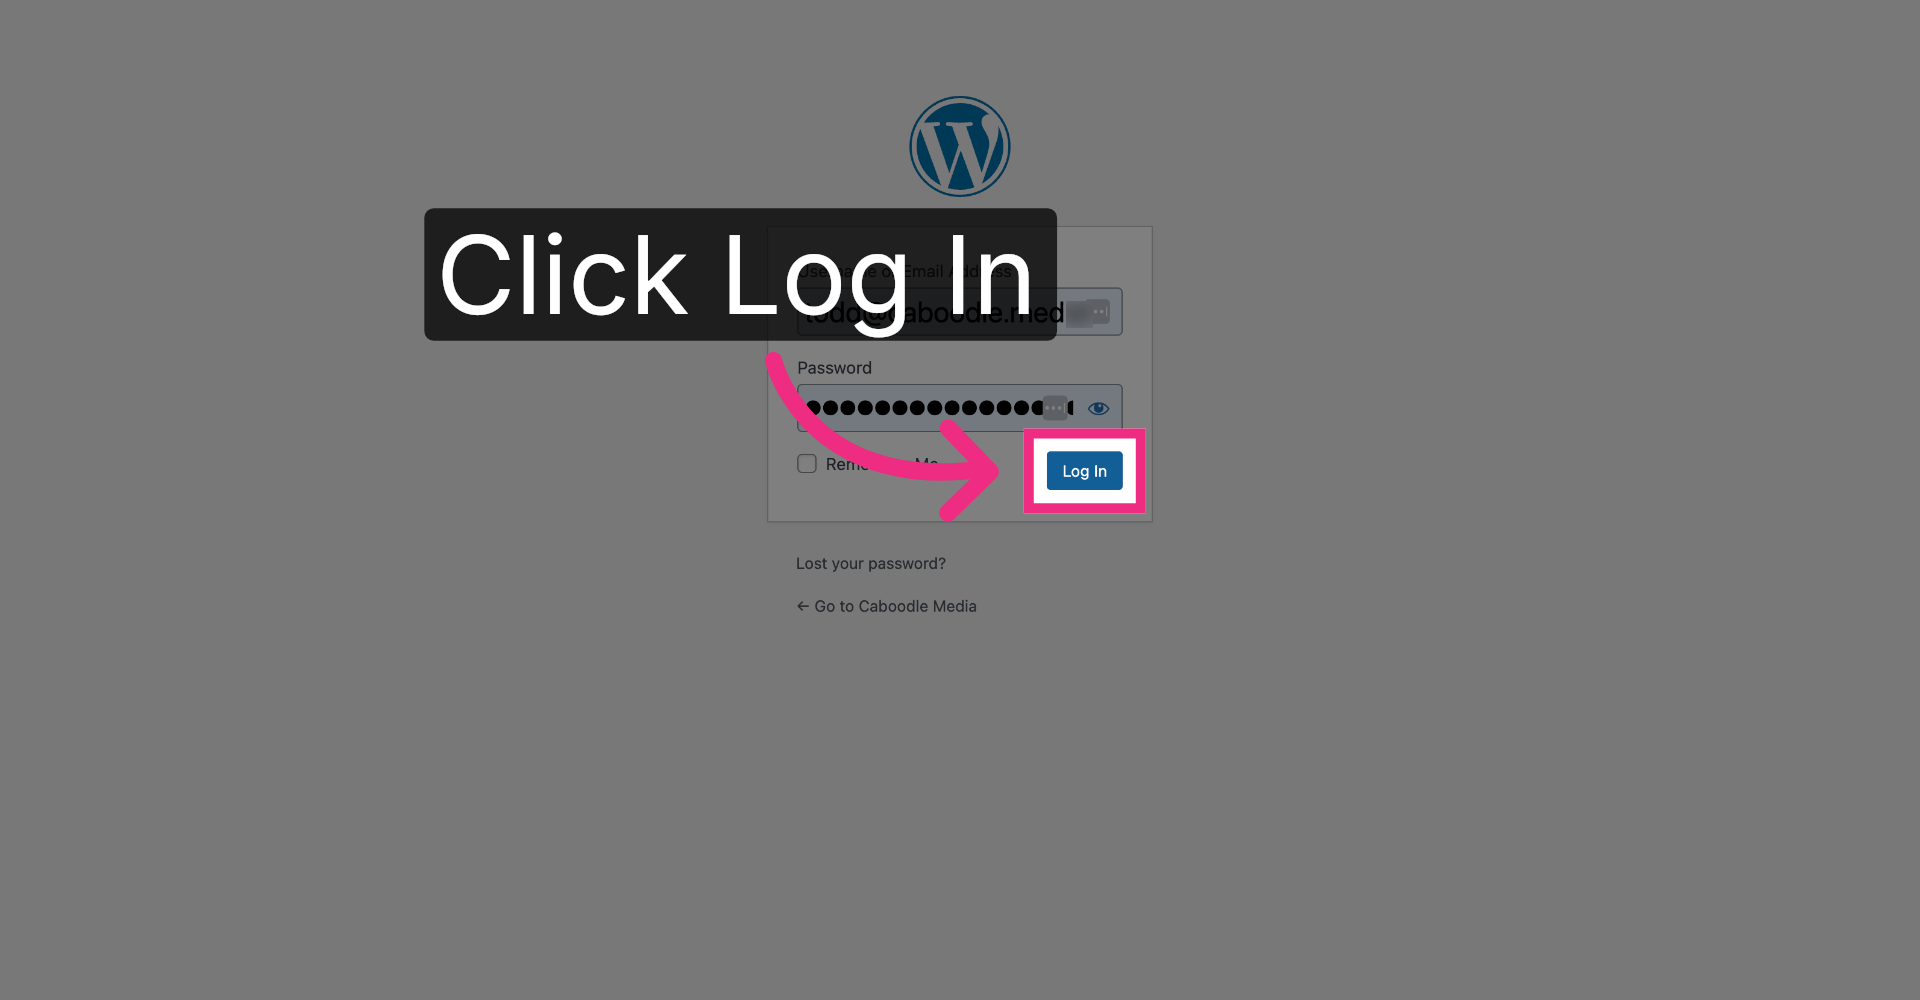
4. Log Into WordPress Account
Enter your username and password.
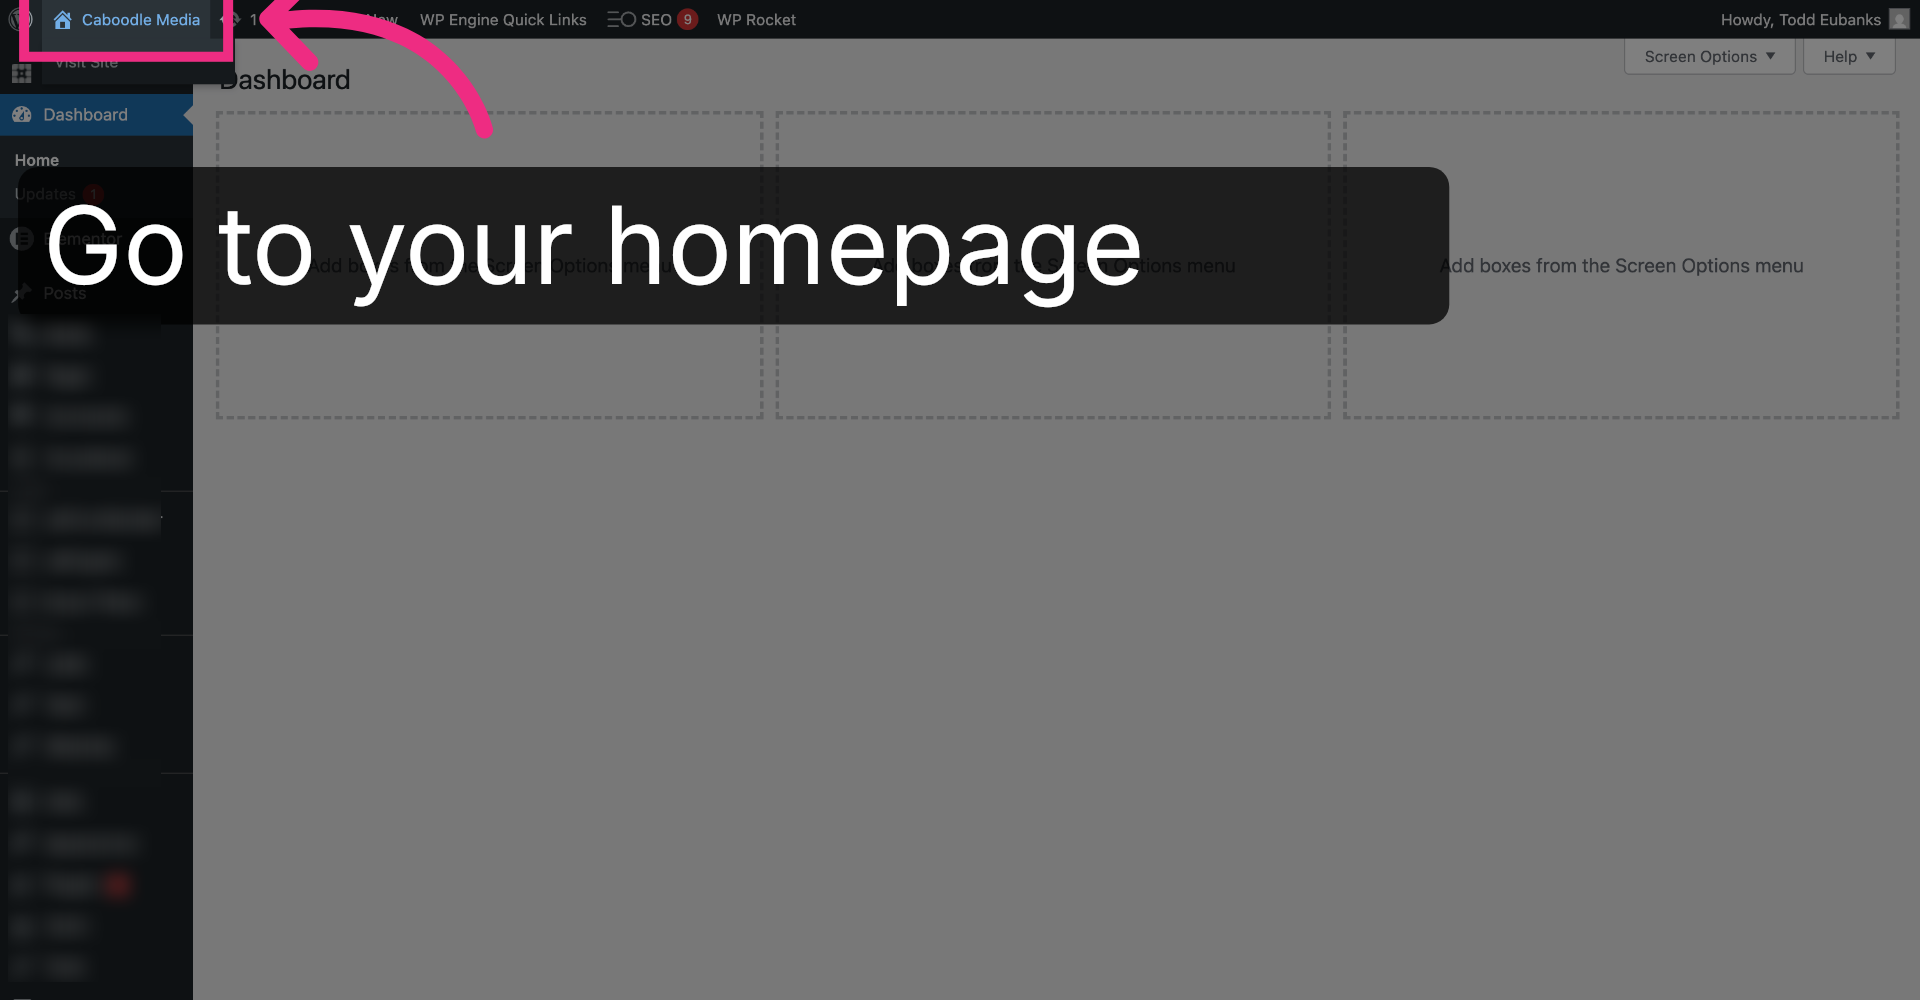
5. Open Caboodle Media Dashboard
For Elementor sites, you can go back, navigate to the page that has the Elementor form.
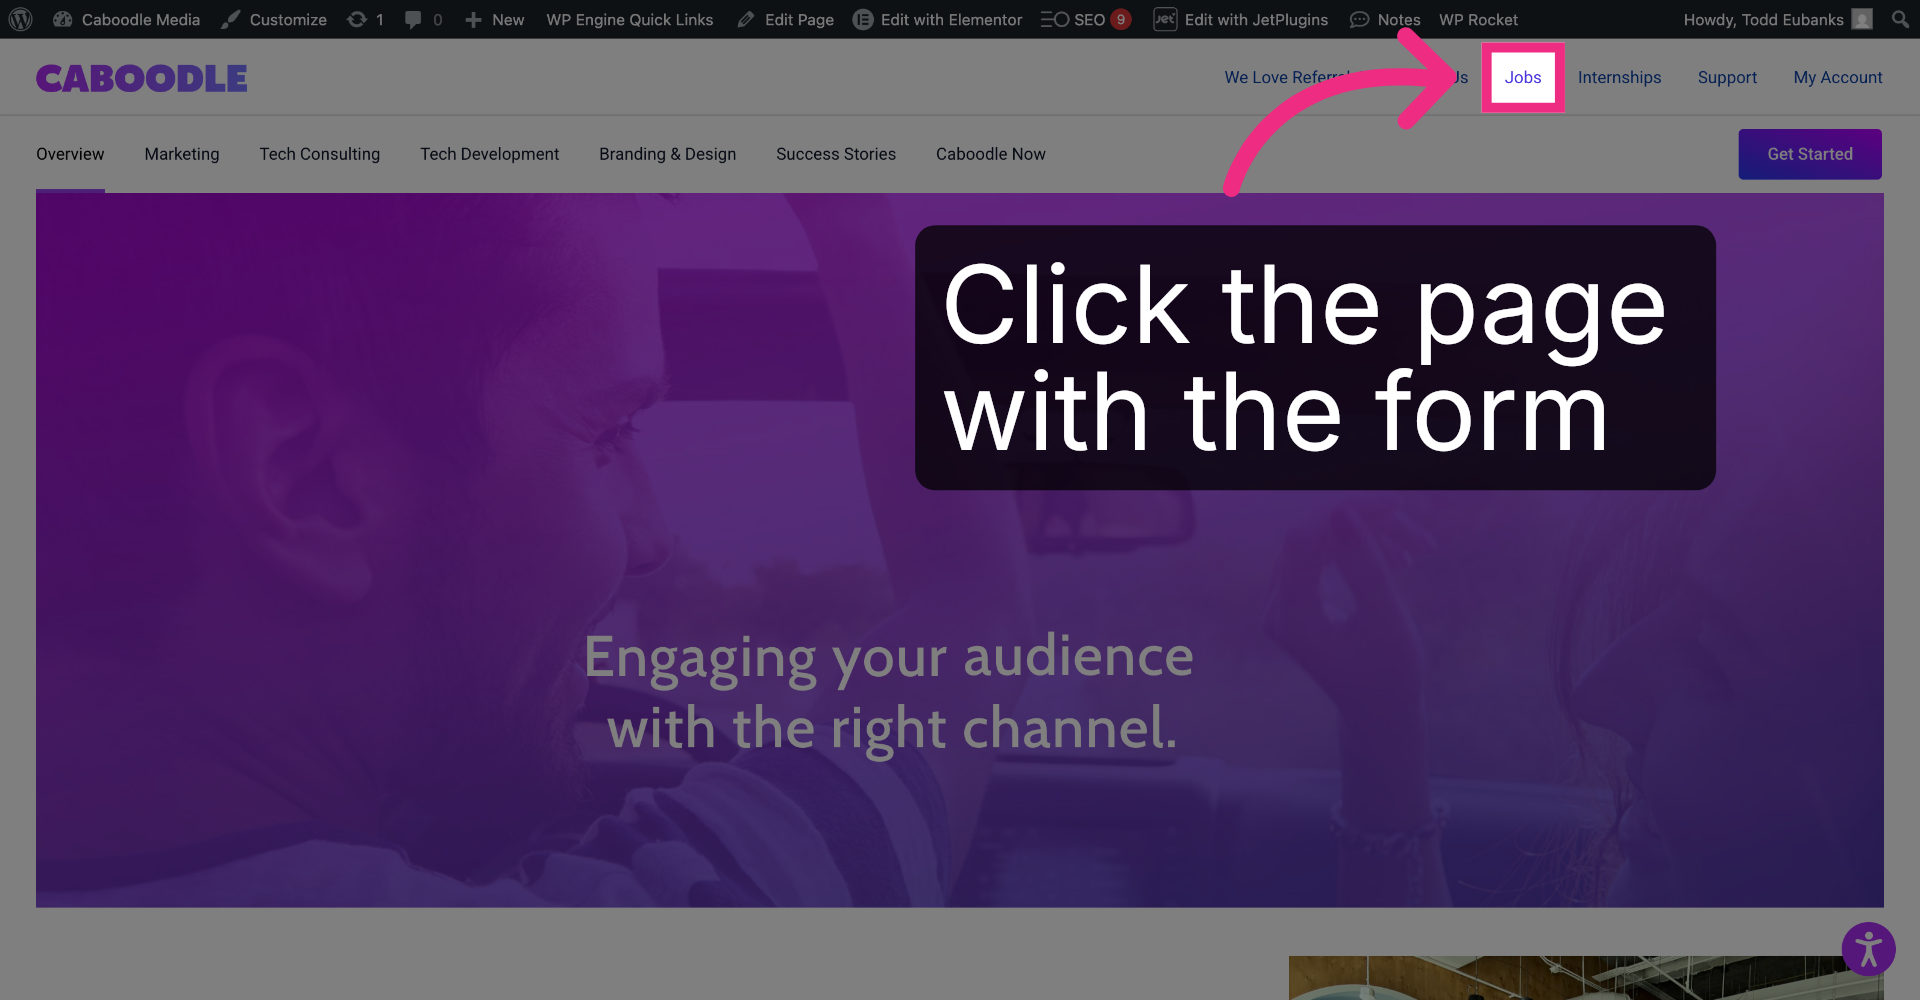
6. Navigate to the Form Page
Navigate to the page that contains the Elementor Form you would like notifications for. In this case, we're going to visit the Jobs page.
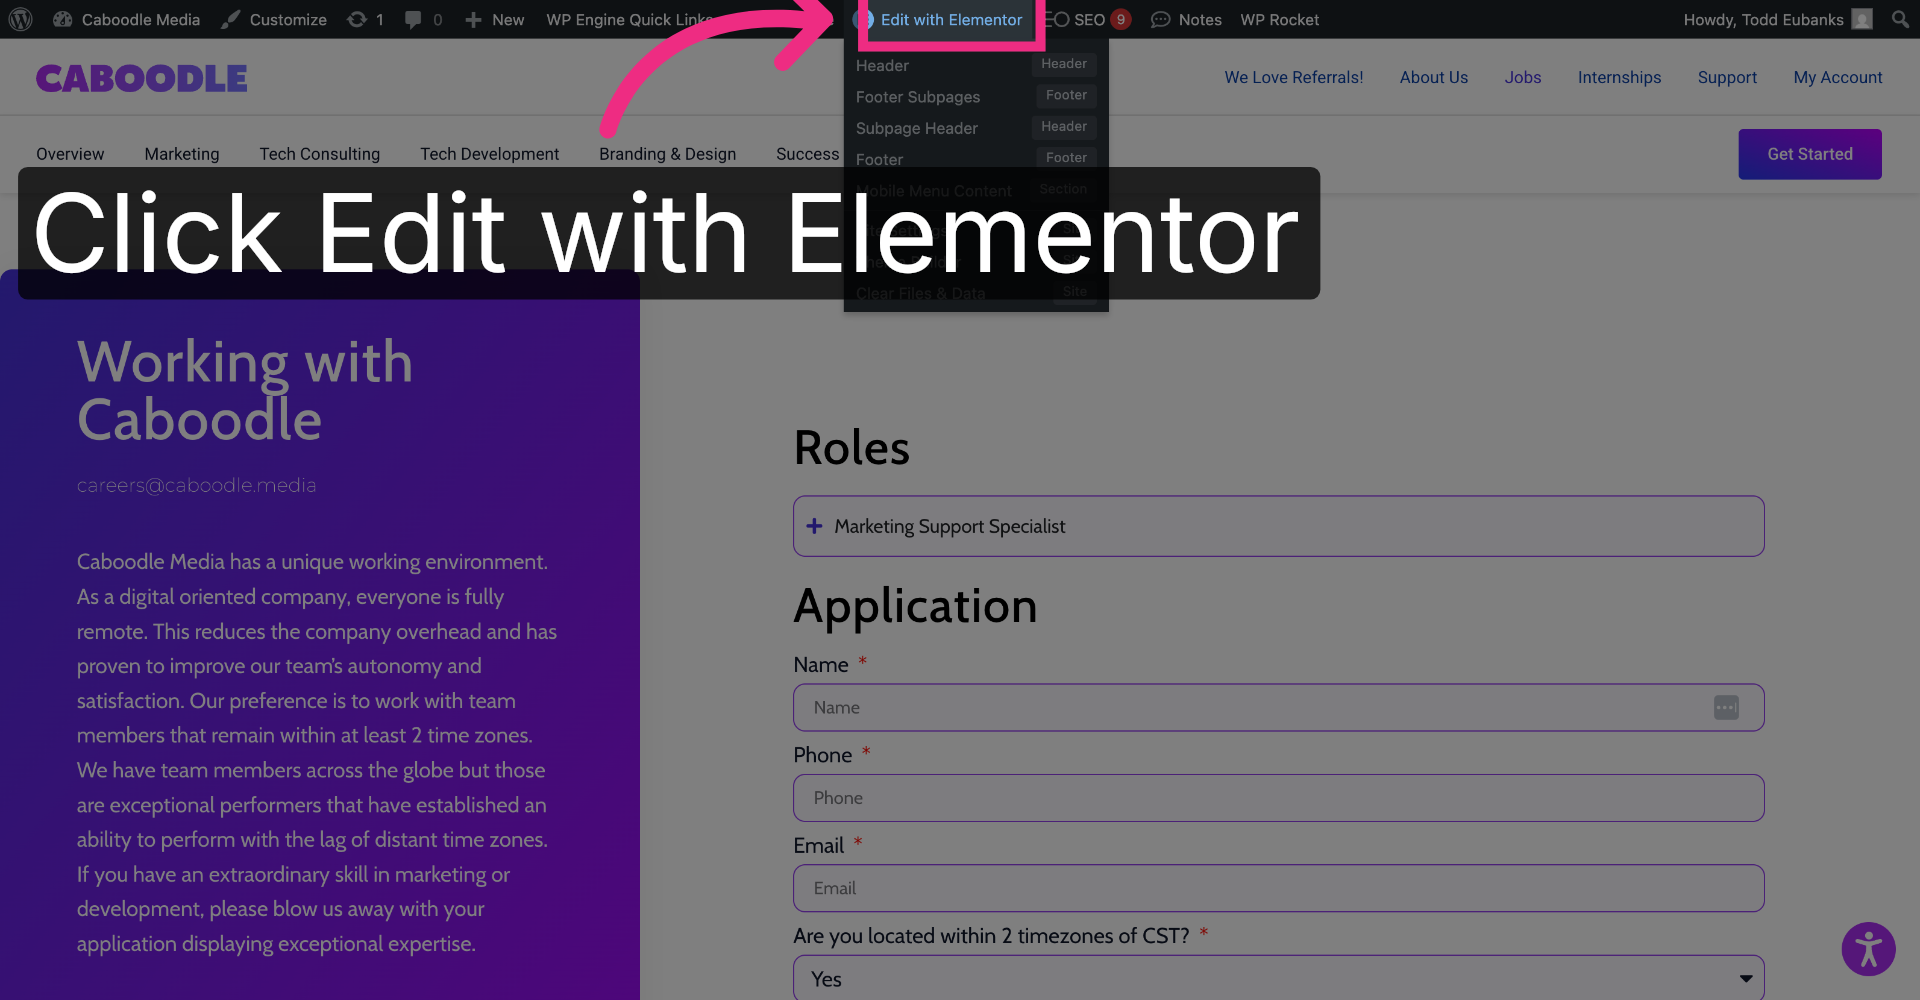
7. Open Elementor Editor
Click edit with Elementor in the top menu bar.
8. Select Target Form
Select the form you want notifications for.

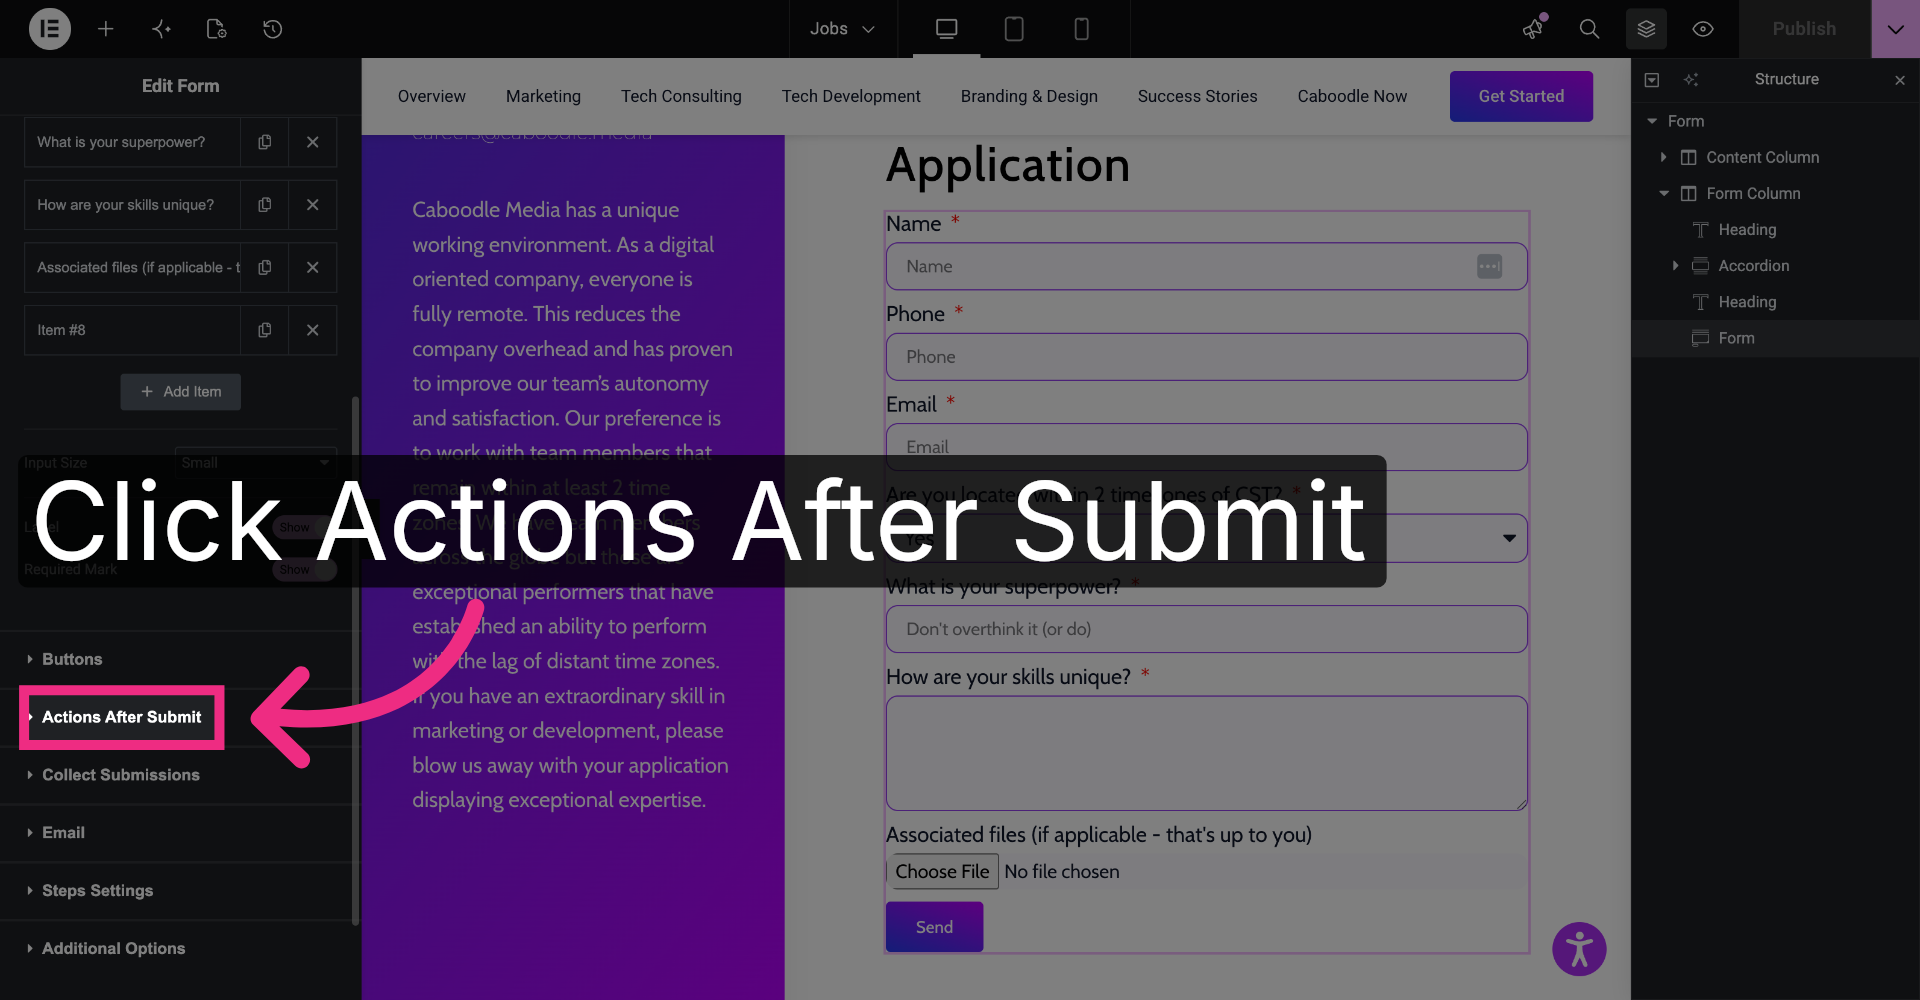
9. Access Actions After Submit
On the left sidebar, scroll to see actions after submit and make sure email is listed.
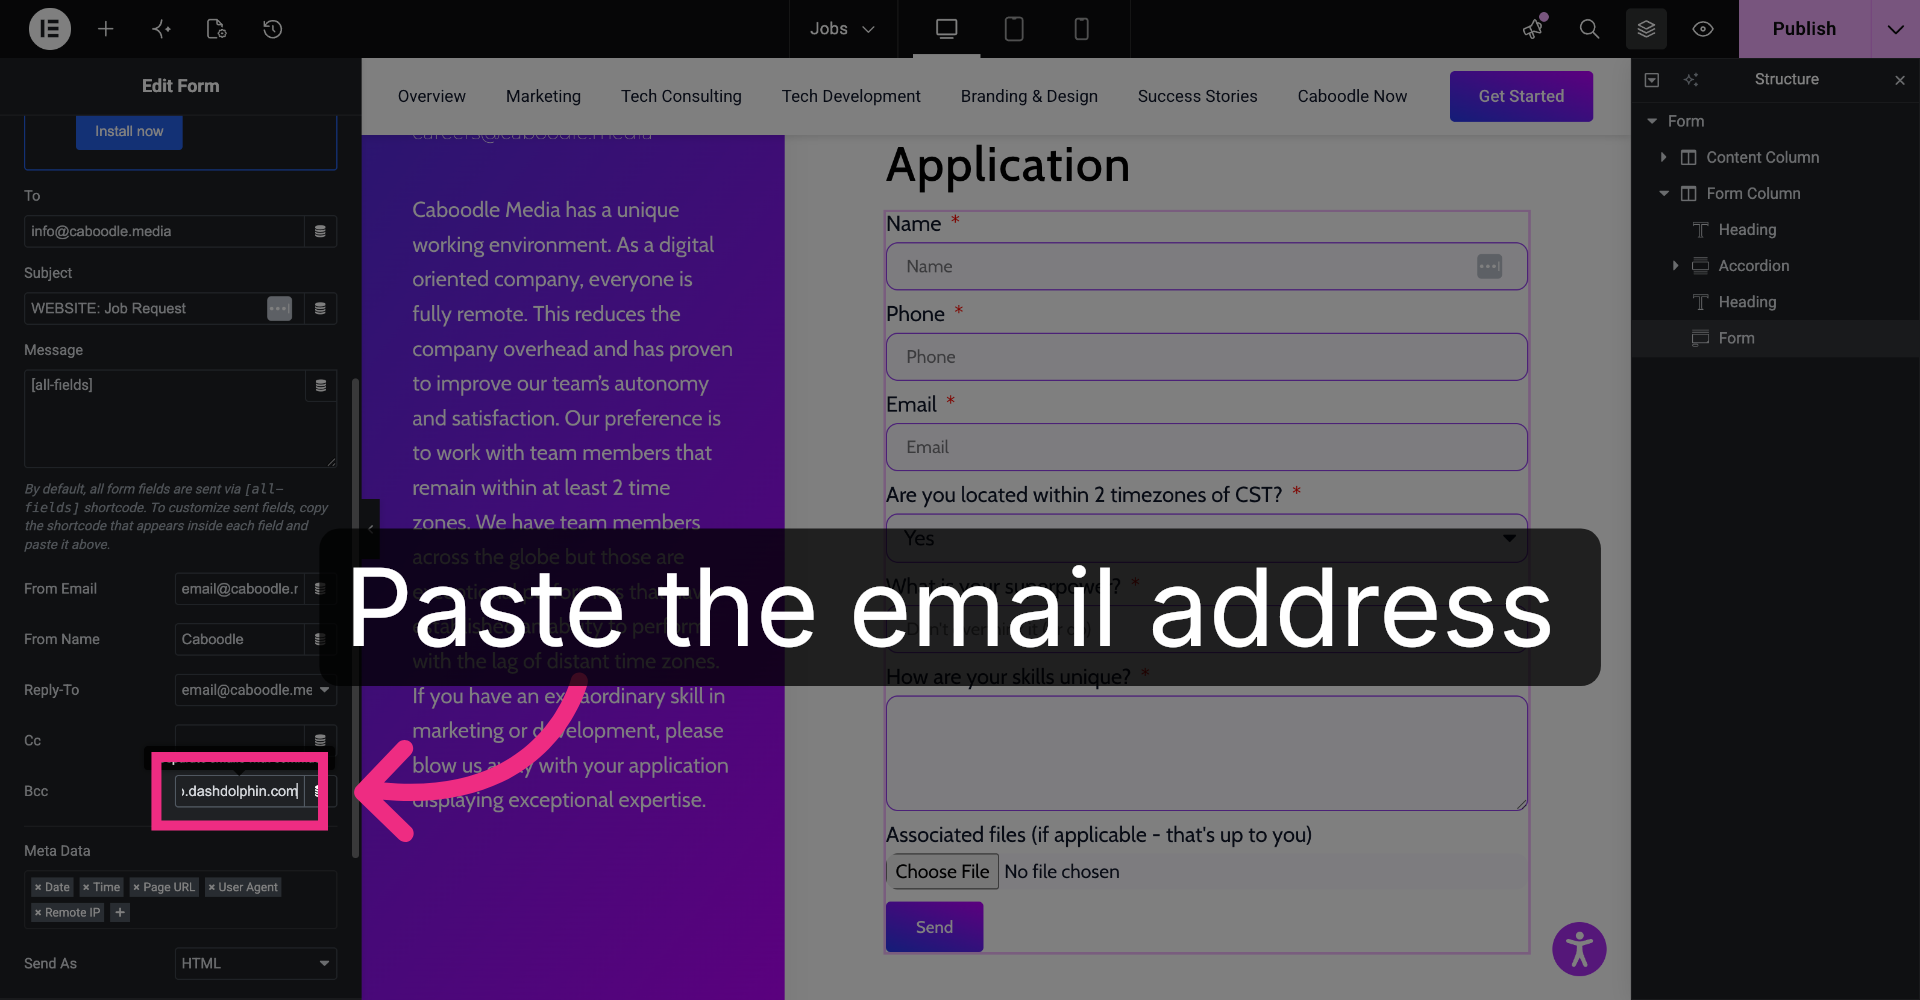
10. Open BCC Field
Expand email and find the BCC field.
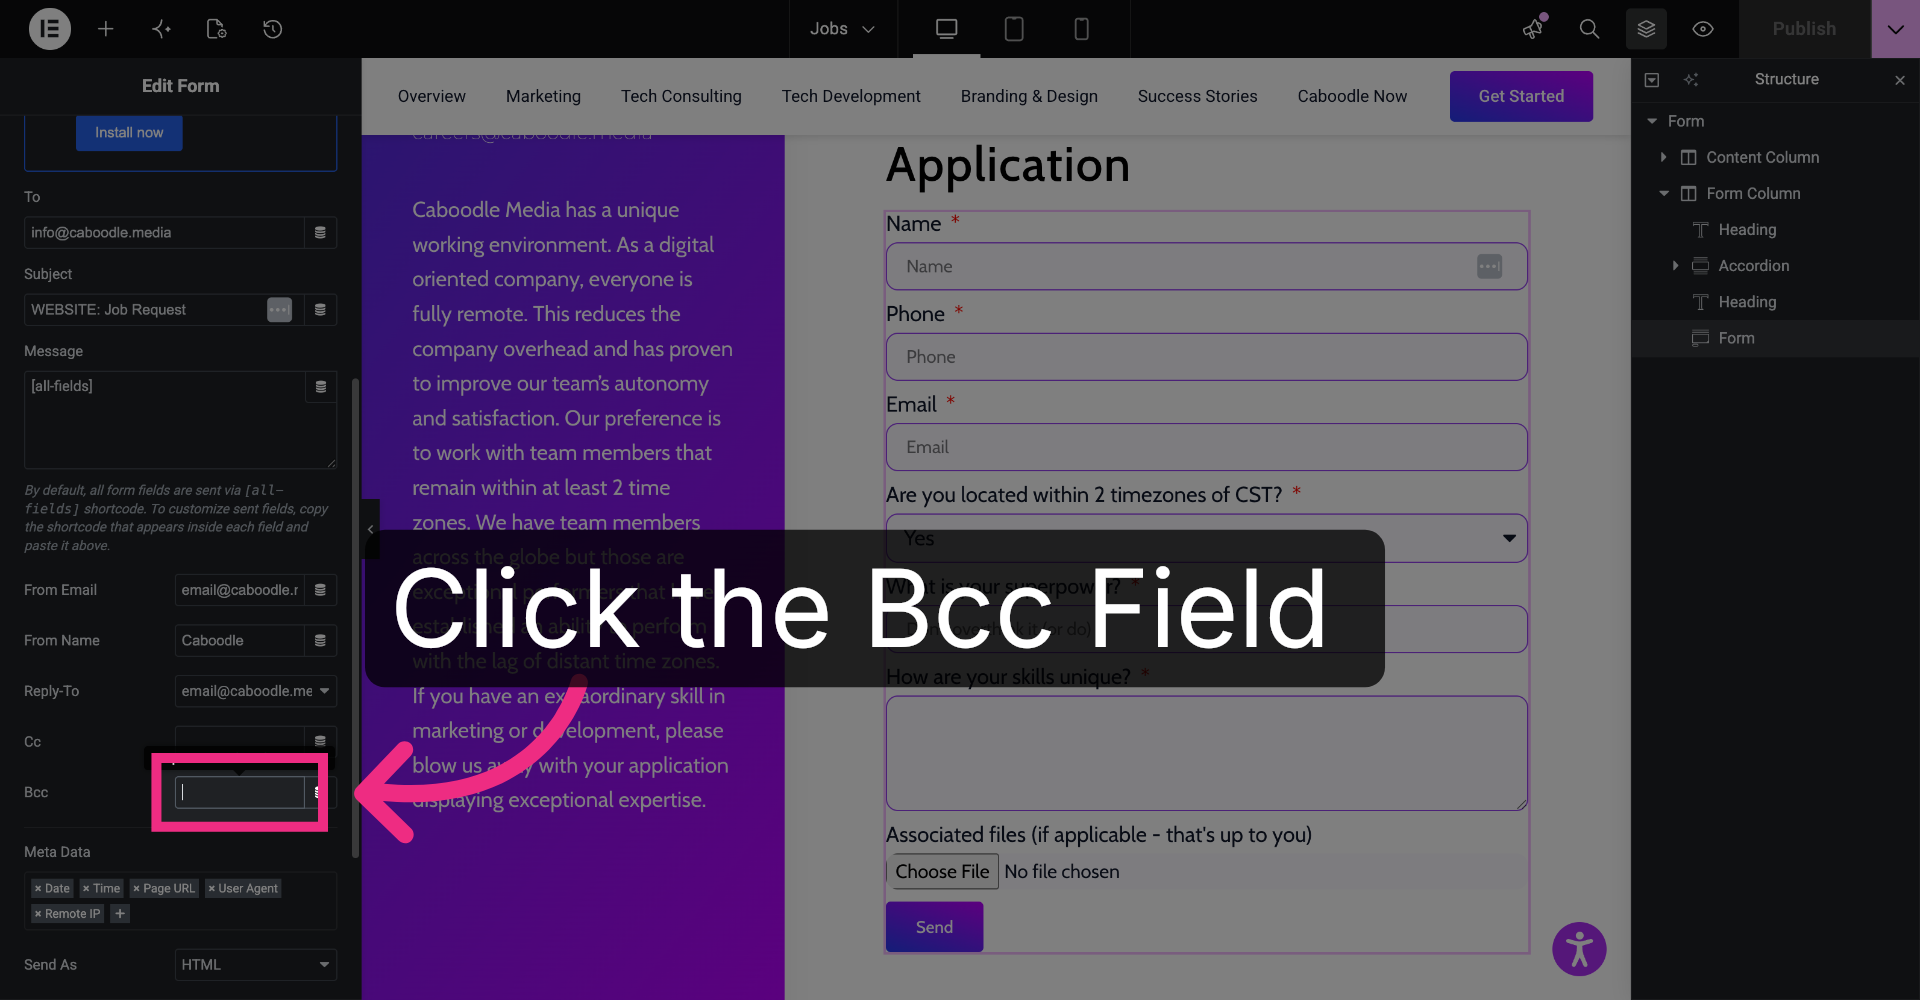
11. Enter Notification Email
Paste the email address that you received from your Dash Dolphin connection.
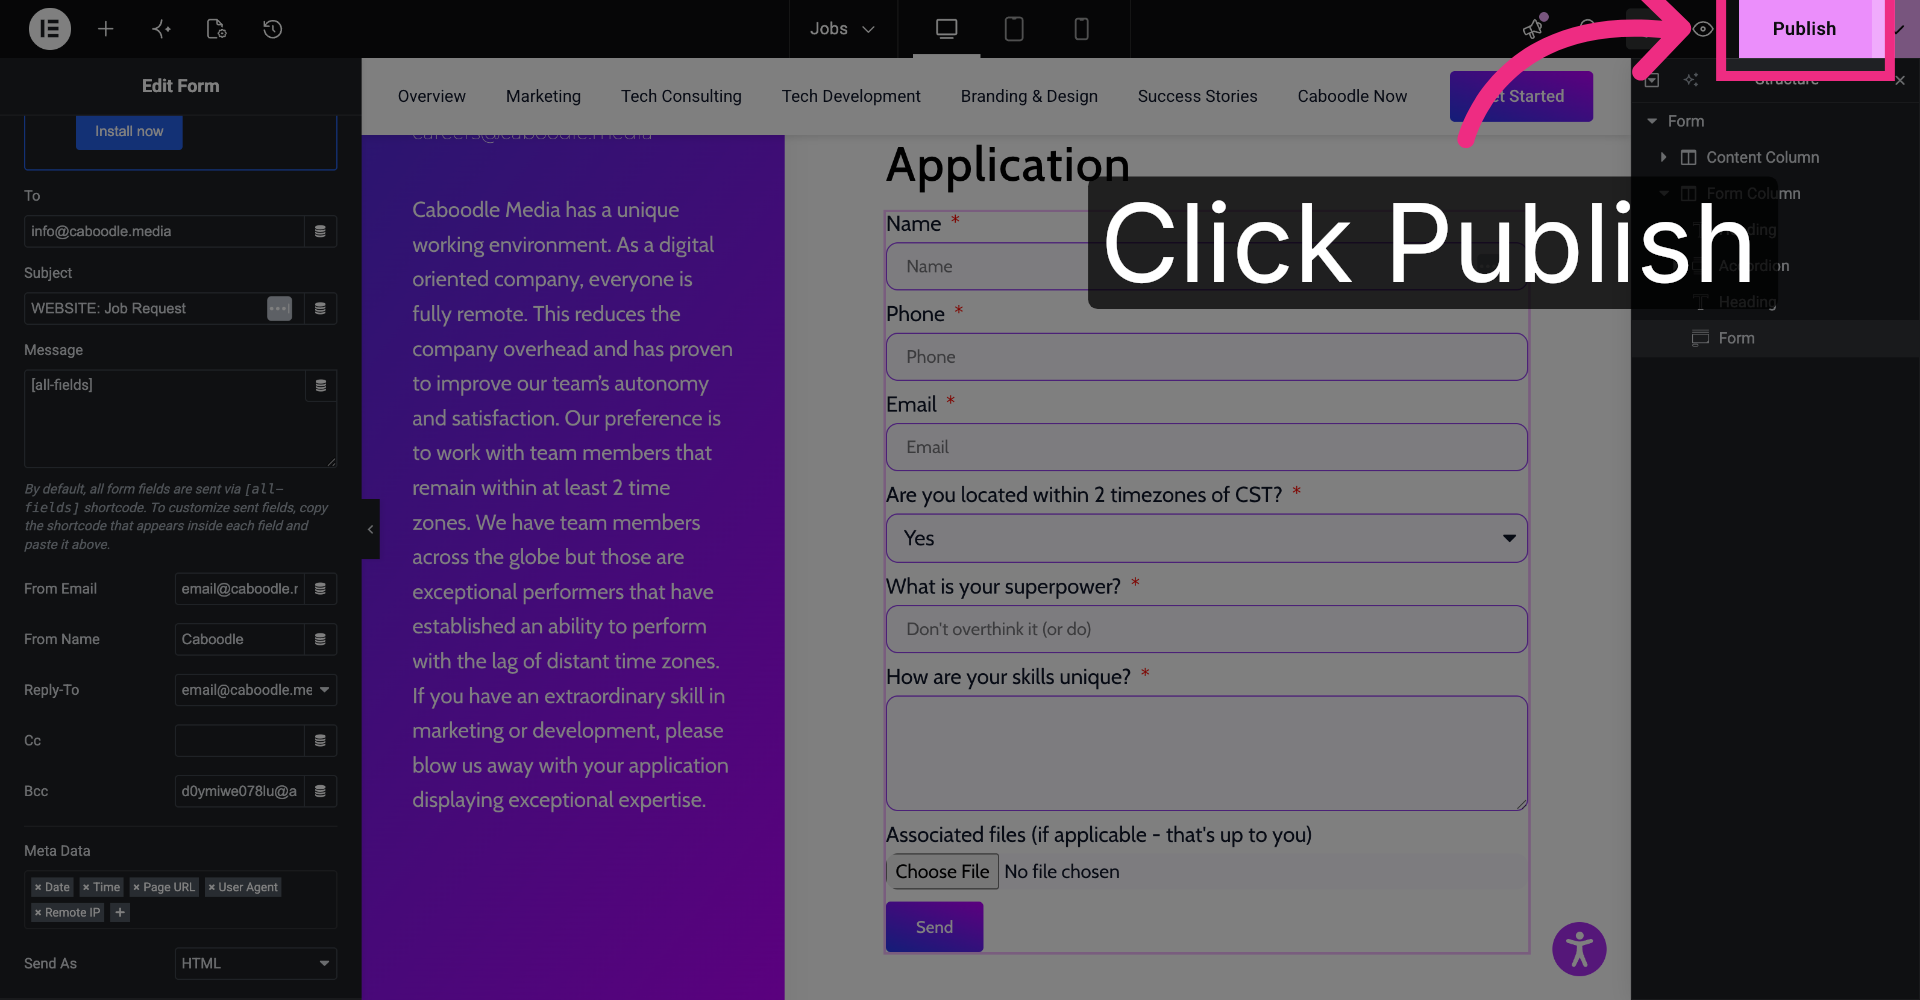
12. Publish Form Changes
Click save or publish.
13. Submit Test Form
Now if you submit this form, it will pass through as an SMS to the phone number that you selected for that connection.
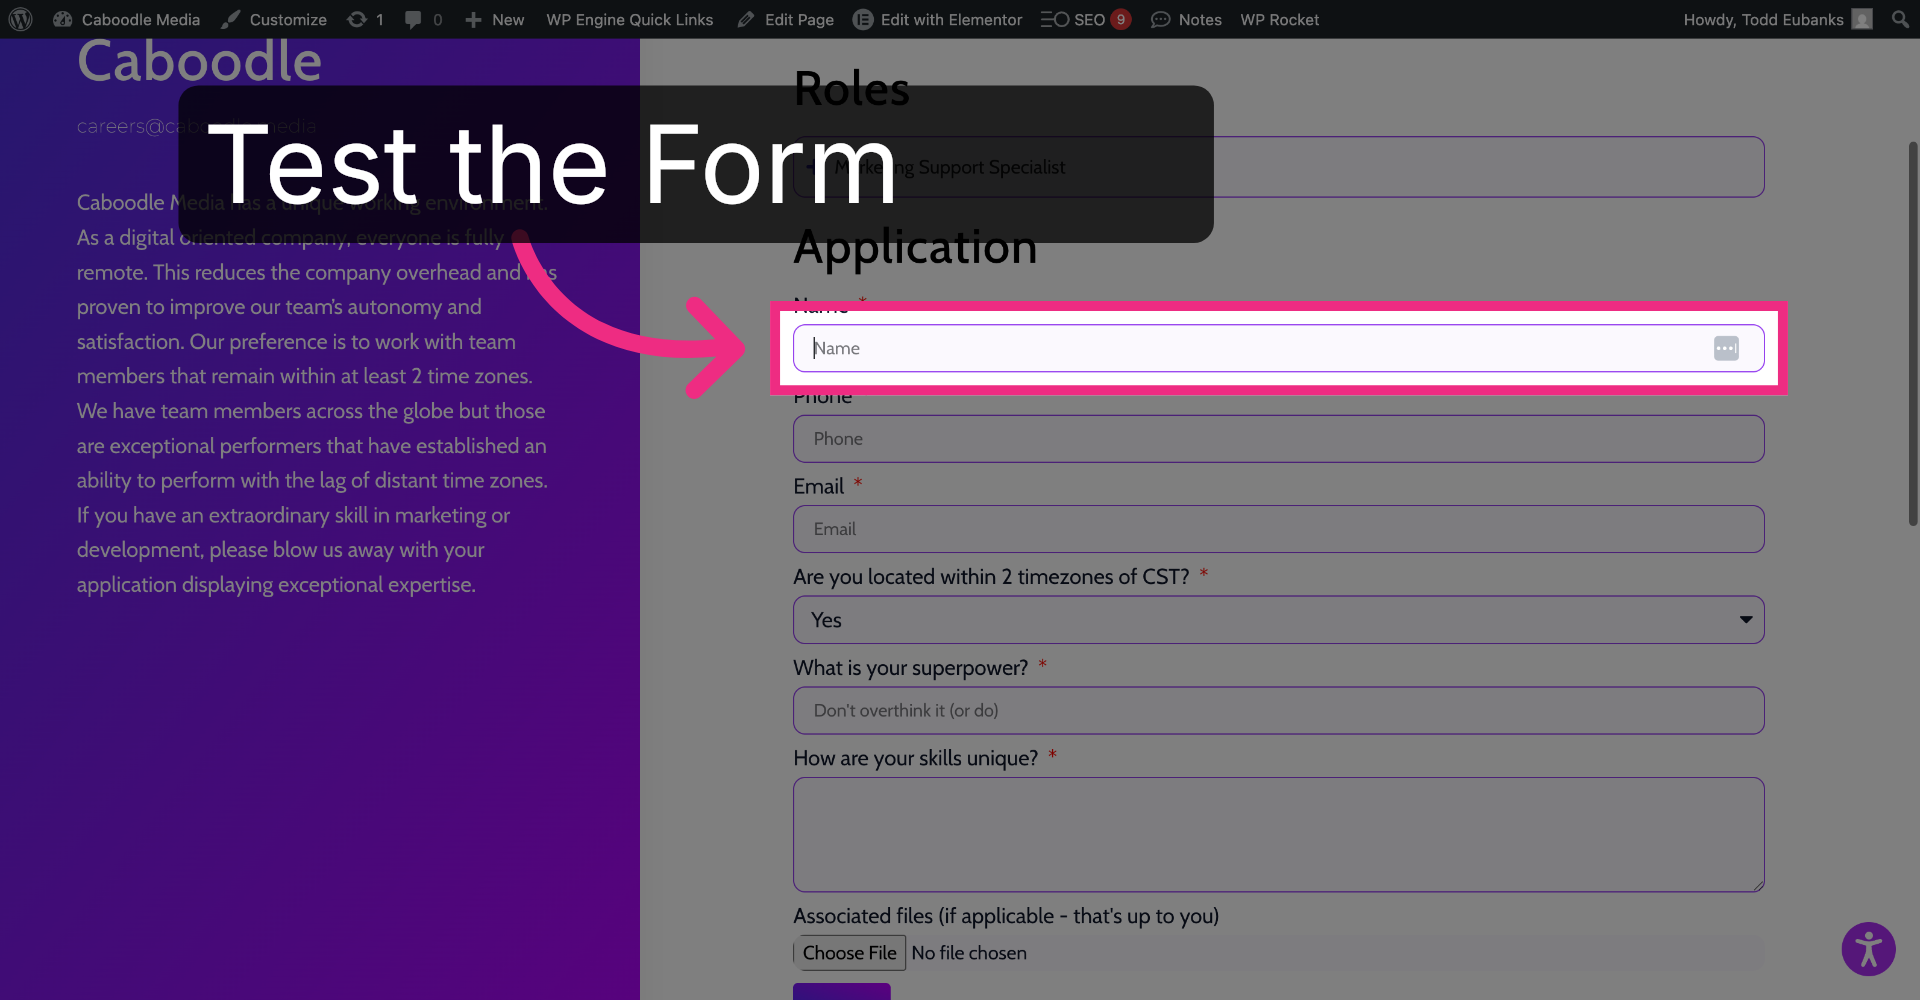
You have successfully configured your Elementor form to send notification emails to Dash Dolphin, enabling instant SMS alerts. Test the setup by submitting a form and verifying the SMS notification delivery.