To use Dash Dolphin with Keap, you'll need a Keap plan that includes Advanced Automation, plus an Advanced Automation pre-built for your form with a Send email action. Once you've created your connection and received your notification email address, here's how to configure your Keap form to forward submissions to Dash Dolphin.
1. Open Dash Dolphin Setup
Open your Dash Dolphin Setup page where your form connections live.
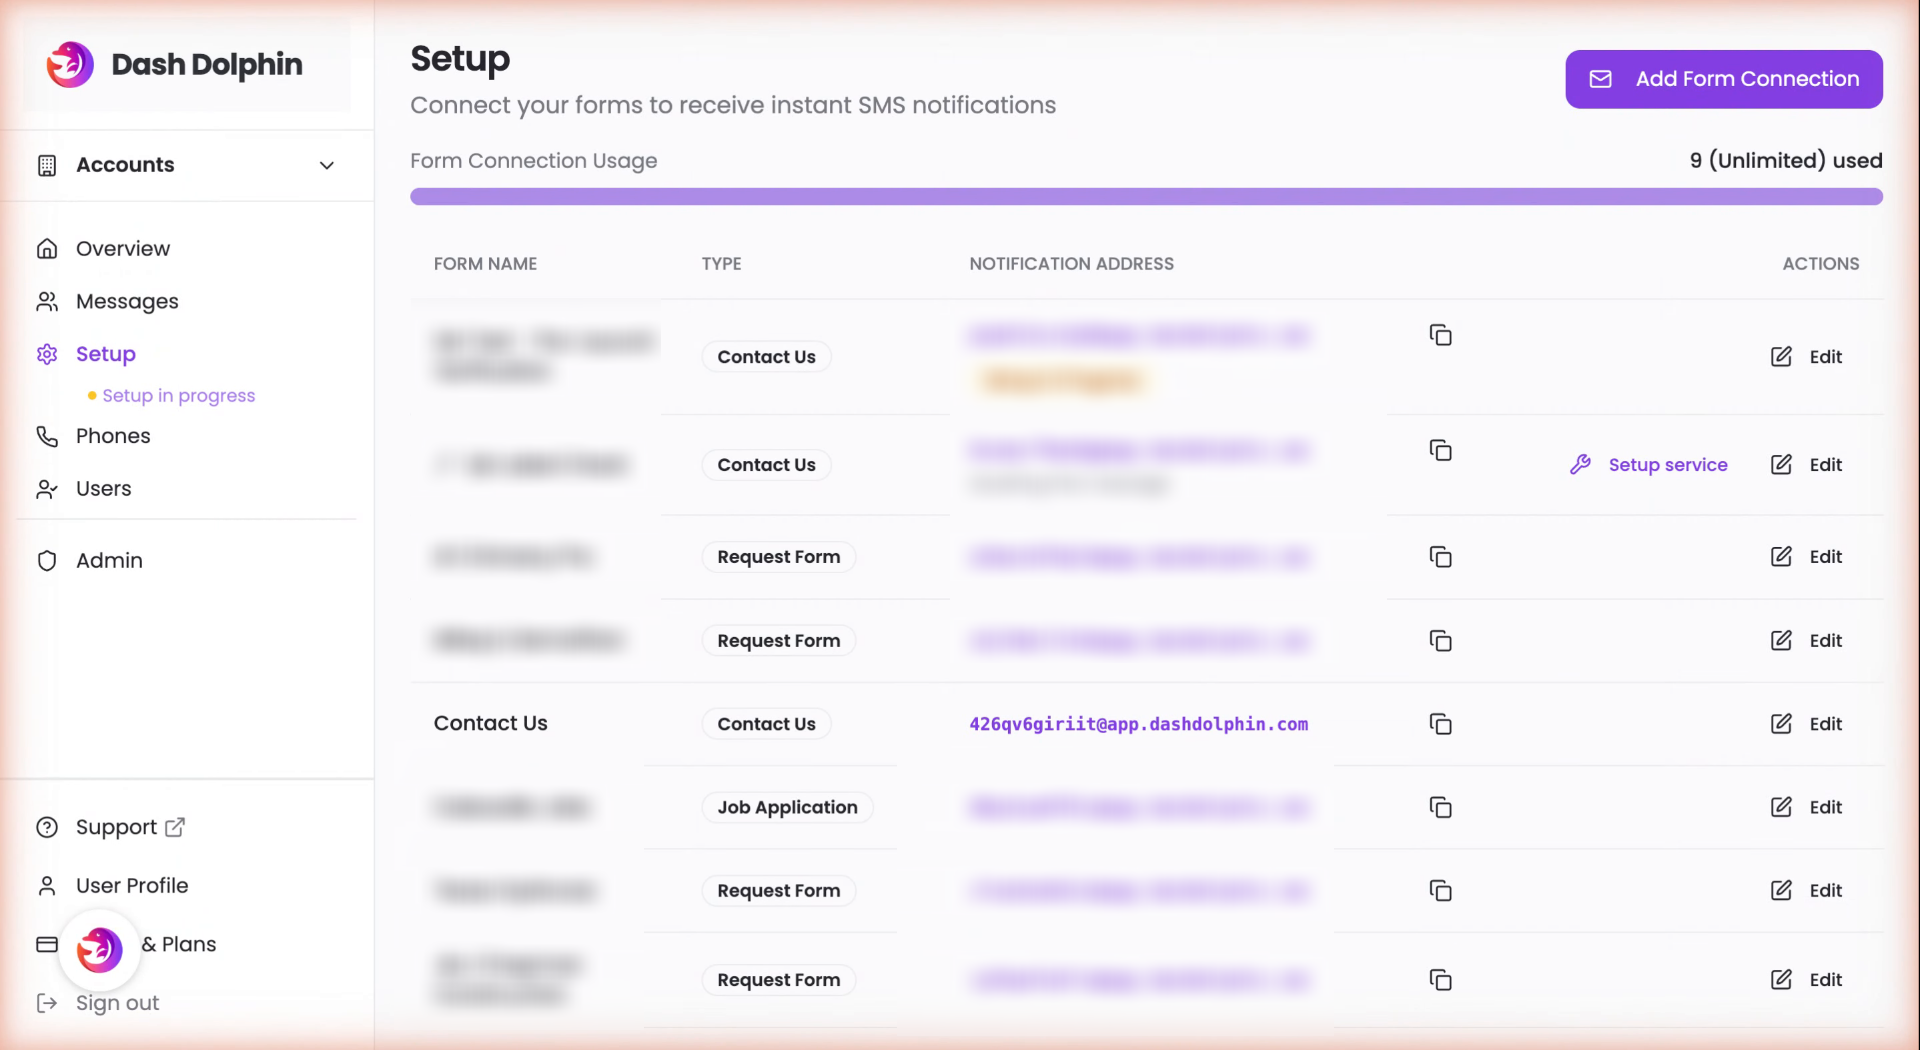
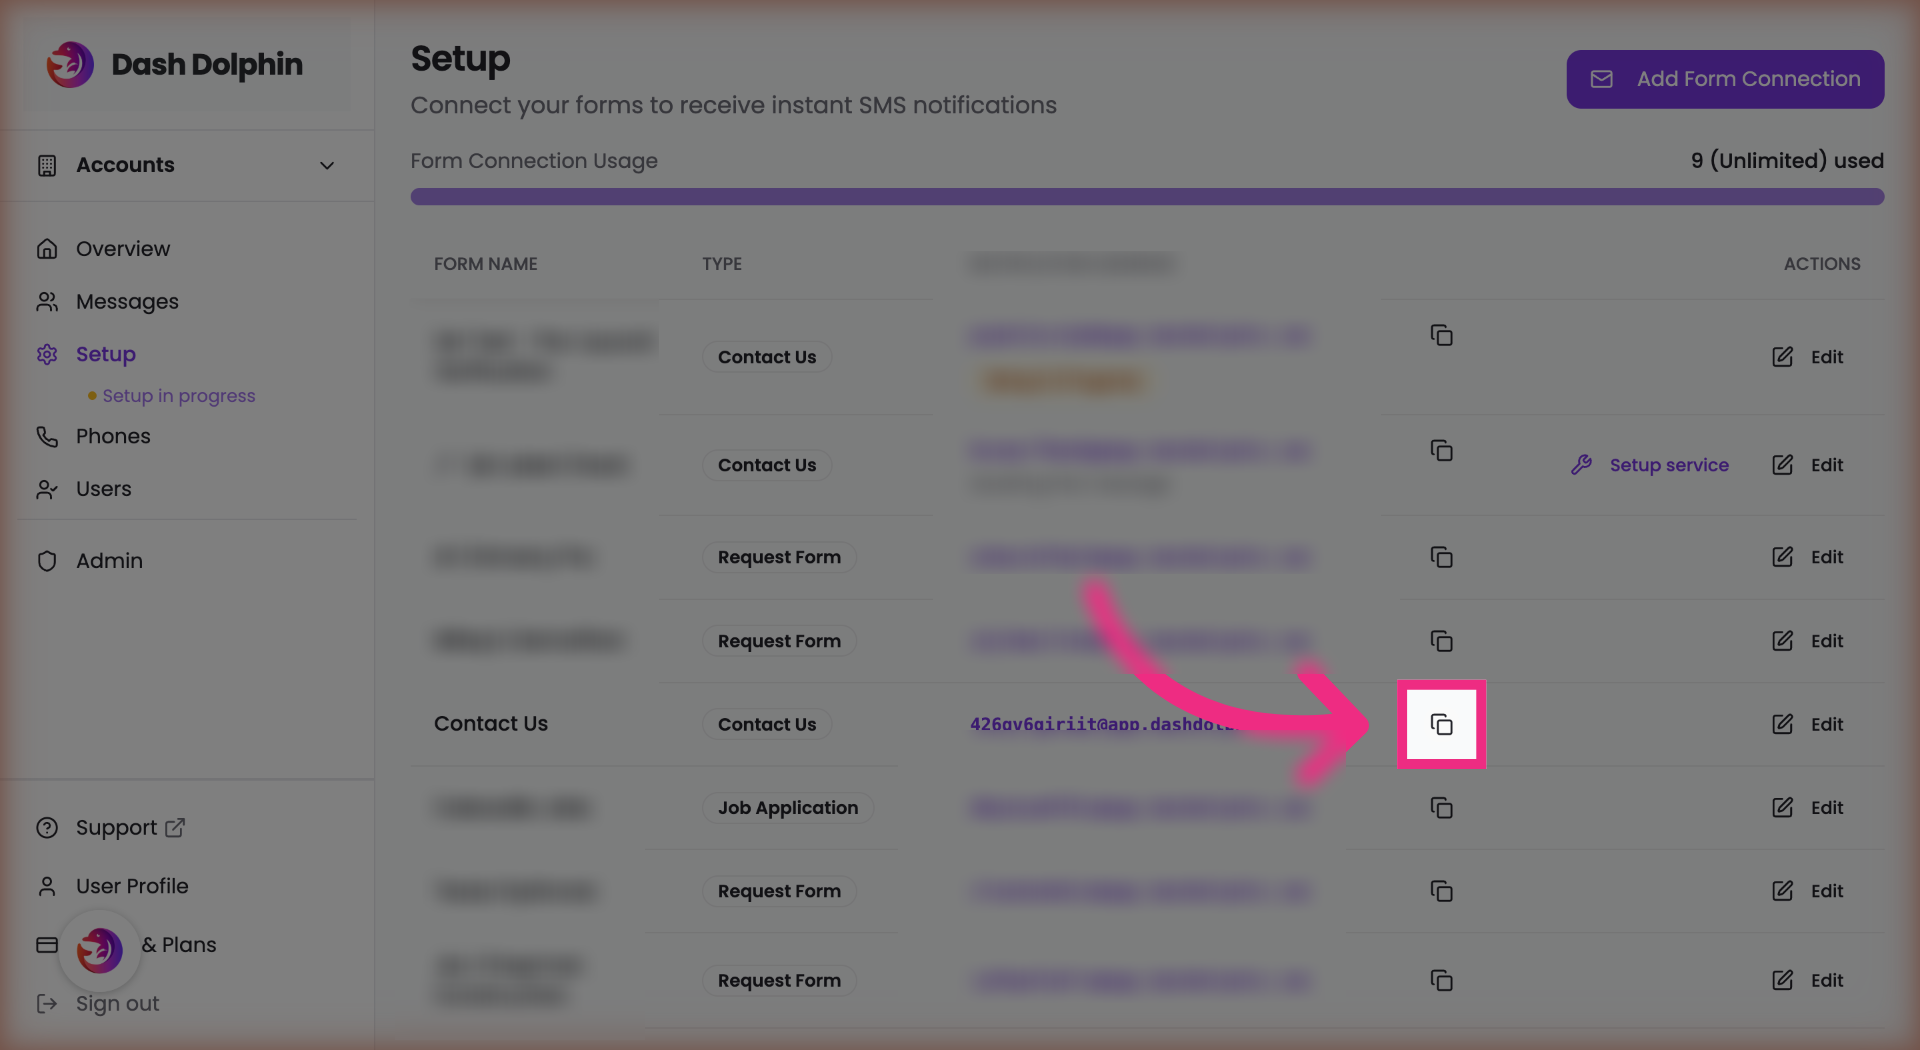
2. Copy Notification Email
Copy the notification email address from your Dash Dolphin connection.
3. Open Keap Dashboard
Open your Keap dashboard.
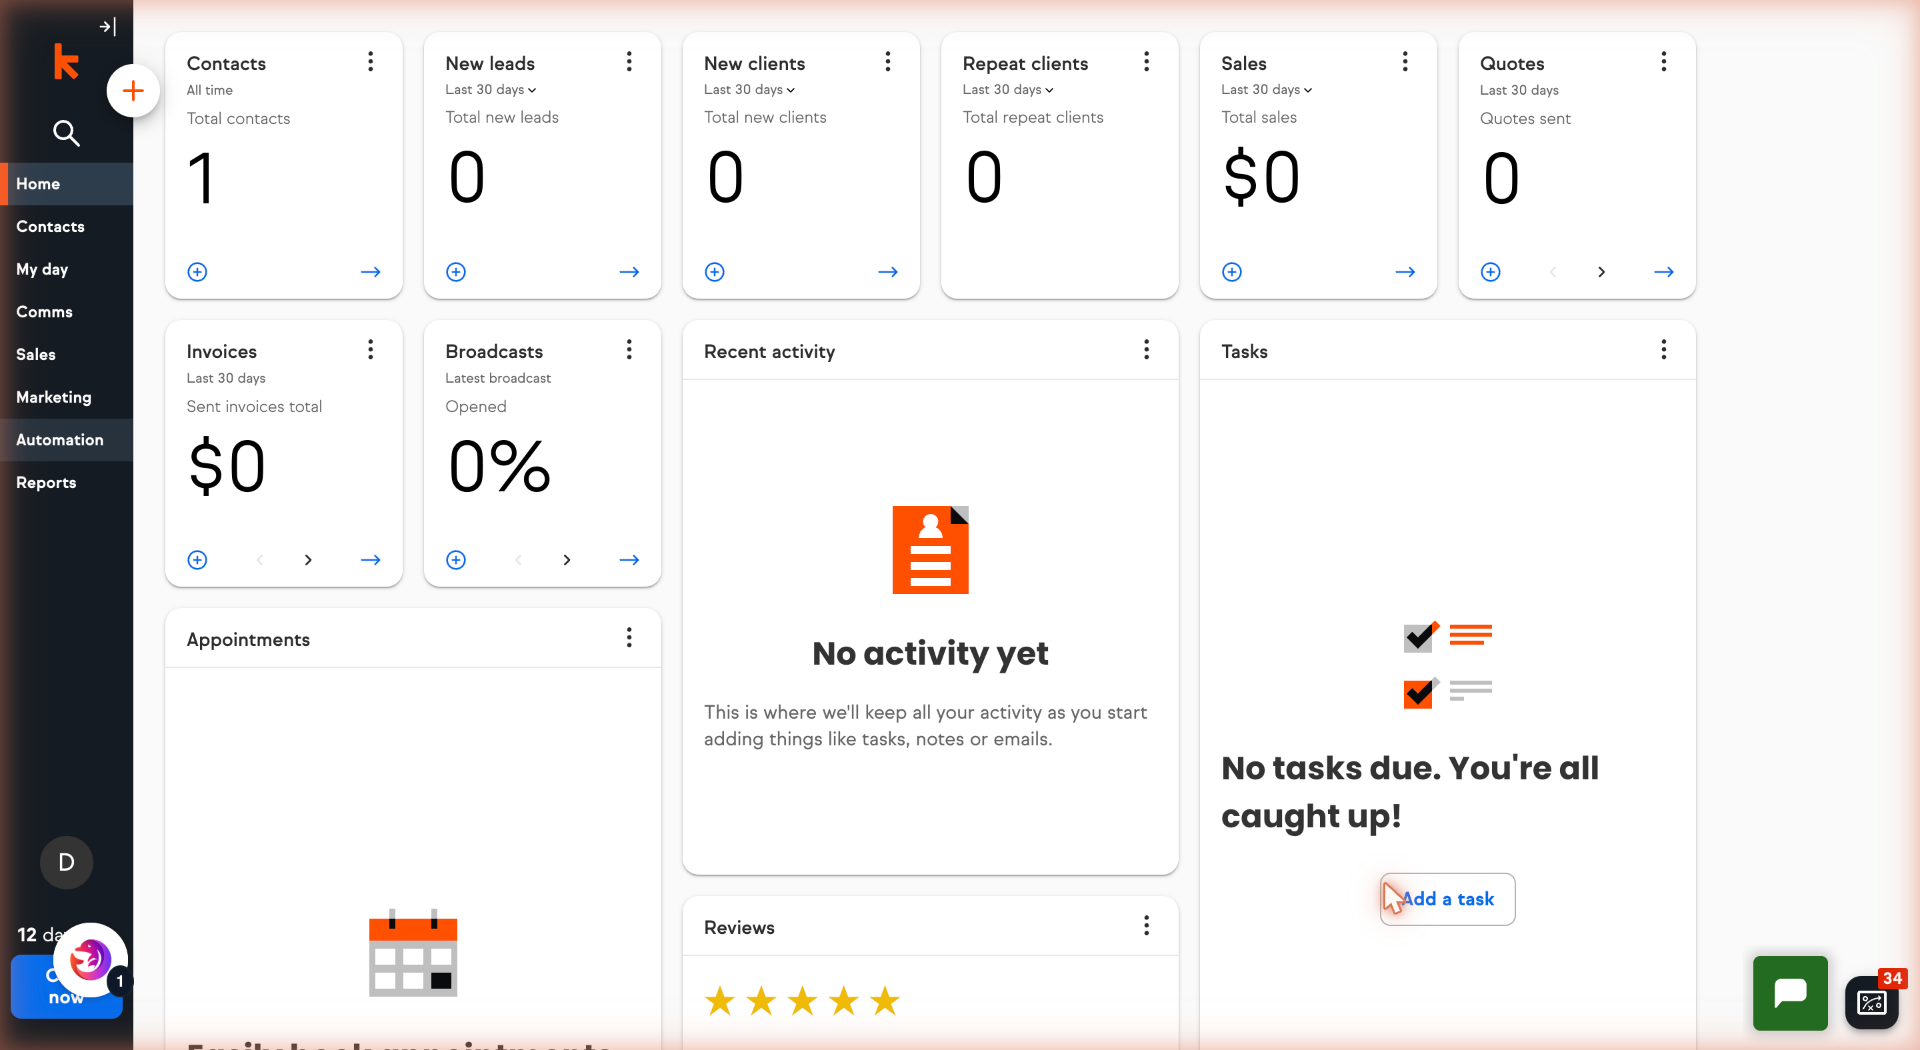
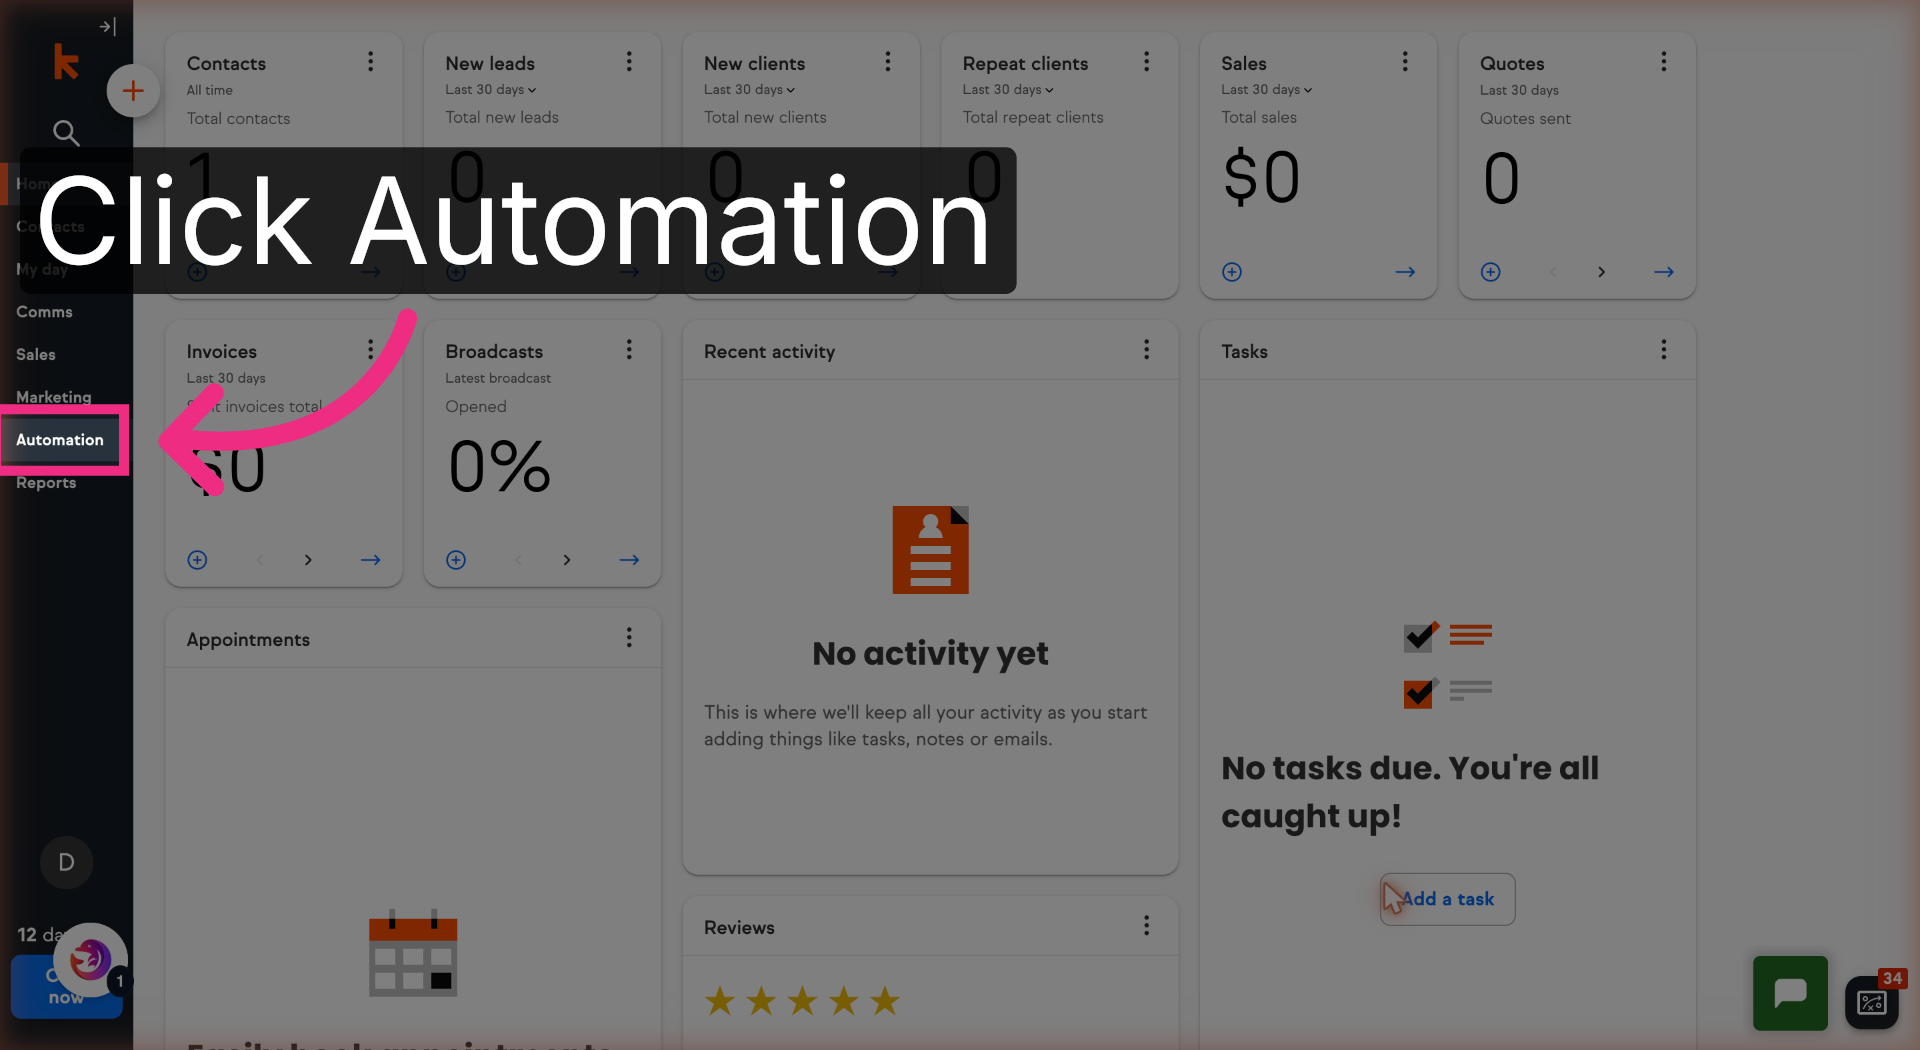
4. Open Automation
Open the Automation menu.
5. Switch to Advanced
Switch to the Advanced tab.

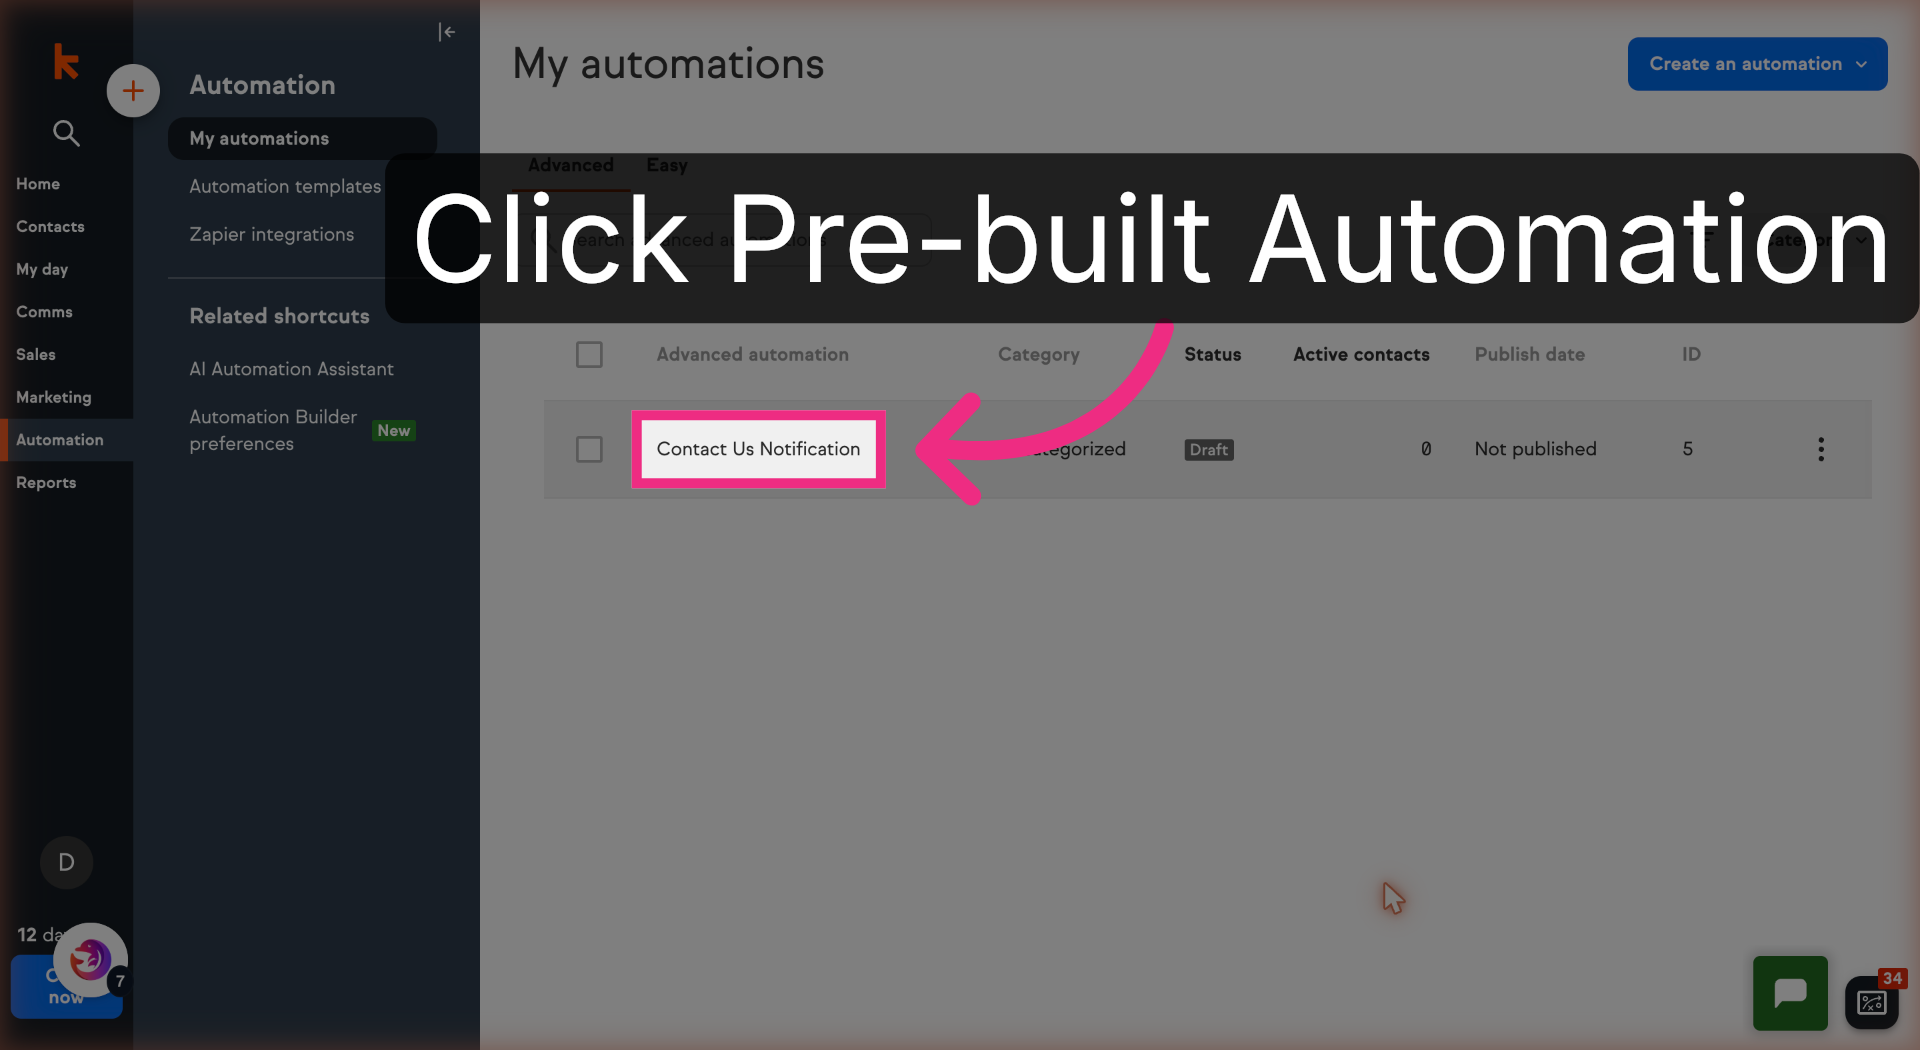
6. Open Pre-built Automation
Open your pre-built automation.
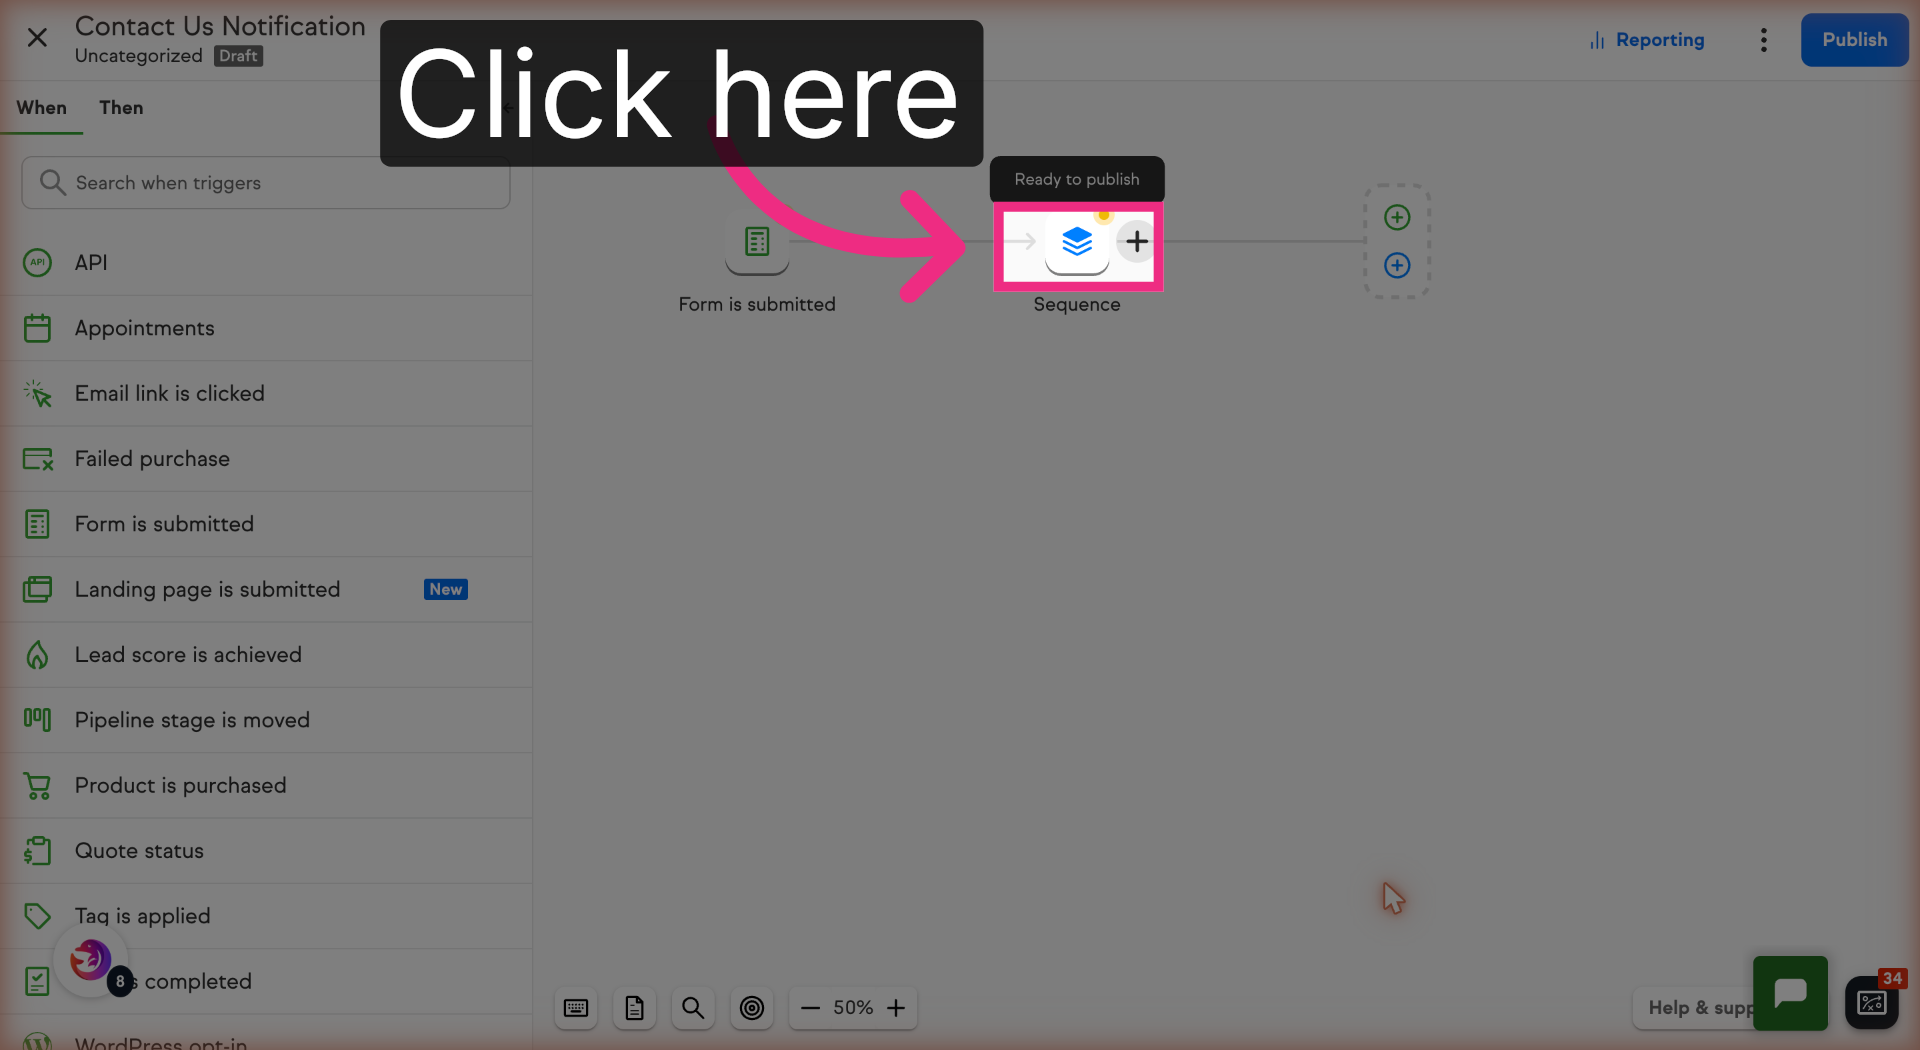
7. Open the Sequence
Open the Sequence to access its steps.
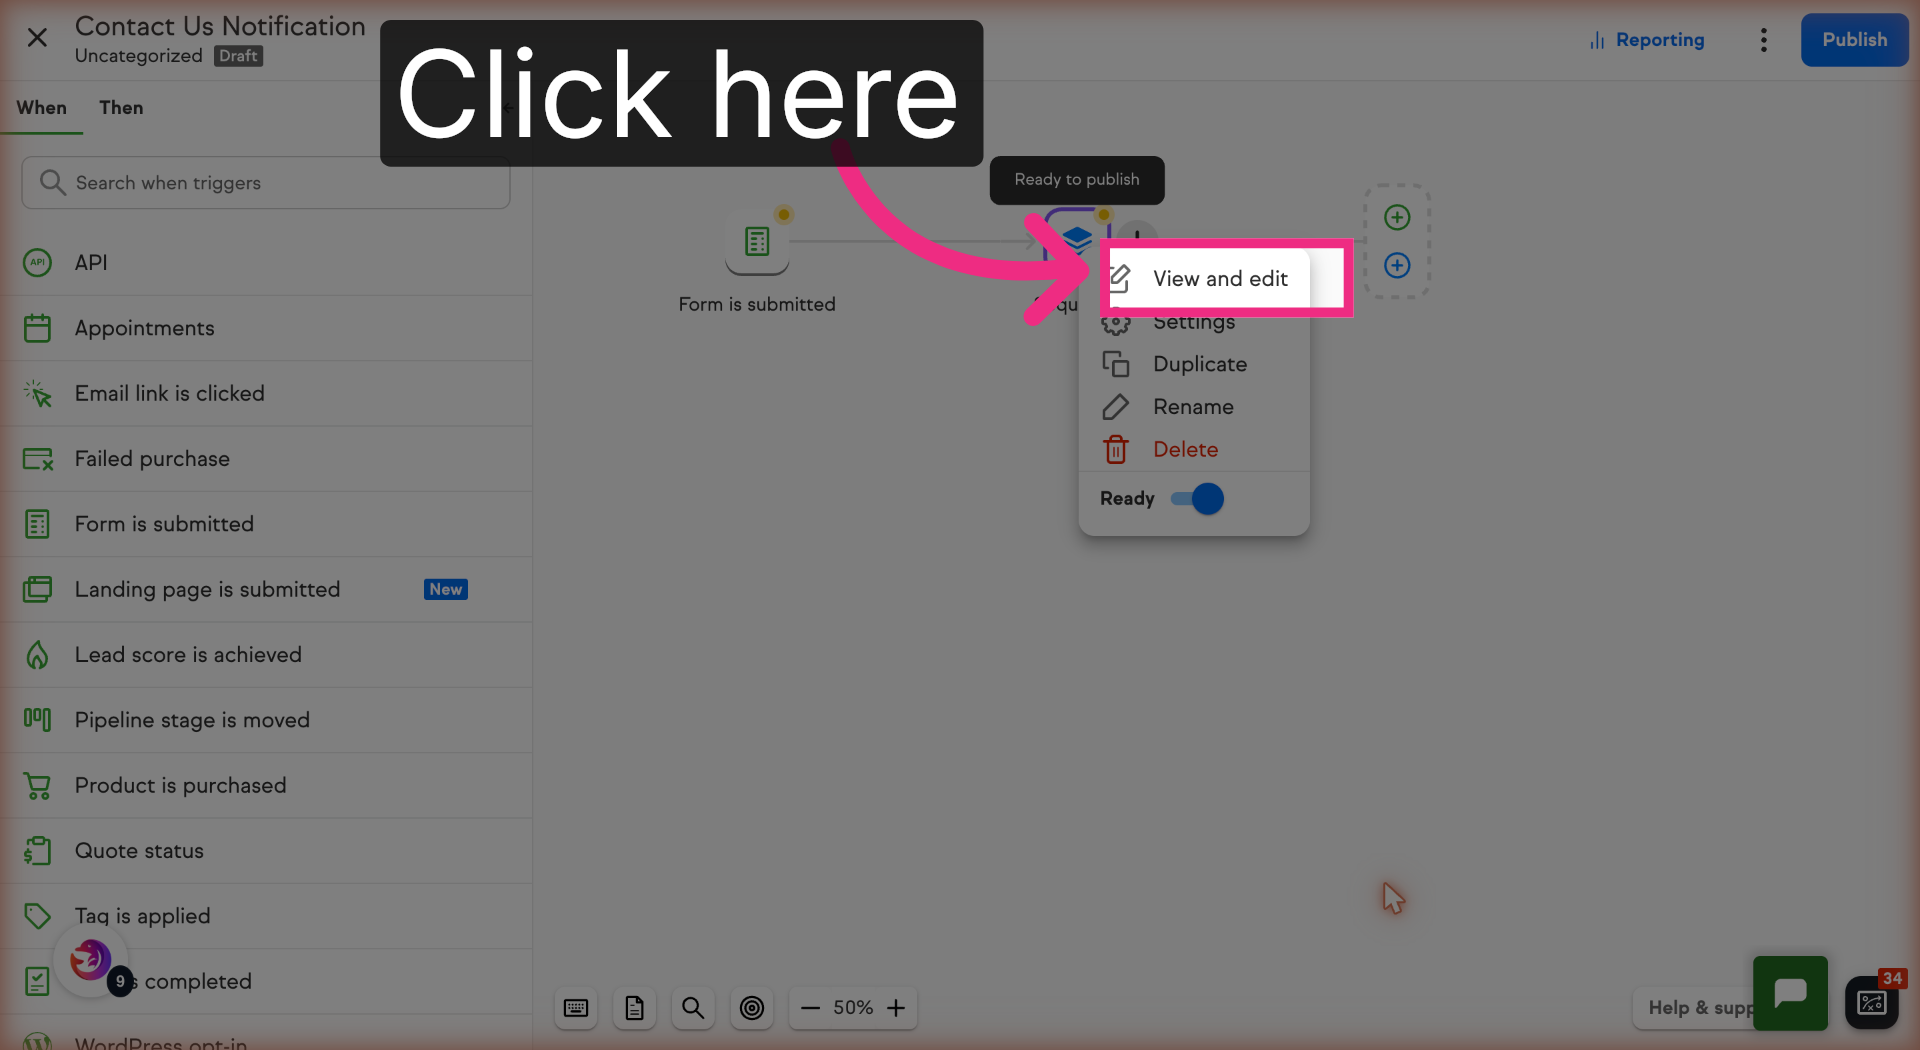
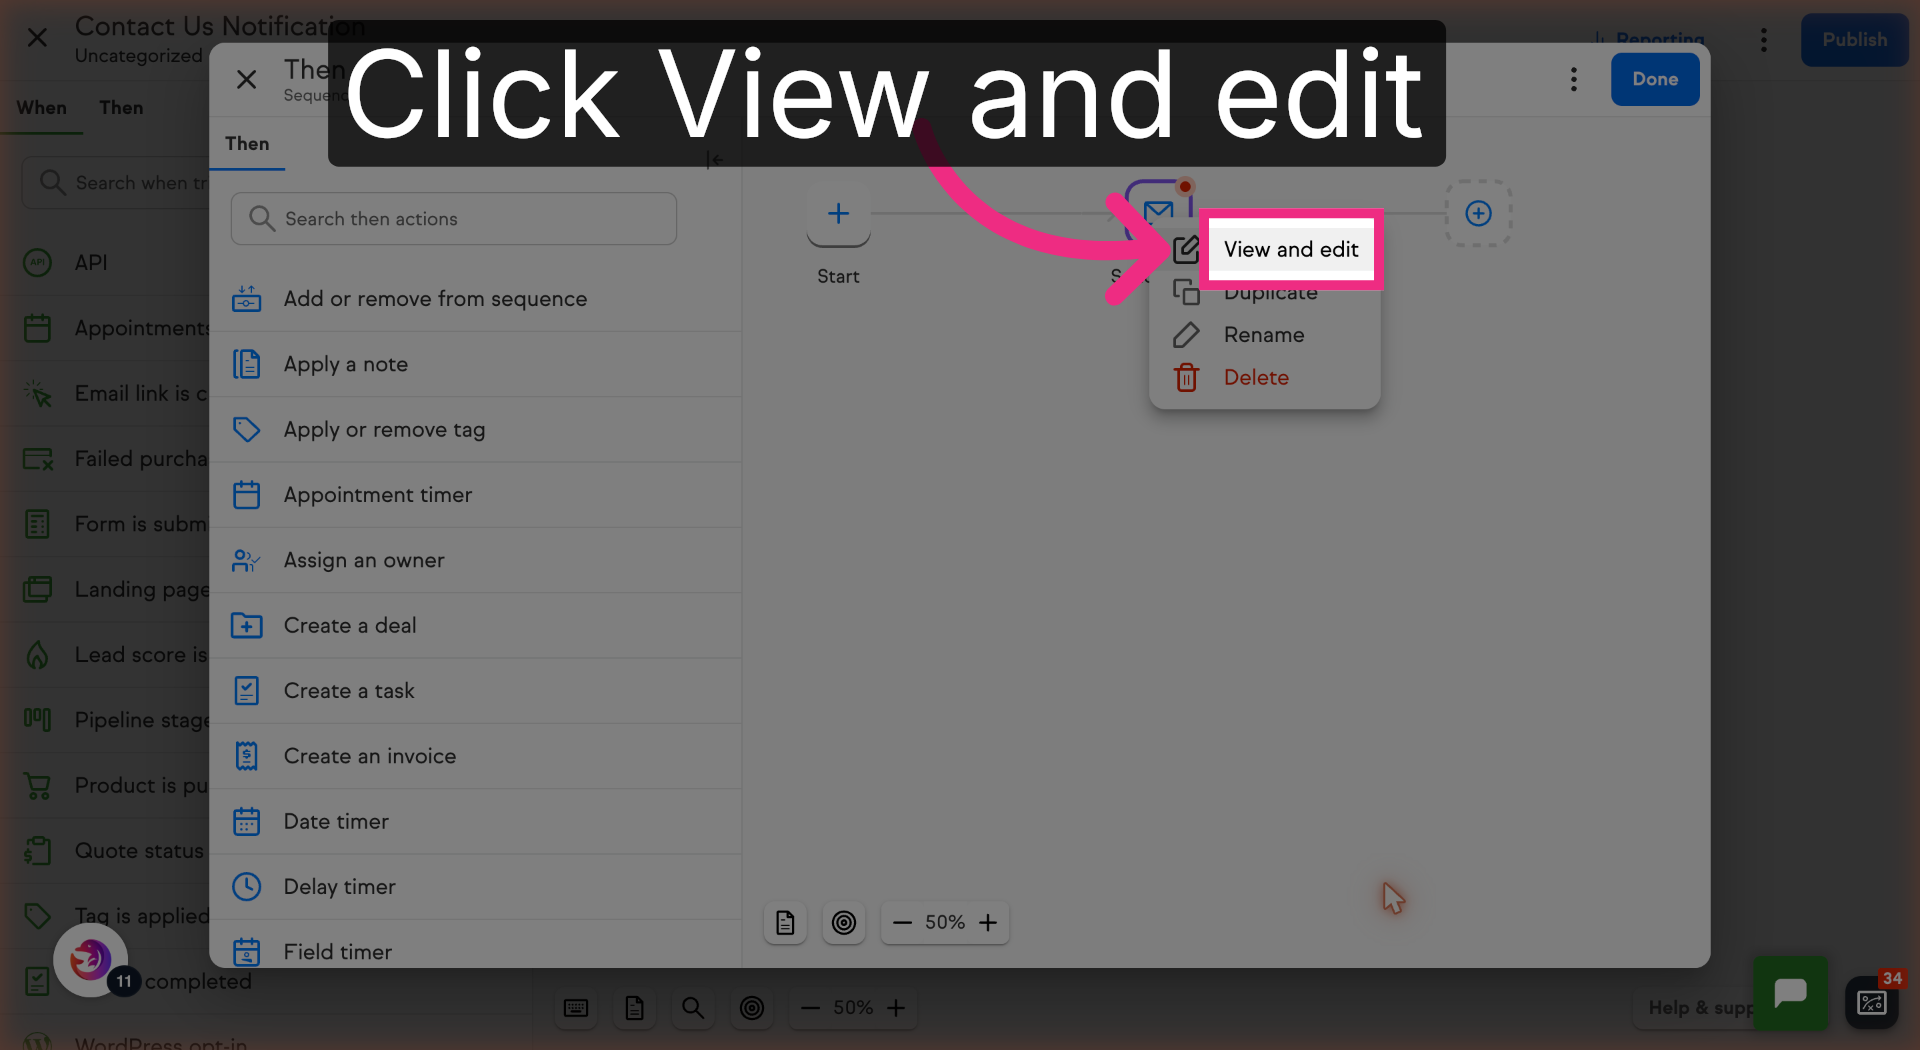
8. View and Edit
Click View and edit to open .
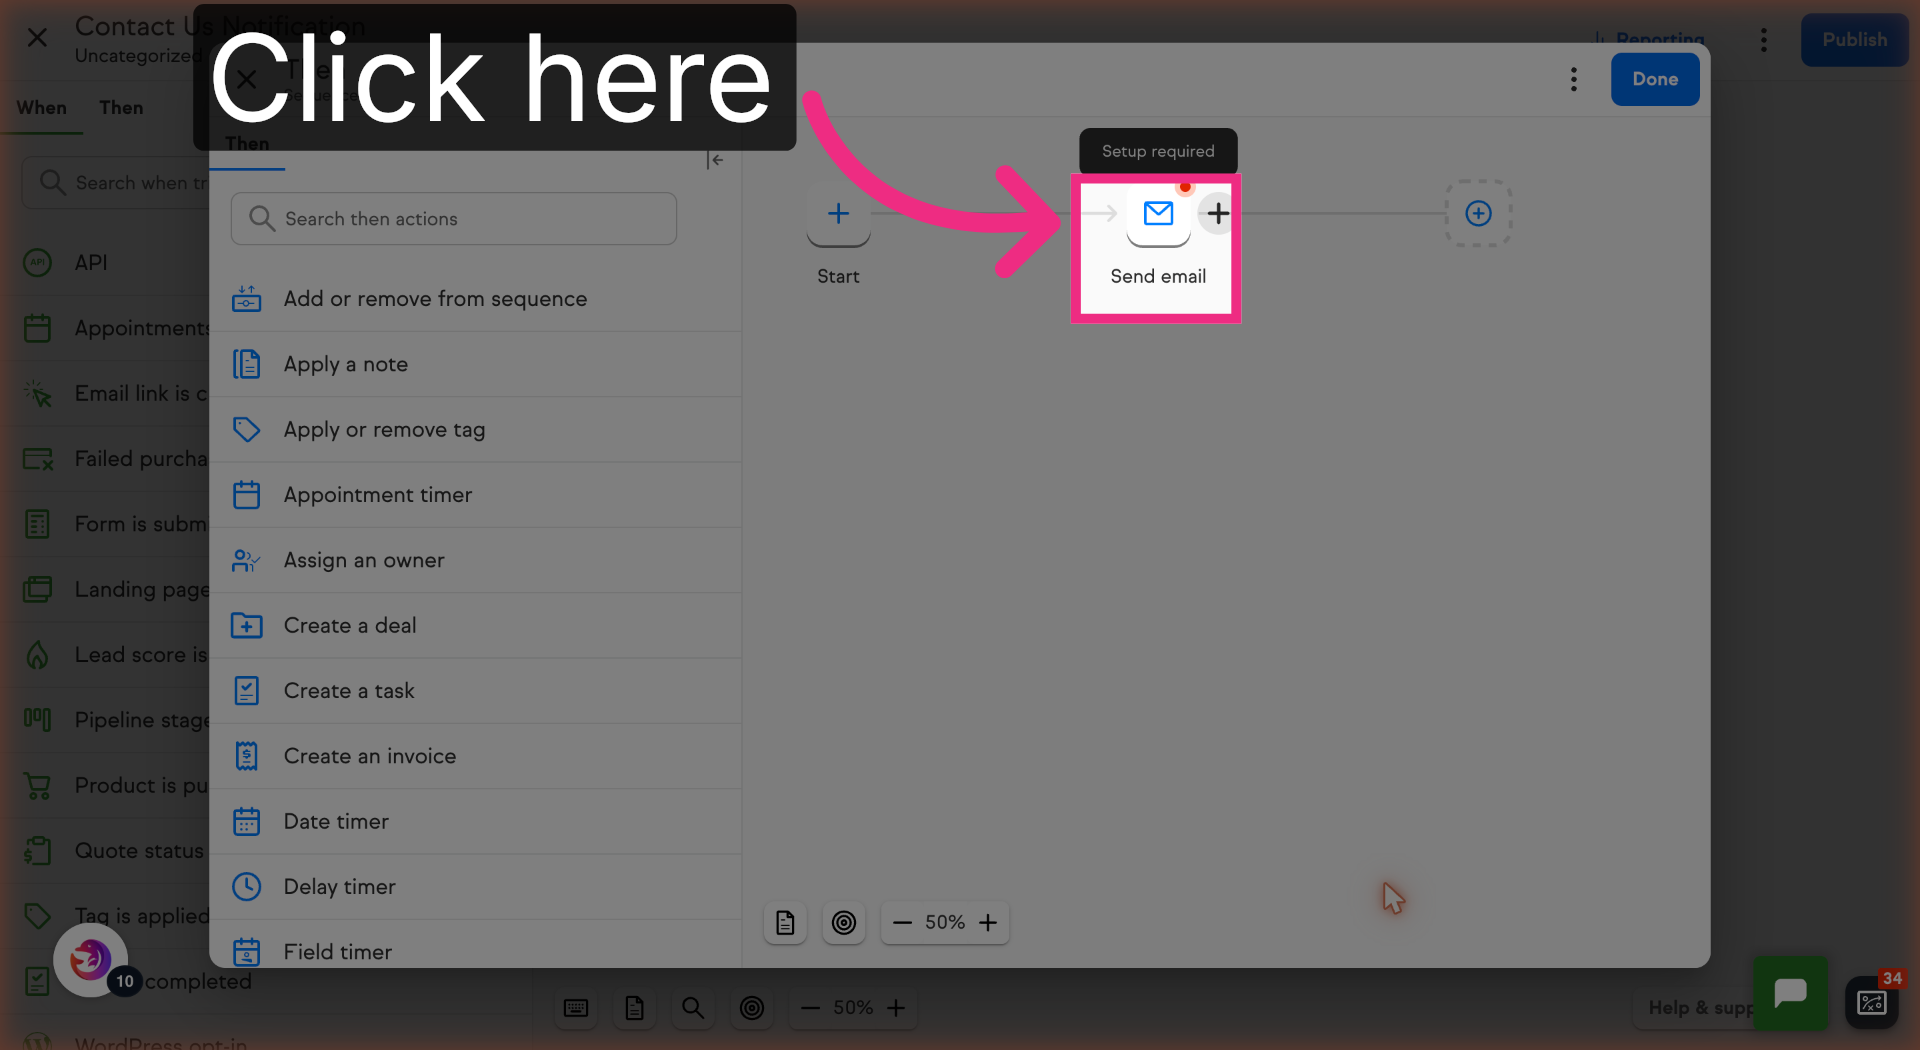
9. Open Send Email
Open the Send email step.
10. View Send Email Settings
Click View and edit to open.
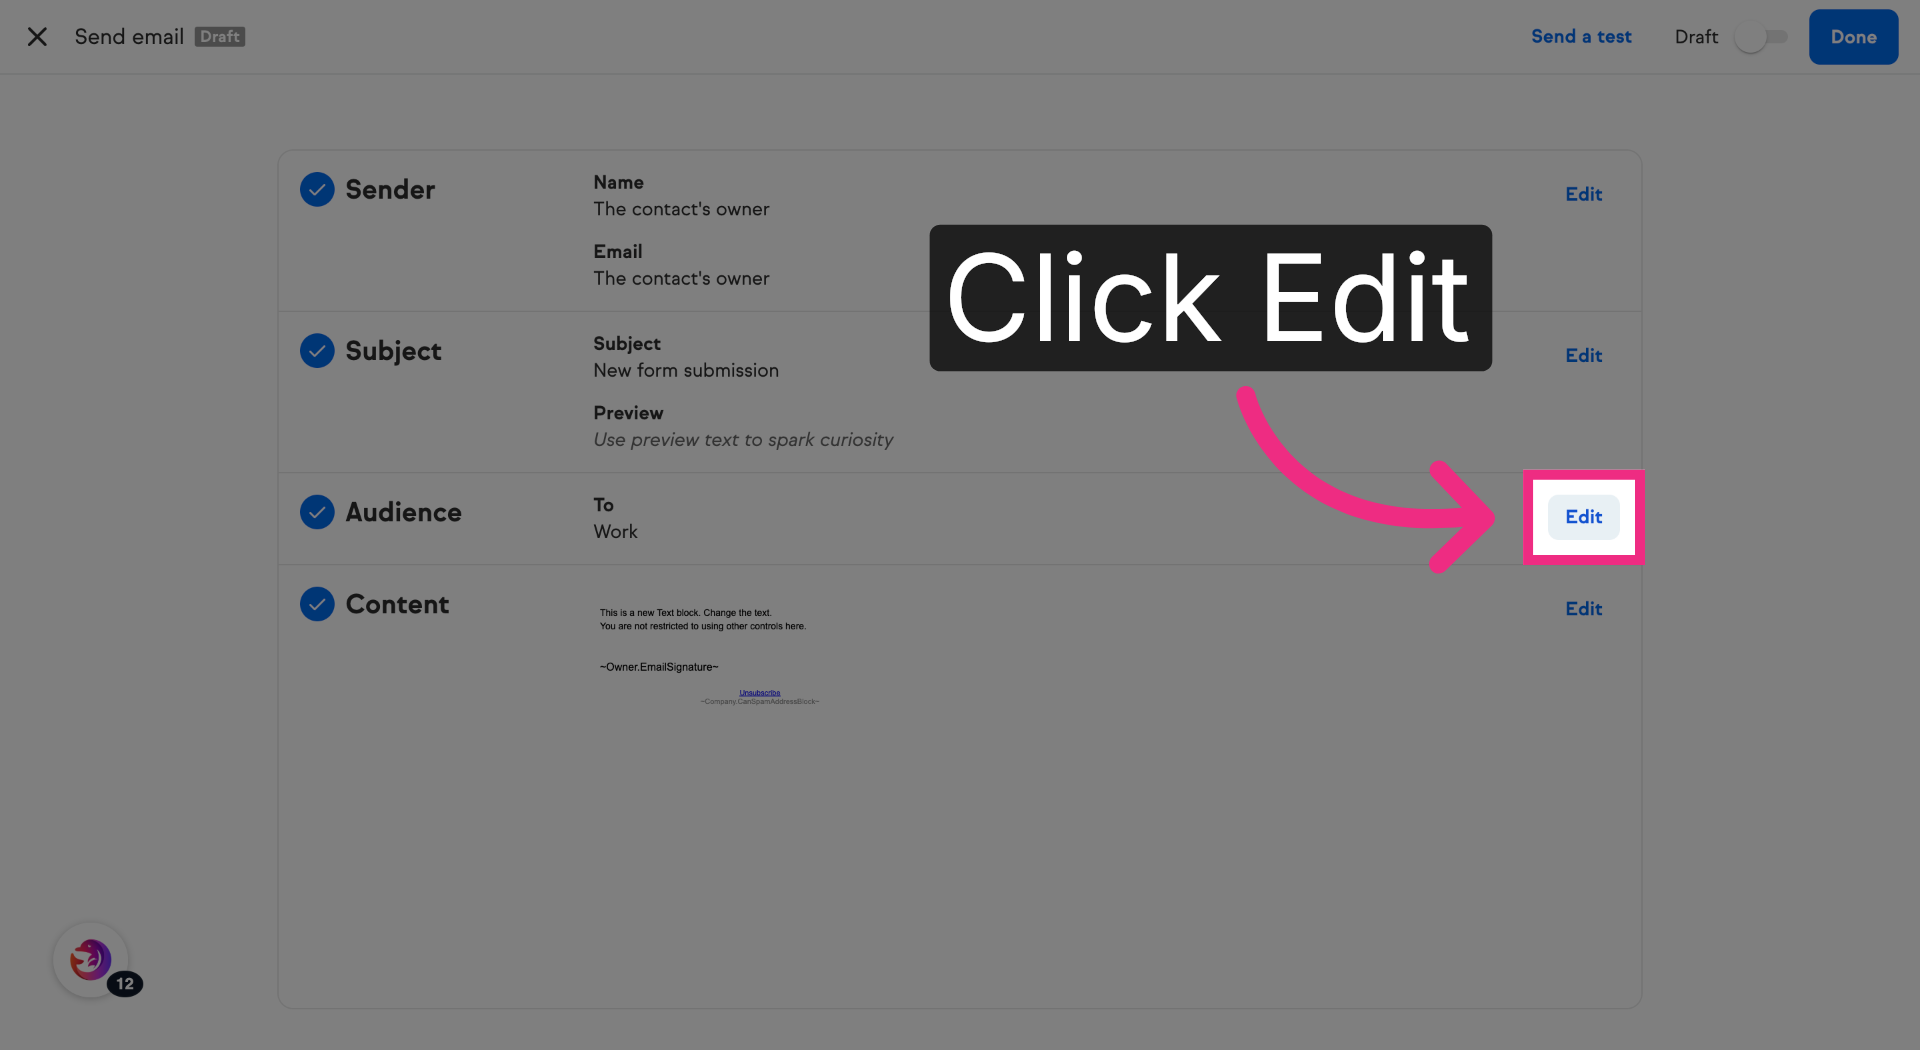
11. Edit Email Funnel
Click Edit in the Audience Section.
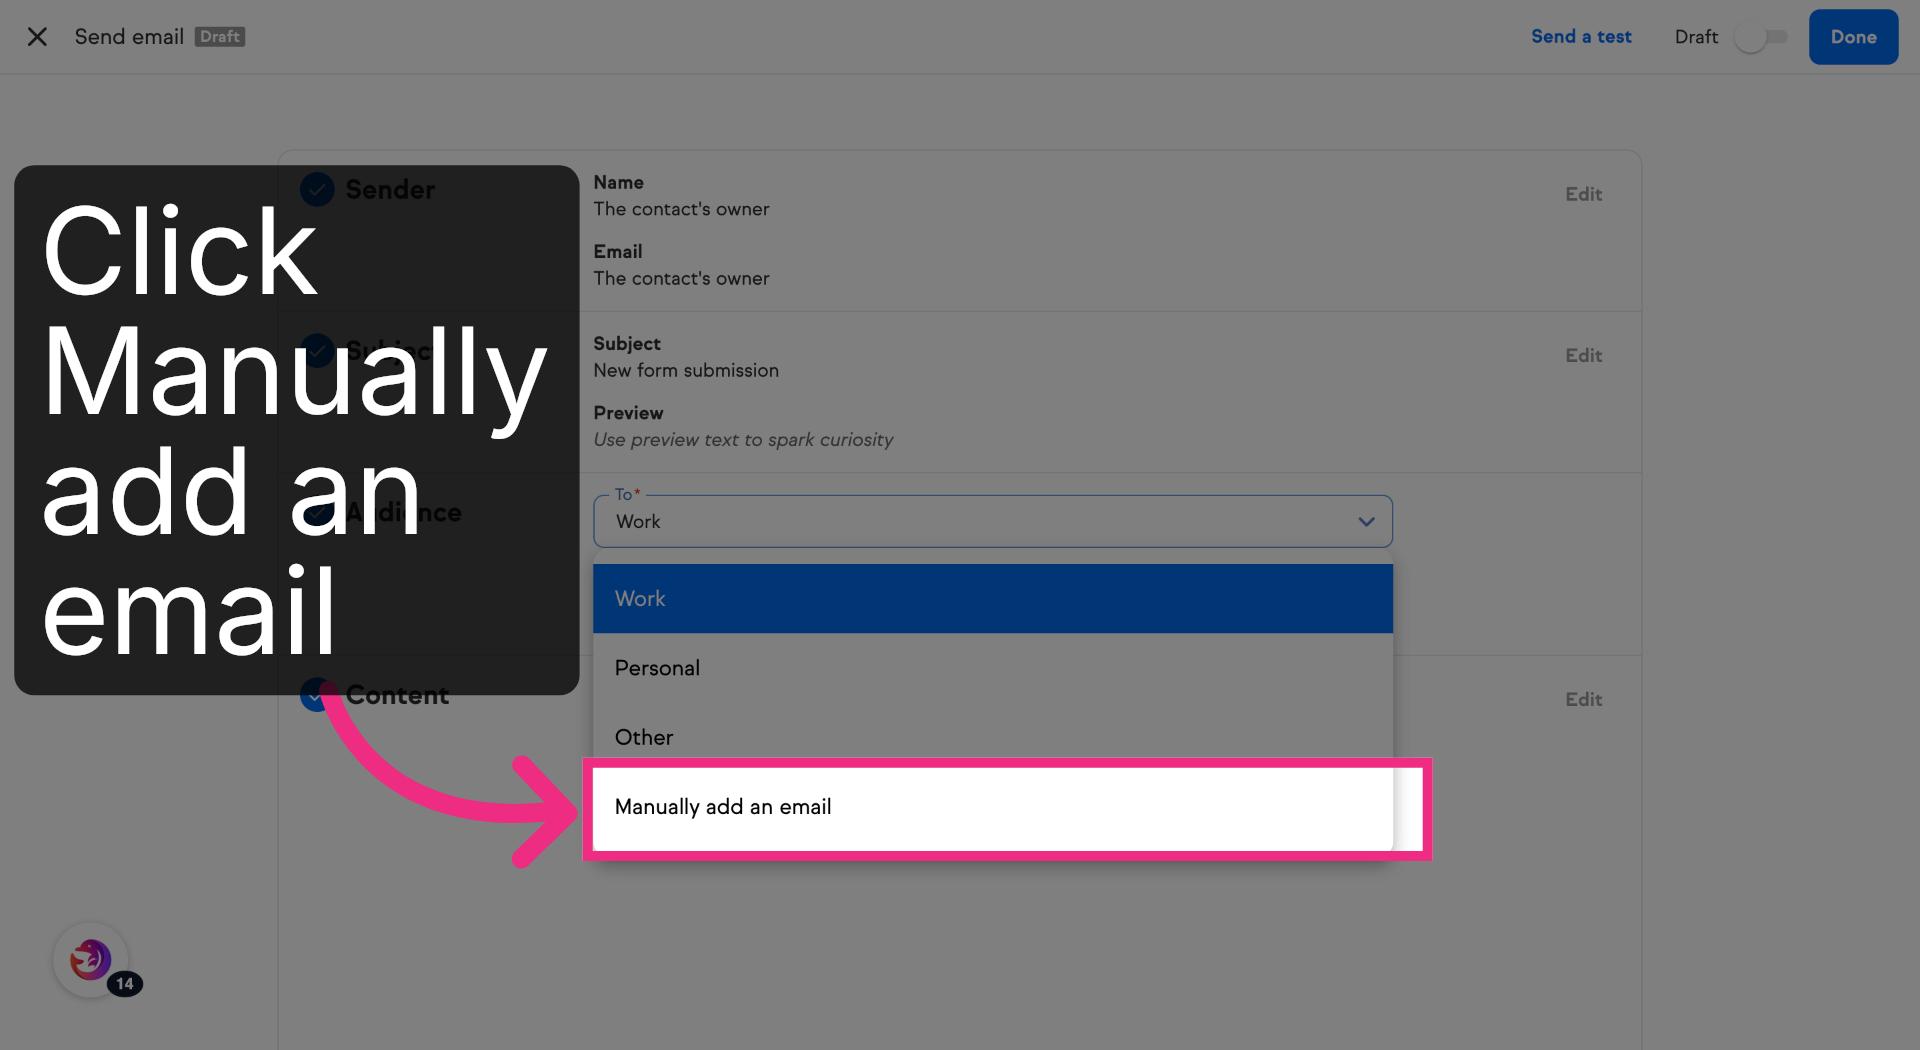
12. Access Work Section
Click manually add an email.
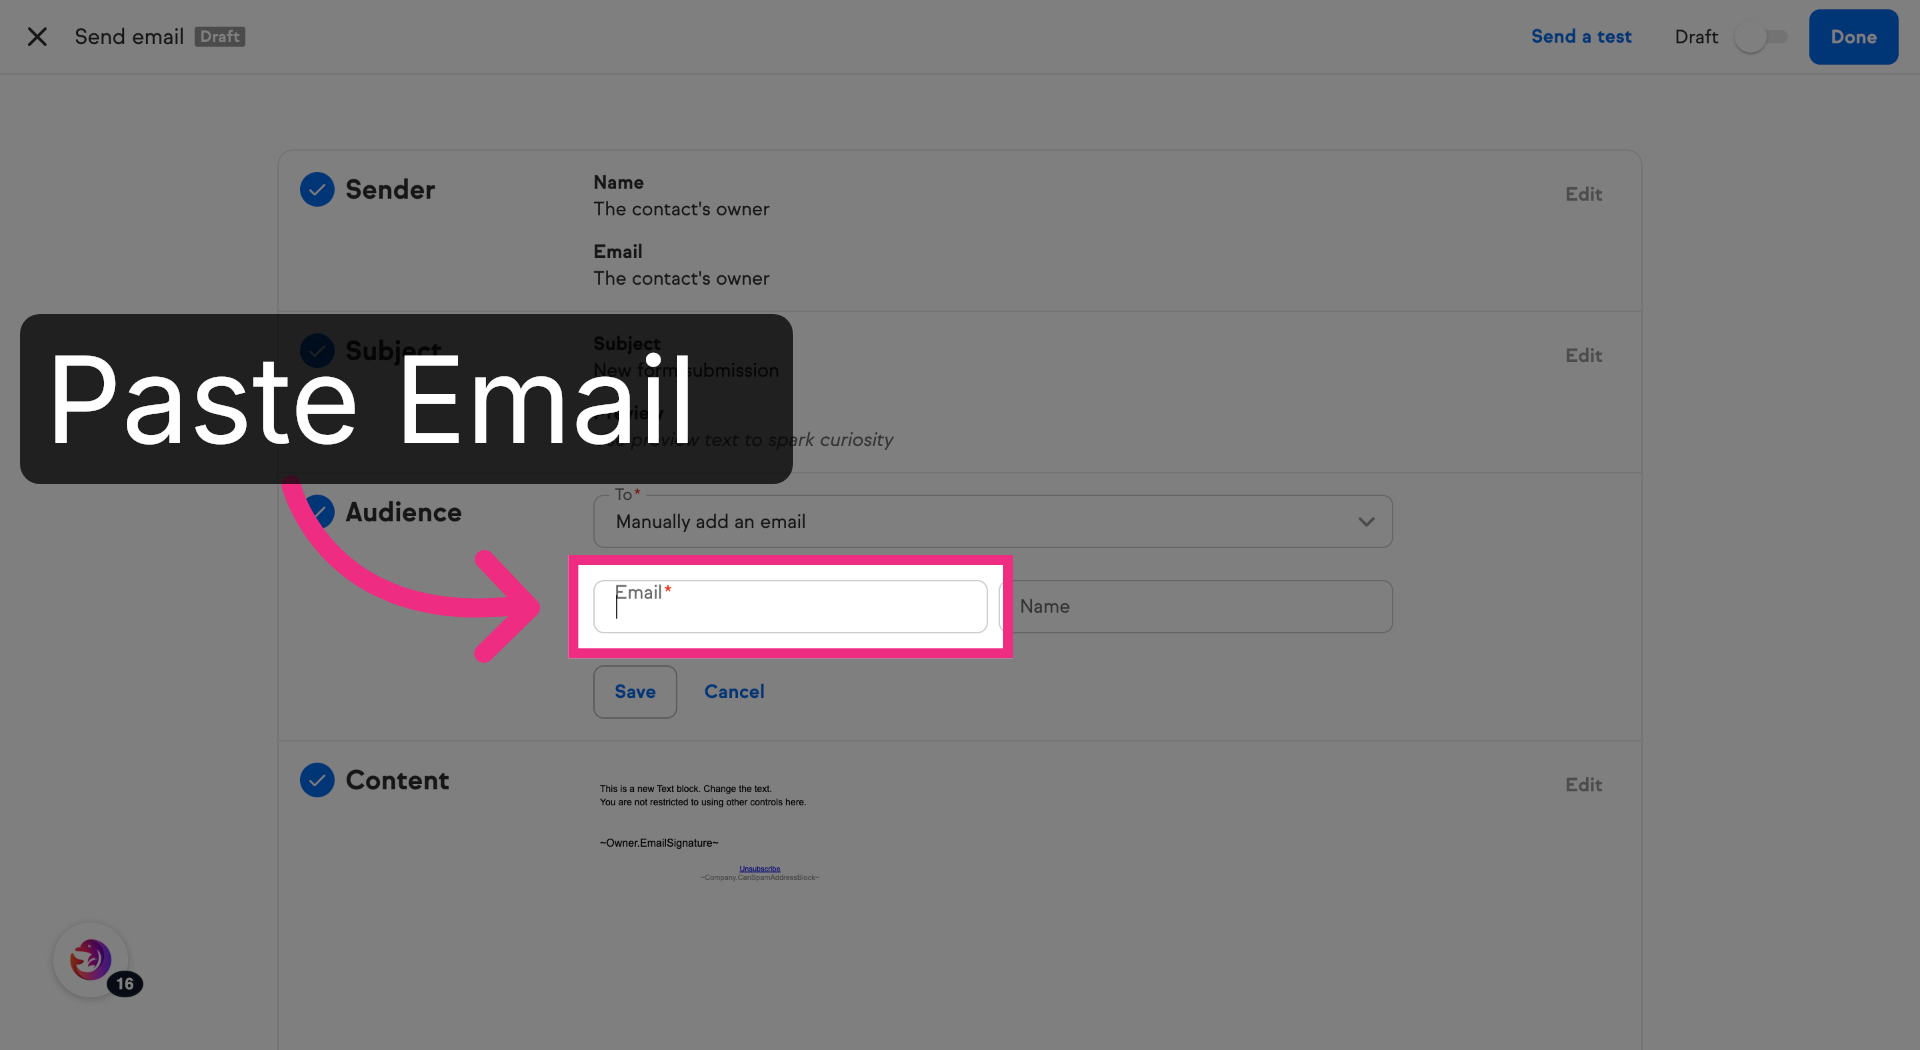
13. Select Email Option
Choose the Email field, and fill in your email address to receive notifications from Dash Dolphin.
14. Enter Notification Email
Save your changes.

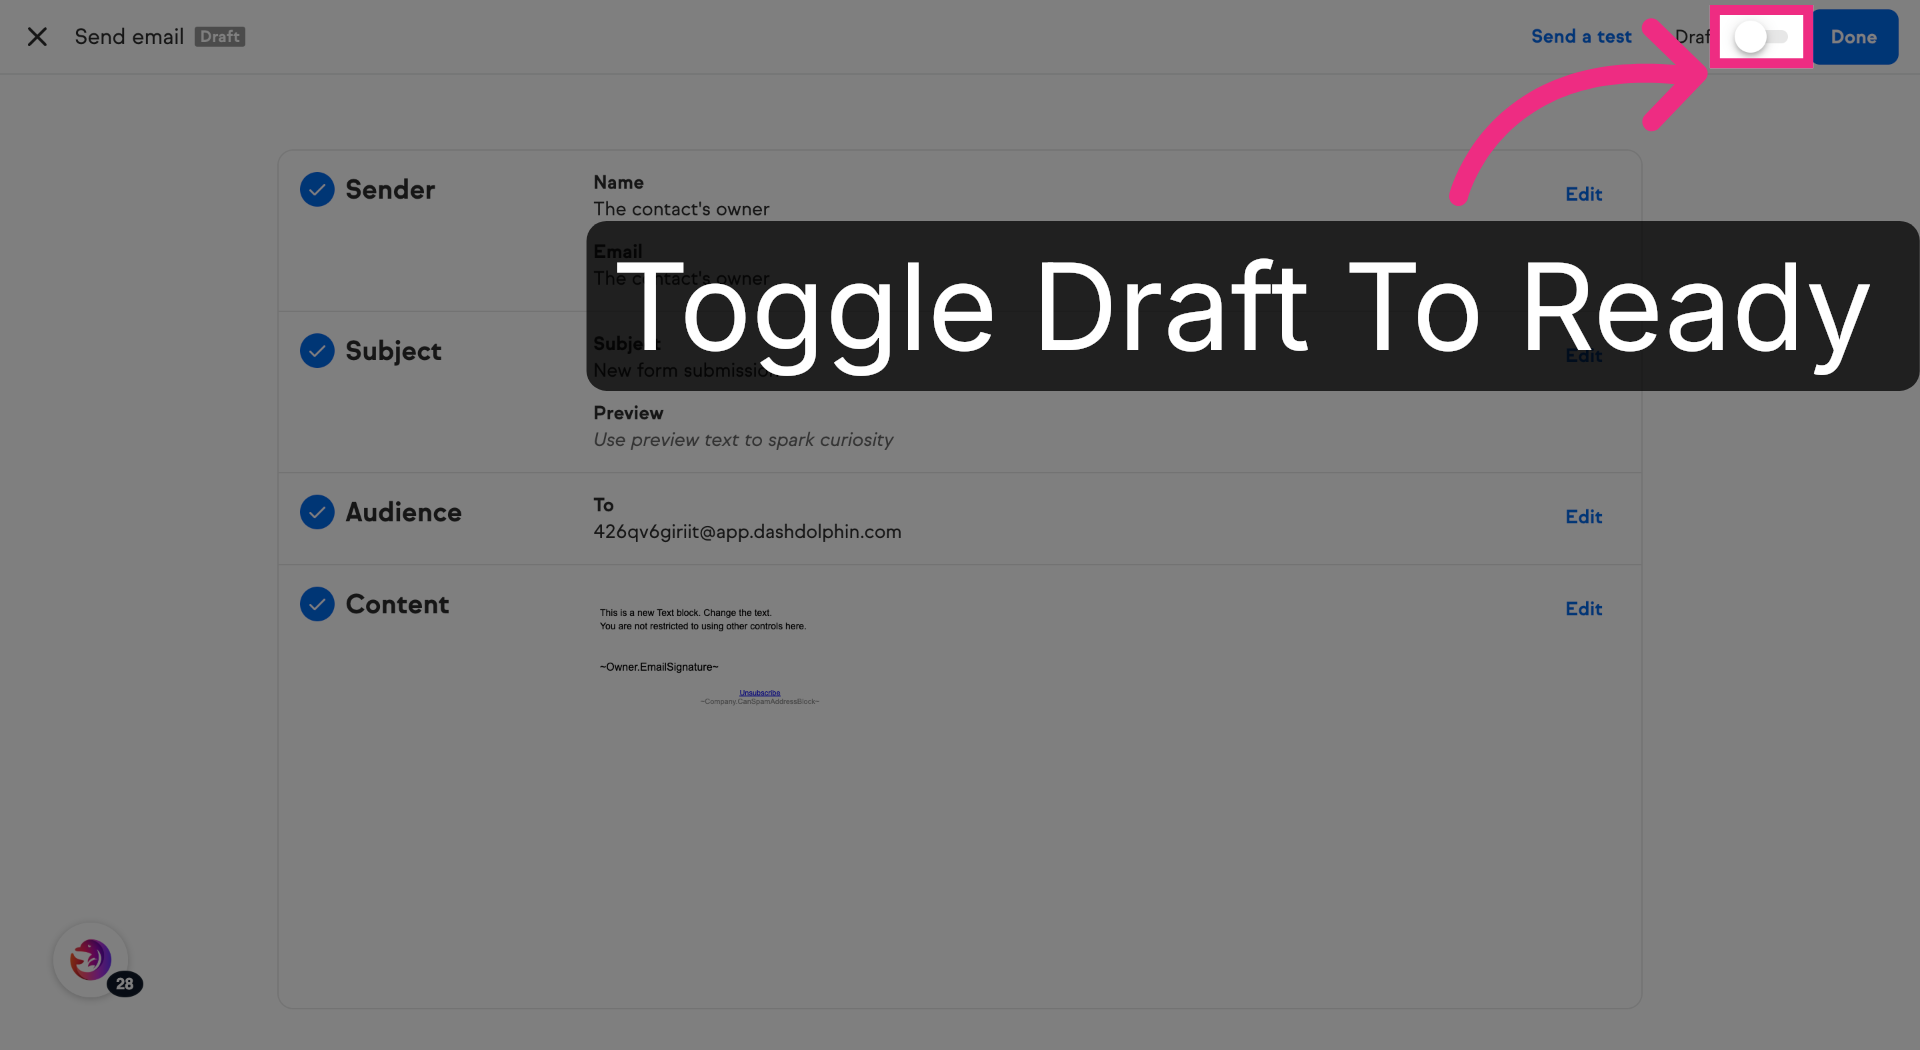
15. Mark Send Email as Ready
Toggle the Send email from Draft to Ready.
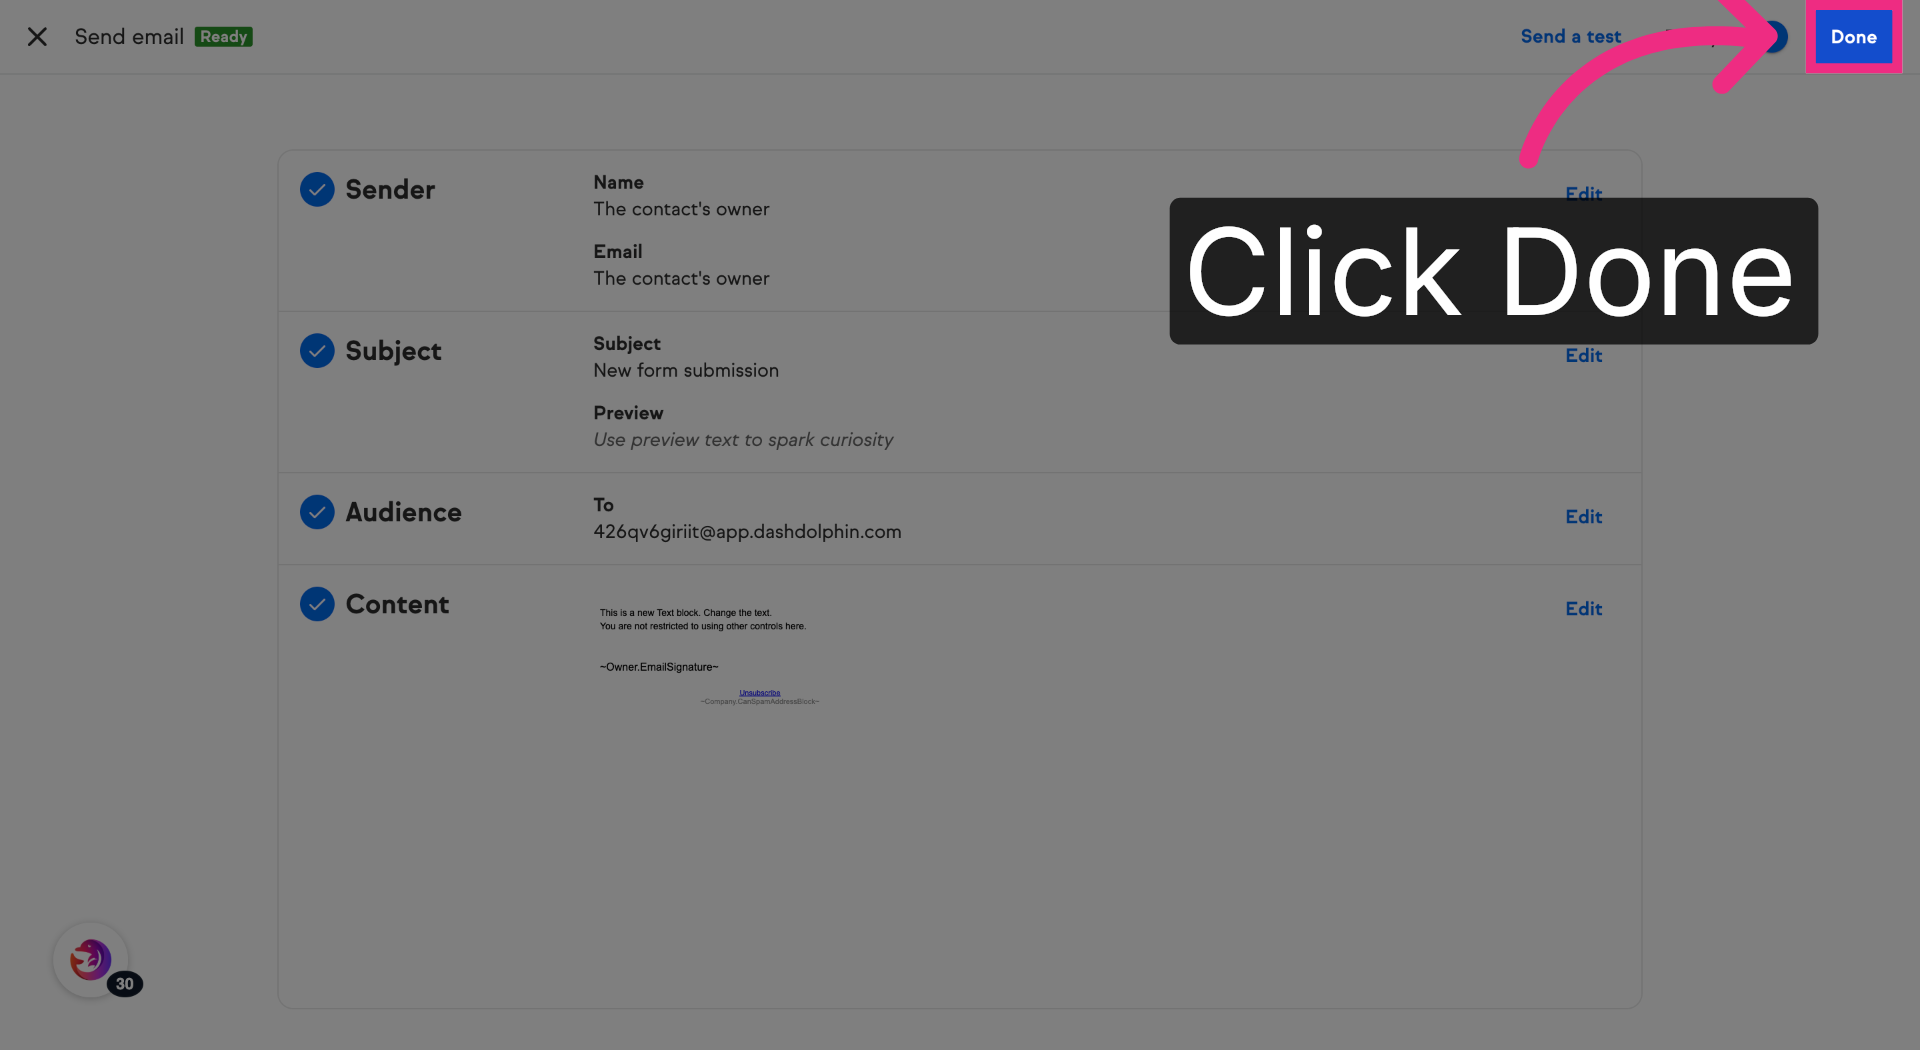
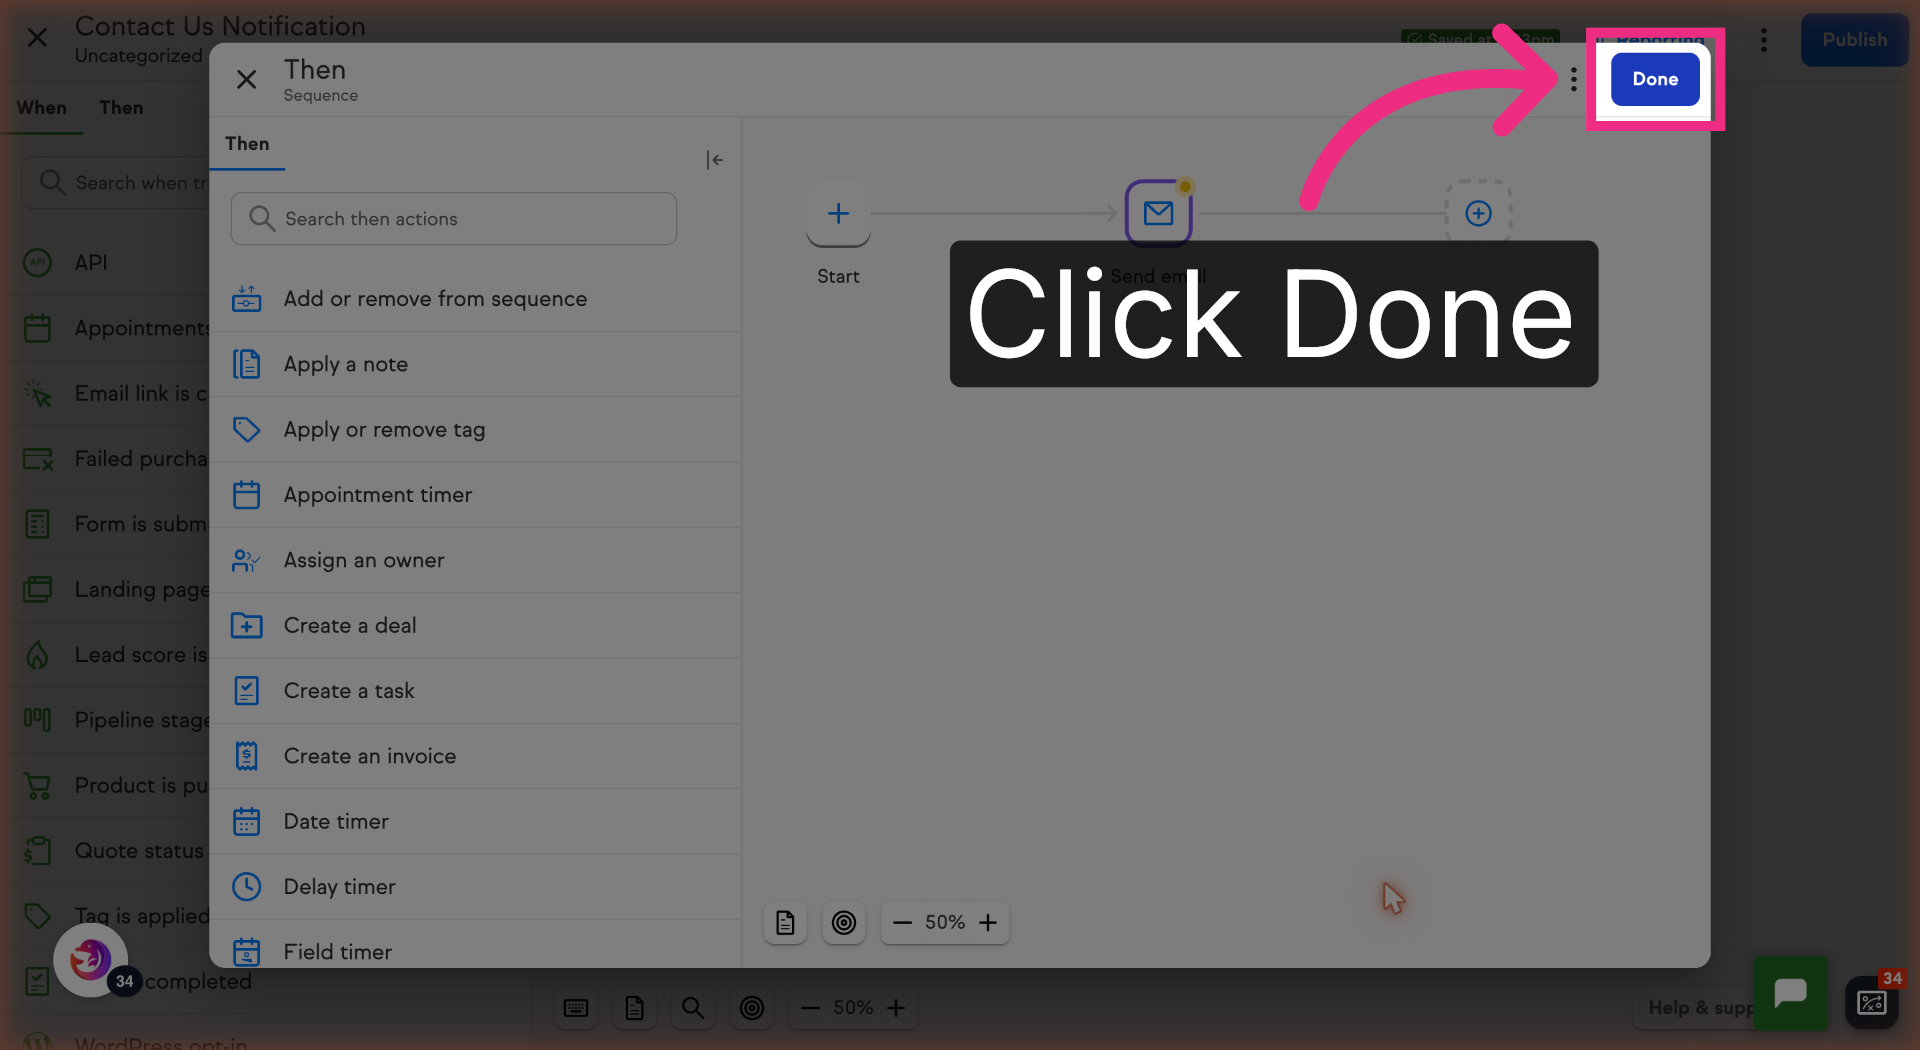
16. Complete Email Editing
Click Done to finish editing the email content.
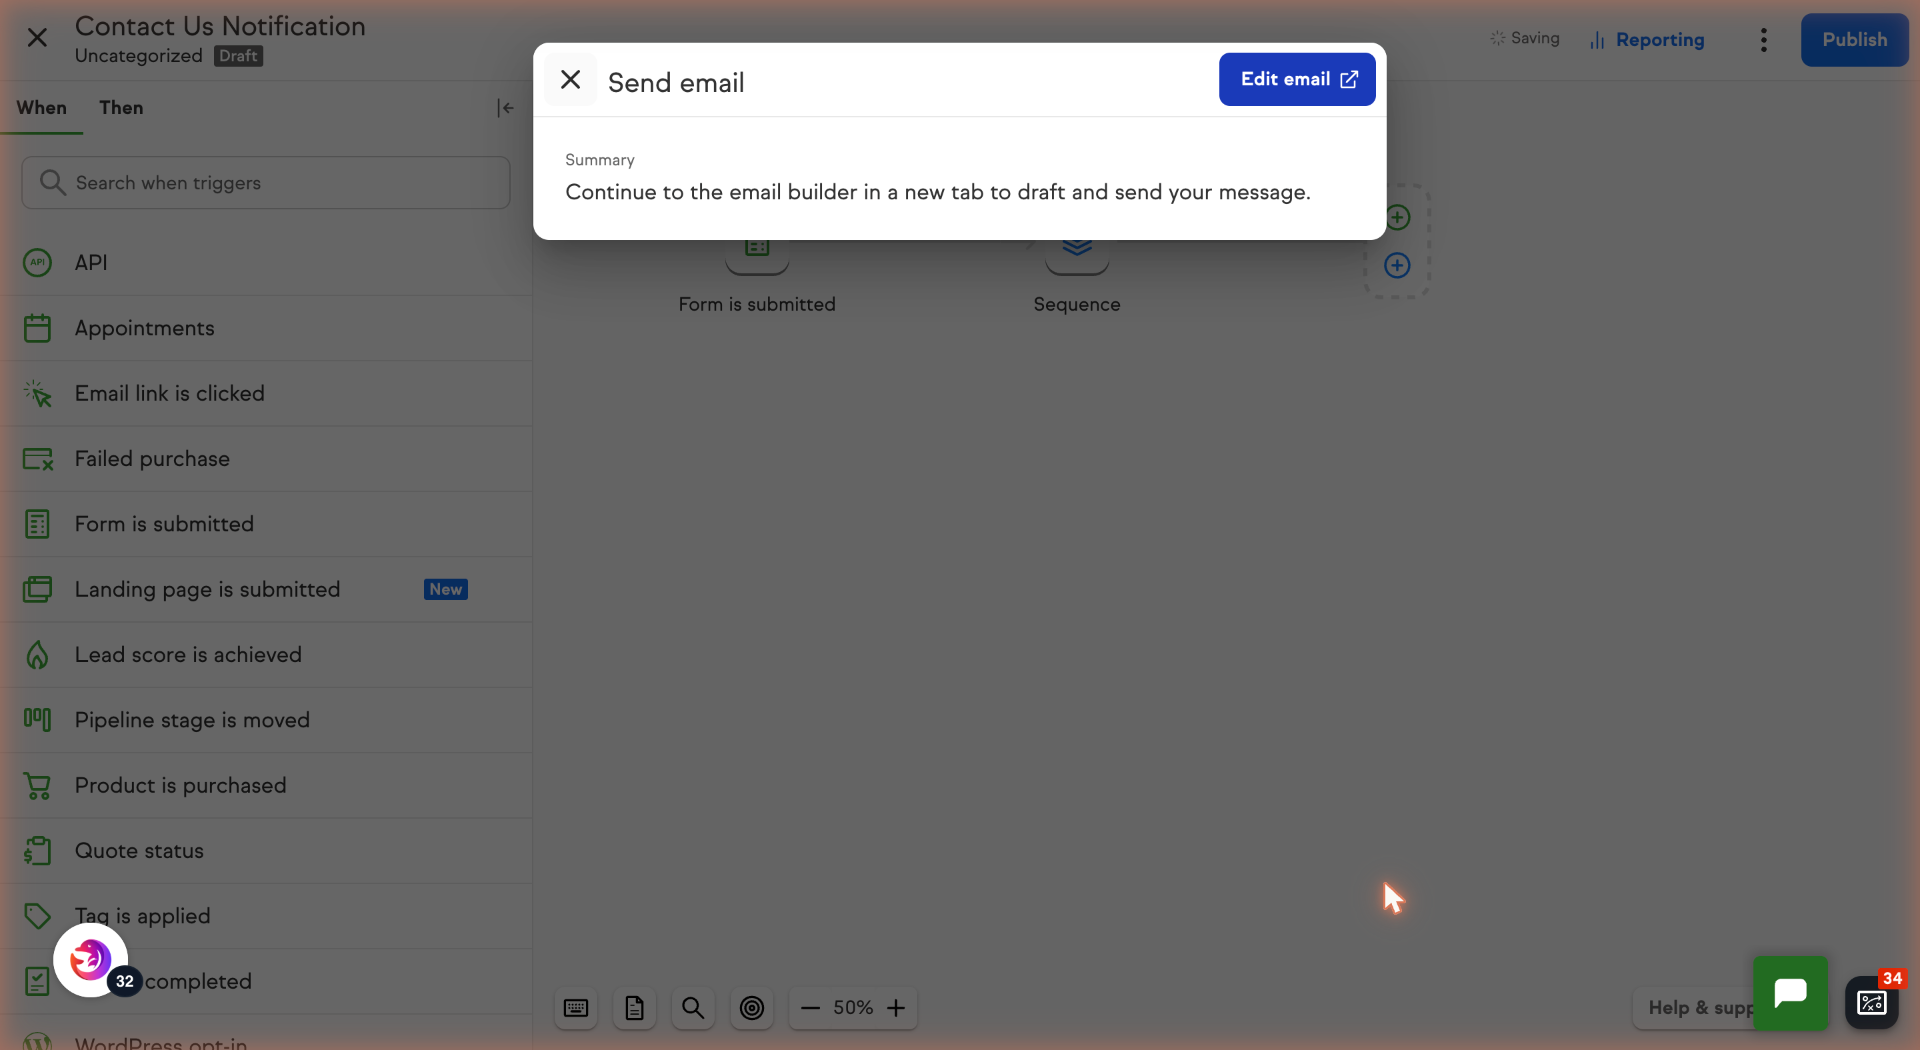
17. Return To Keap Automation Builder
Switch back to Keap's automation builder to continue your workflow setup.
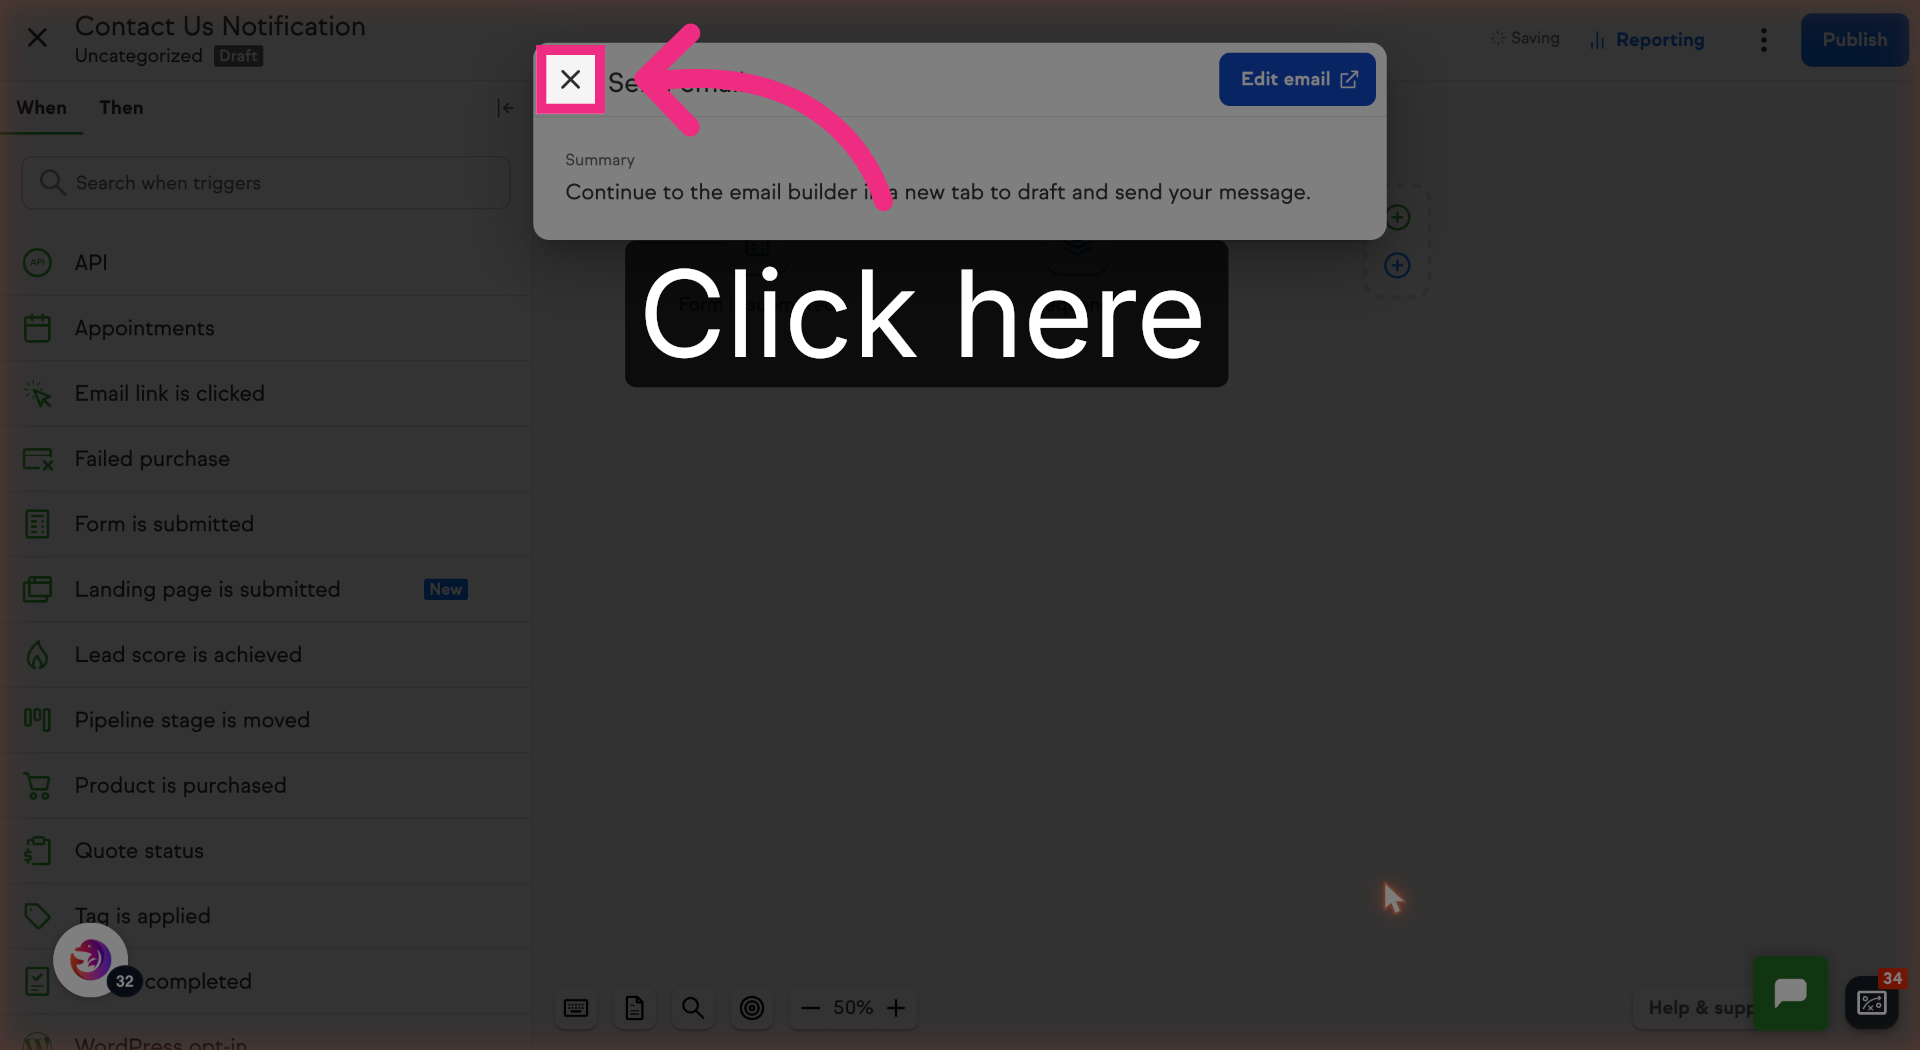
18. Continue Automation Builder Interaction
Click here to proceed within the automation builder.
19. Finalize Automation Step
Click Done to complete the current step in your automation.
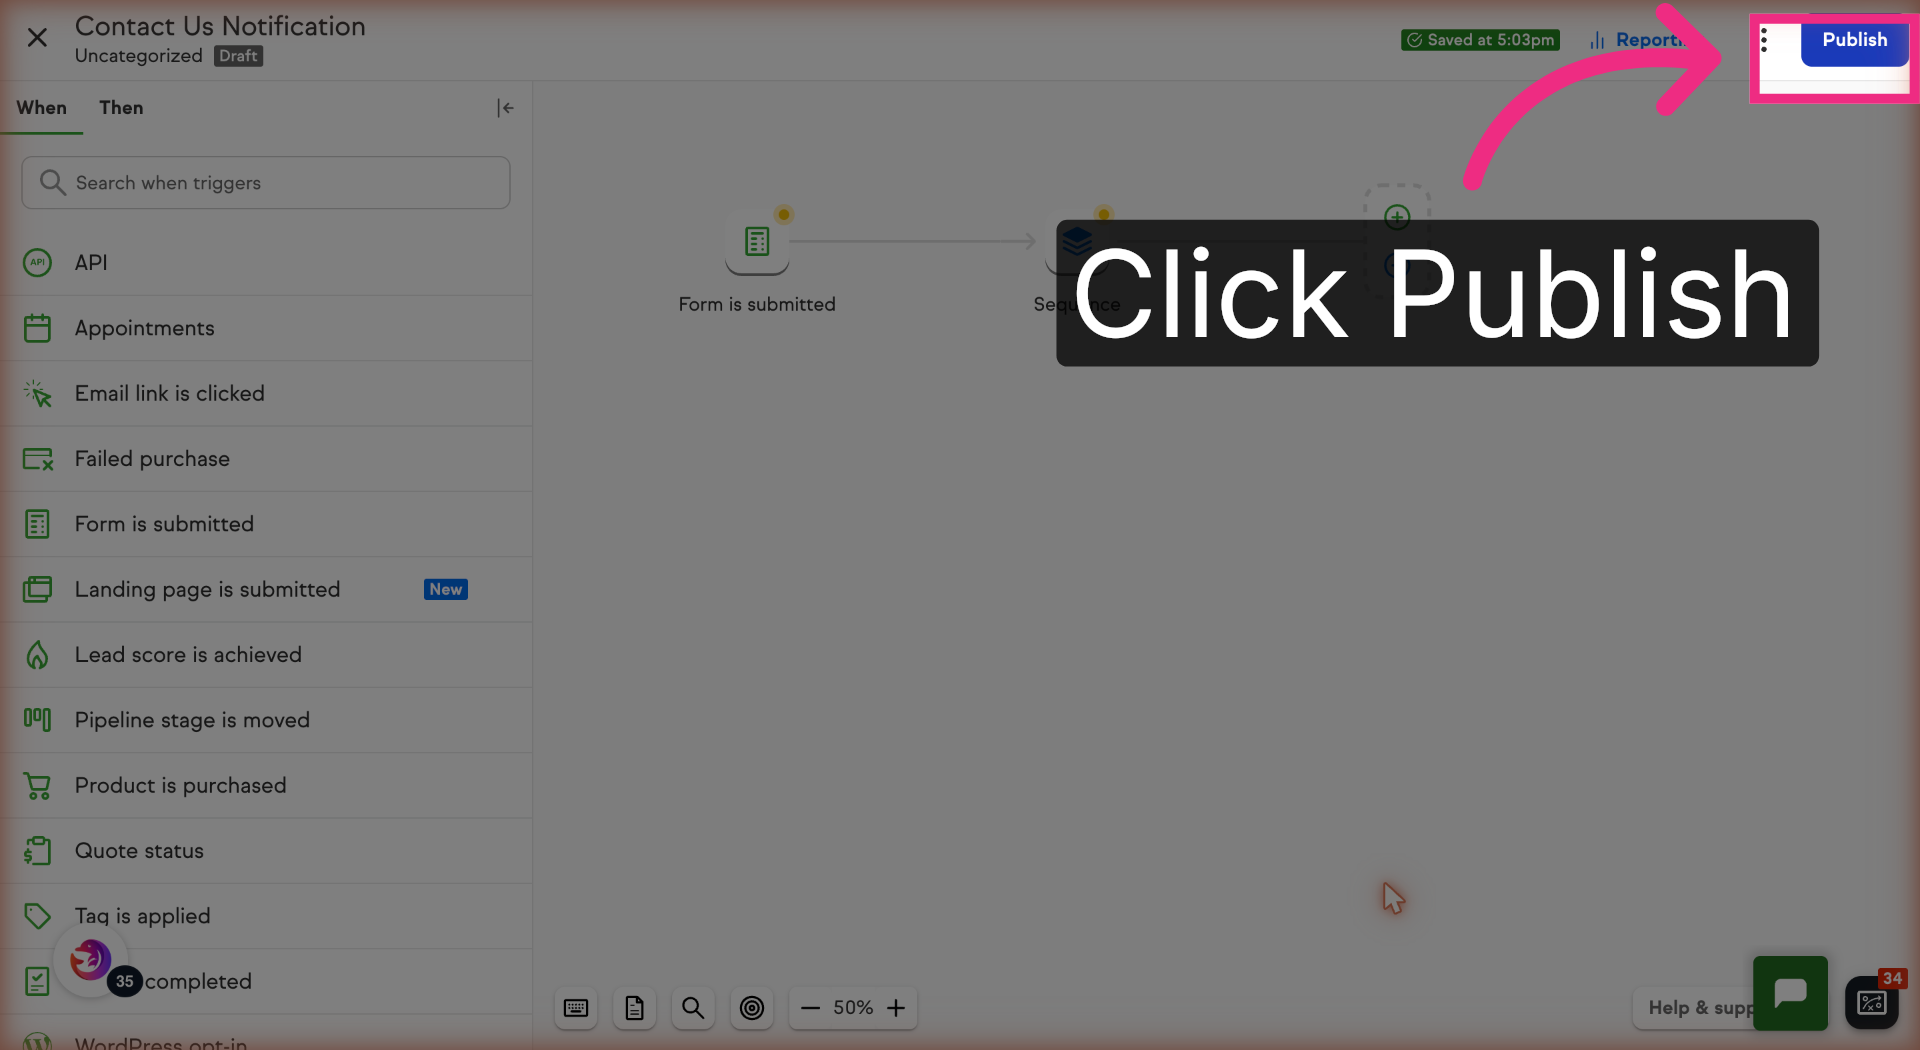
20. Publish Updated Automation
Click Publish to update and activate your automation workflow.
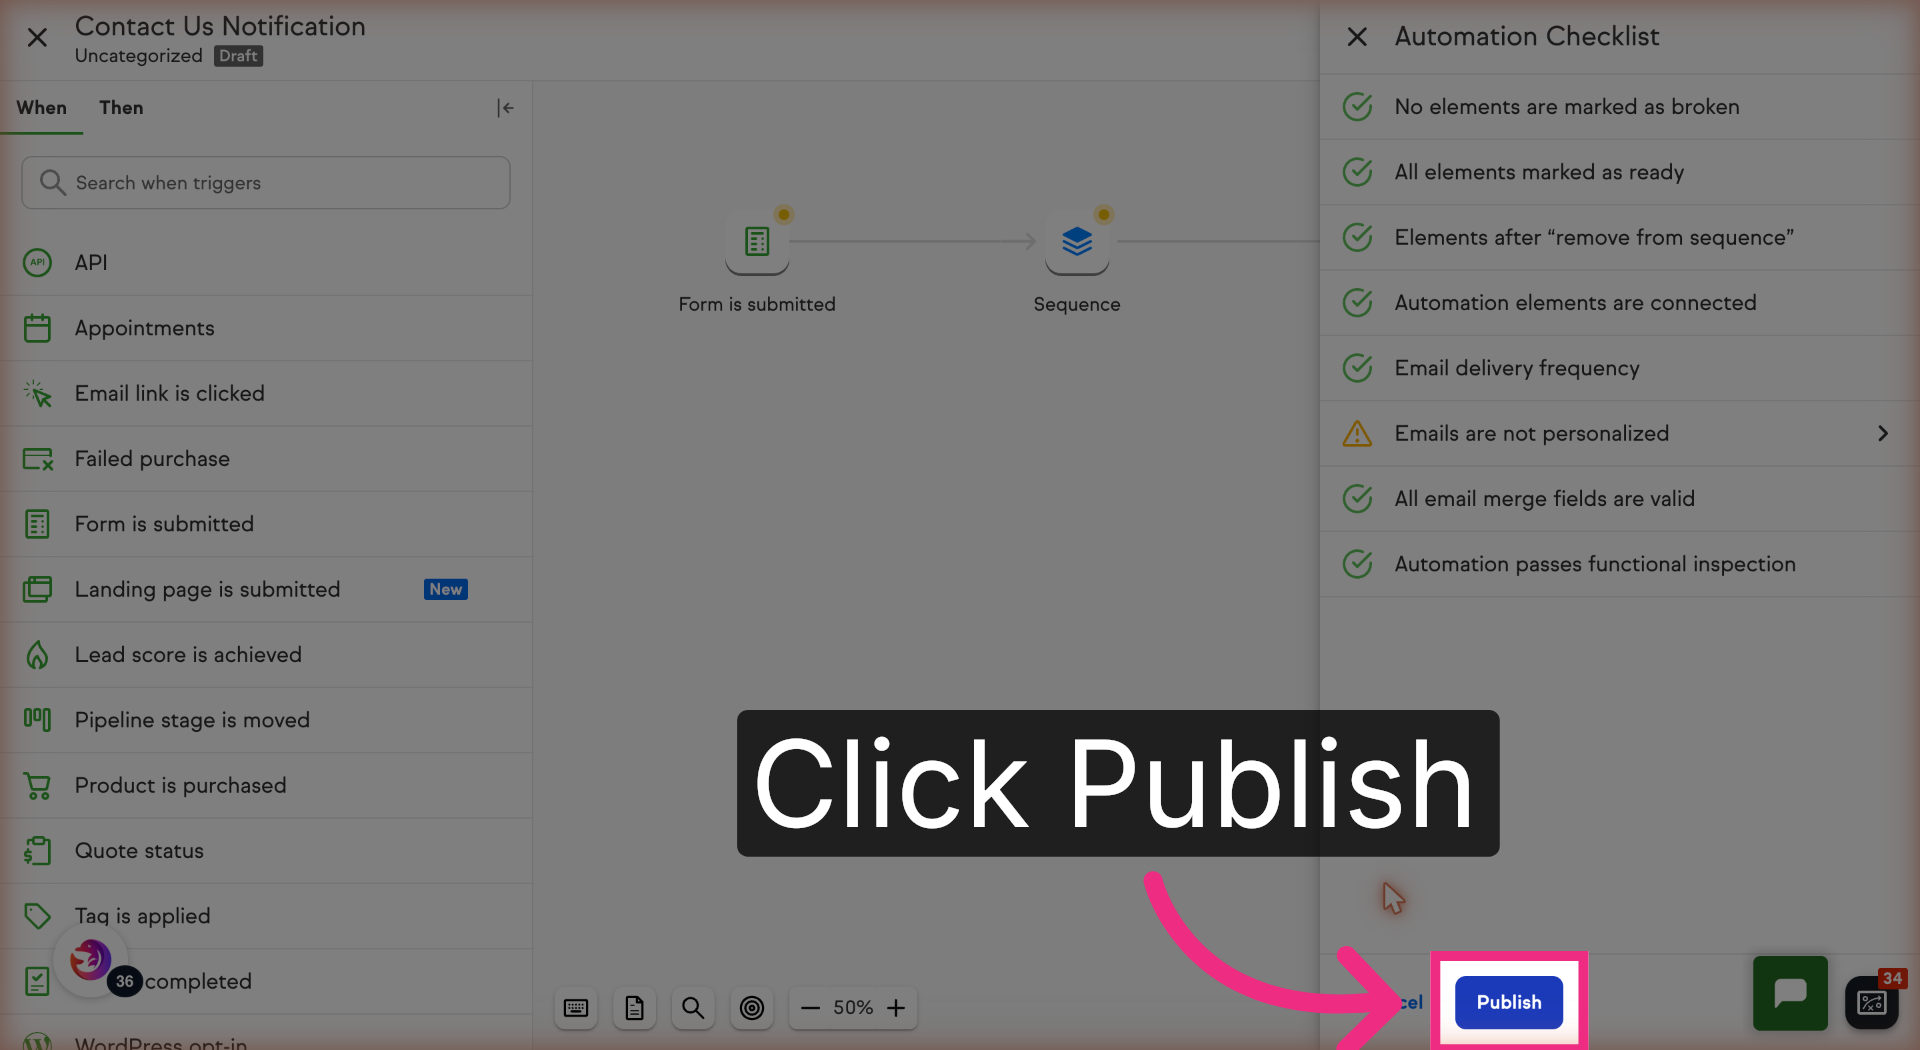
21. Confirm Automation Publication
Click Publish again to confirm and finalize the automation publishing process.
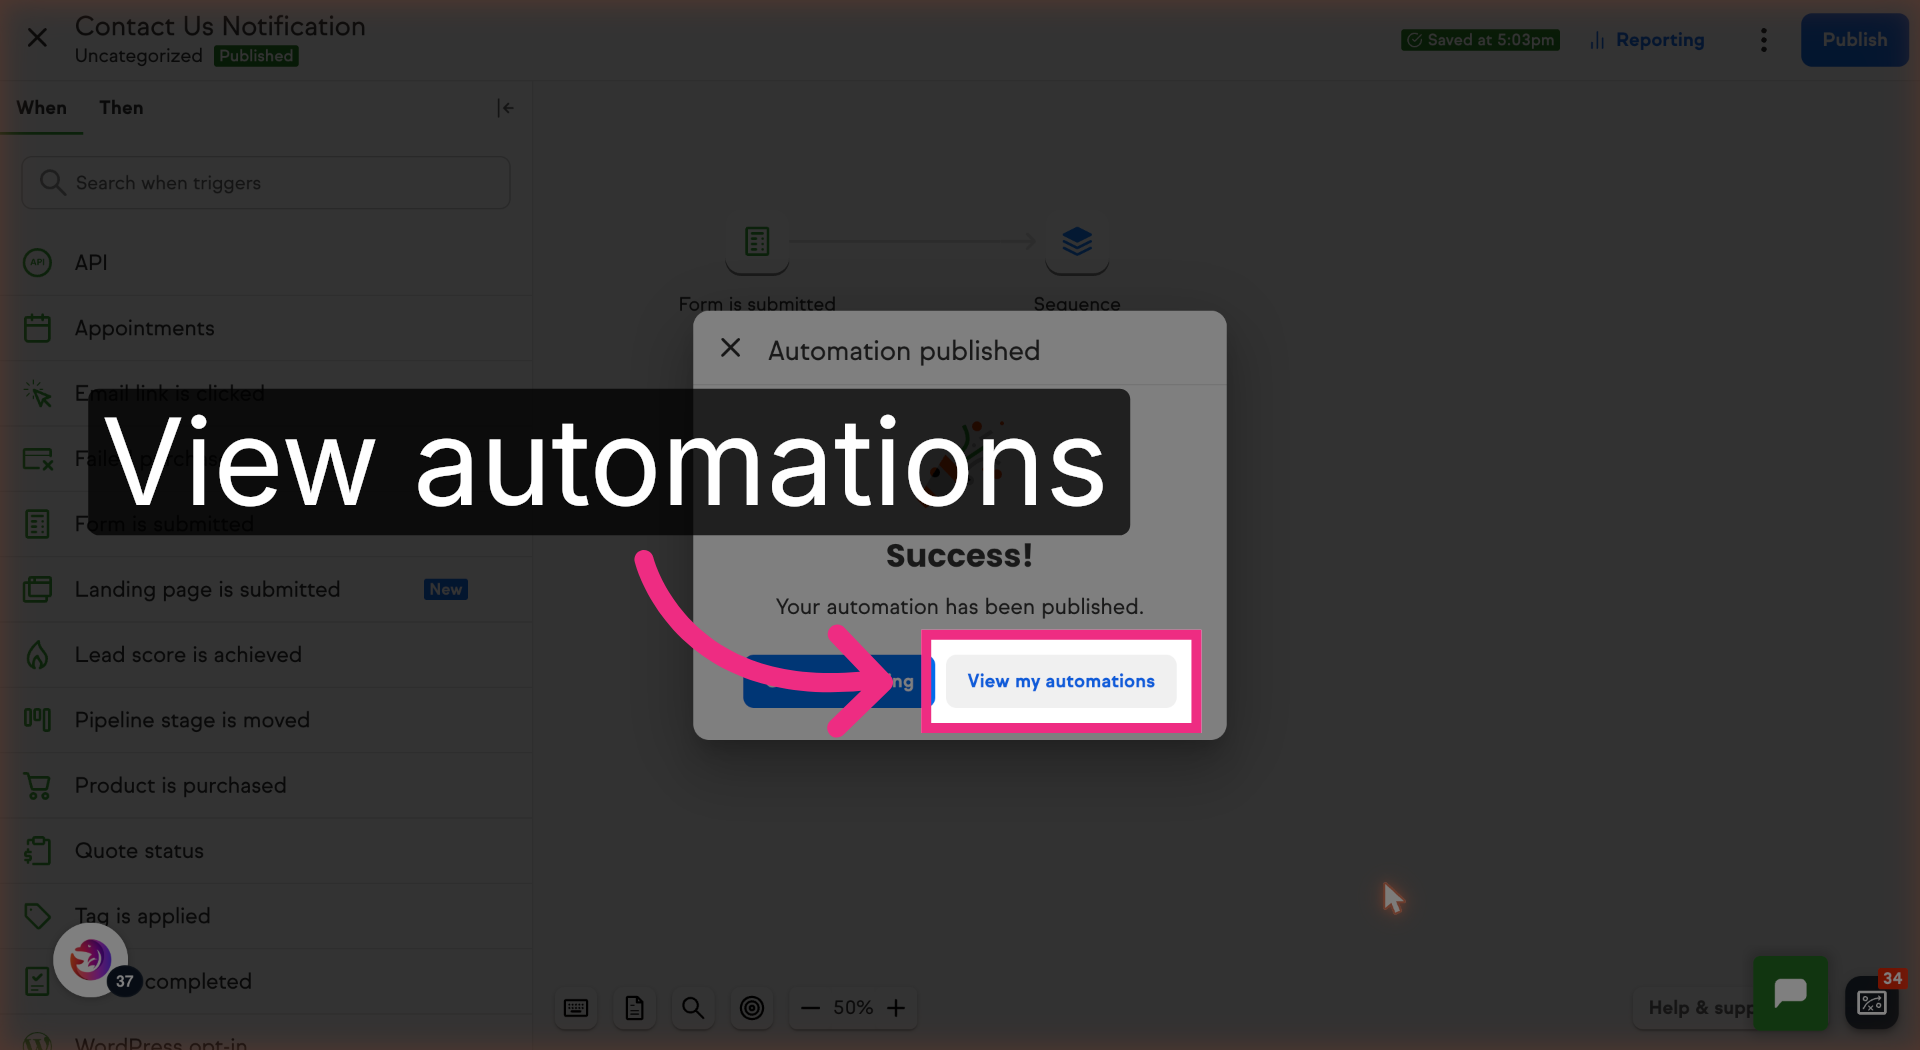
22. View Automation List
Click View my automations to see all your configured workflows.
You have successfully configured your Keap form to send notification emails to Dash Dolphin, enabling instant SMS alerts. Test the setup by submitting a form and verifying the SMS notification delivery.