Once you've created your connection and received your notification email address, you can configure your Leadpages form to forward submissions to Dash Dolphin.
1. Introduction
We'll walk through opening your Leadpages page, finding the form's integration settings, and pasting your Dash Dolphin notification email.
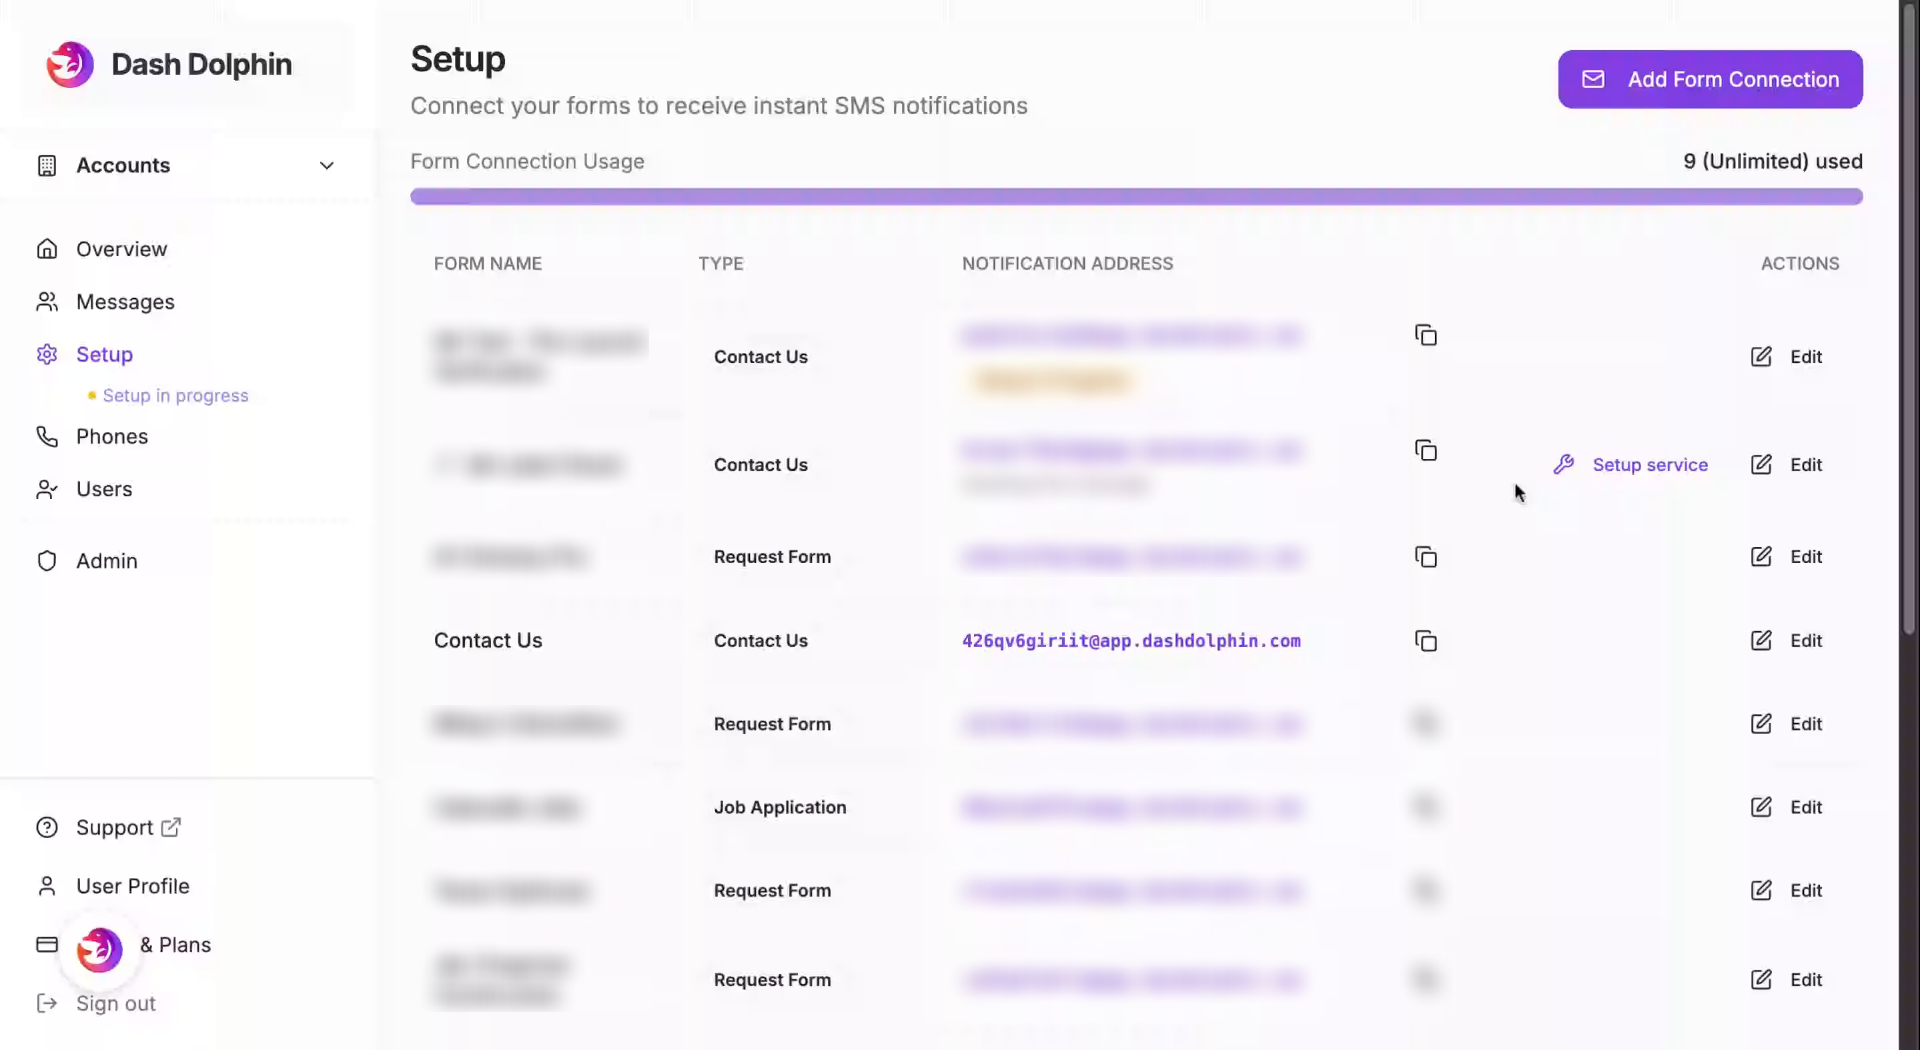
2. Access Dash Dolphin Dashboard
Copy the notification email address from your Dash Dolphin connection.

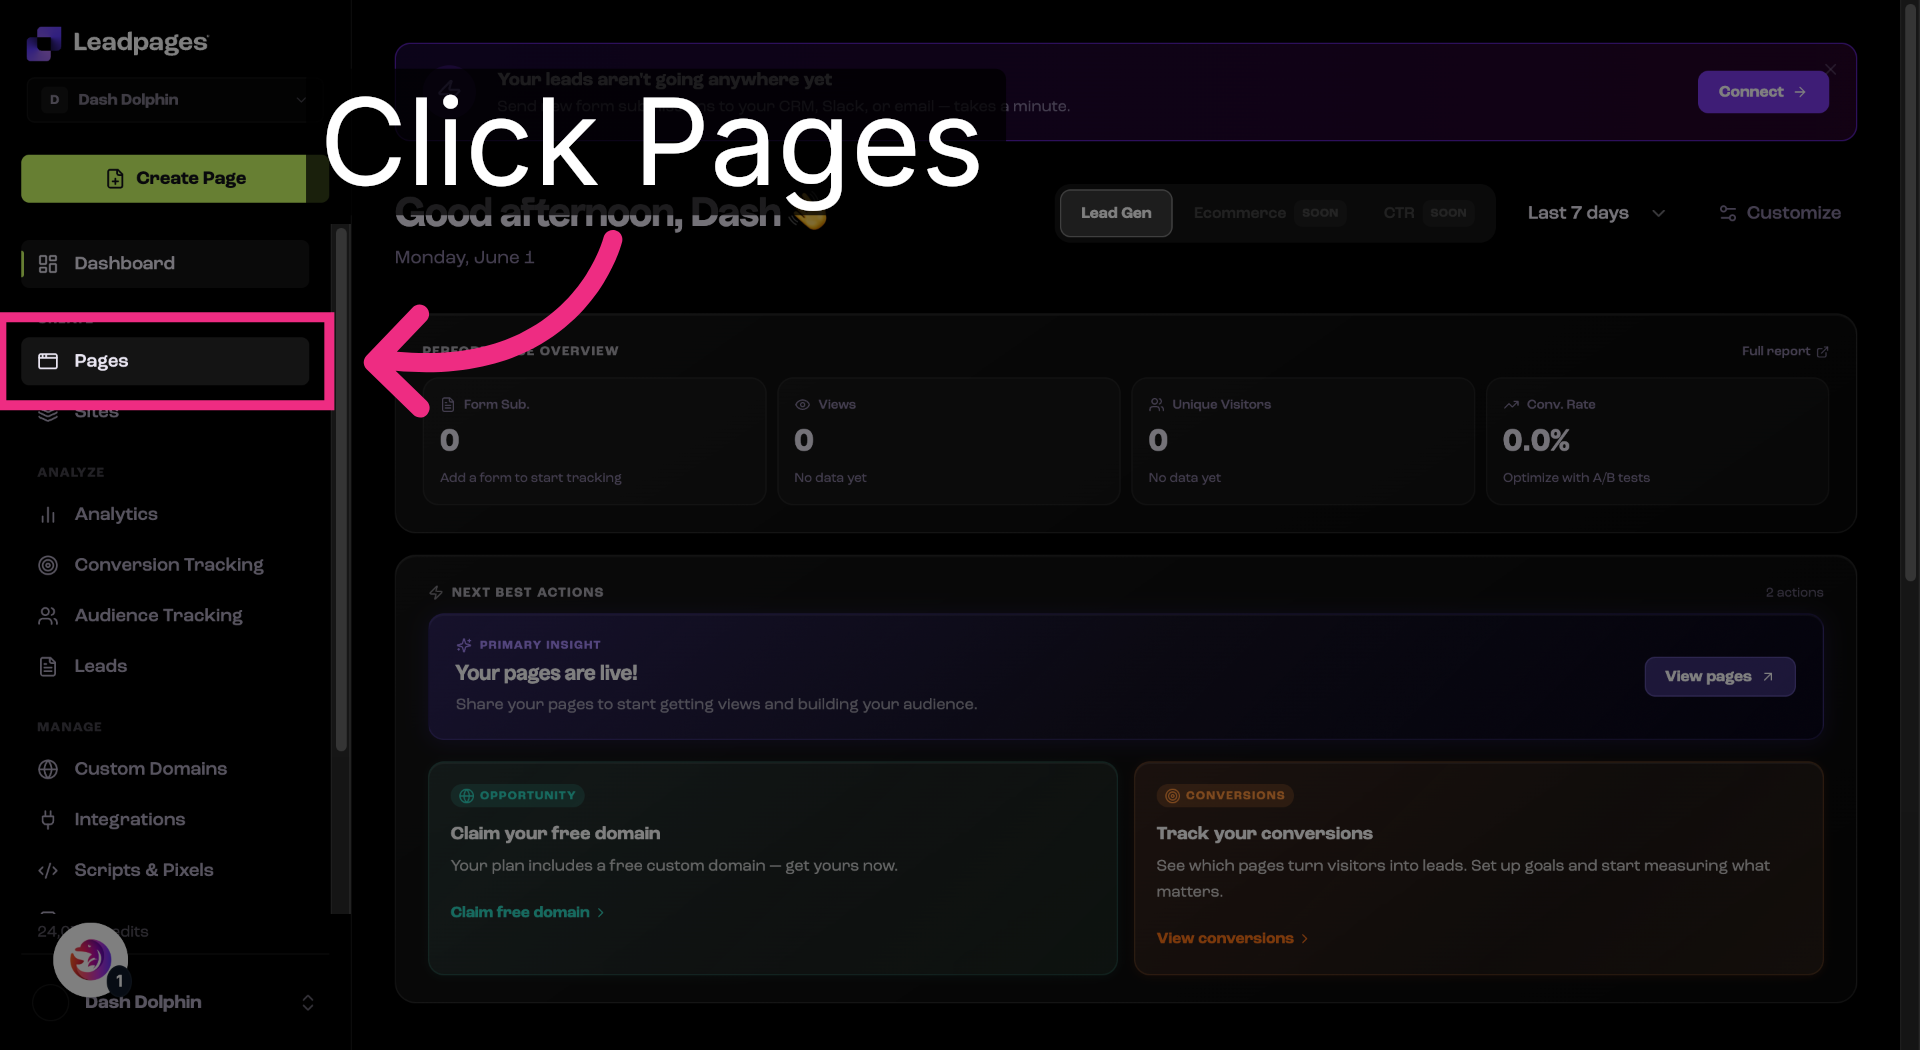
3. Switch To Leadpages Website
Open your Leadpages dashboard.

4. Open Pages Section
Open the Pages section.
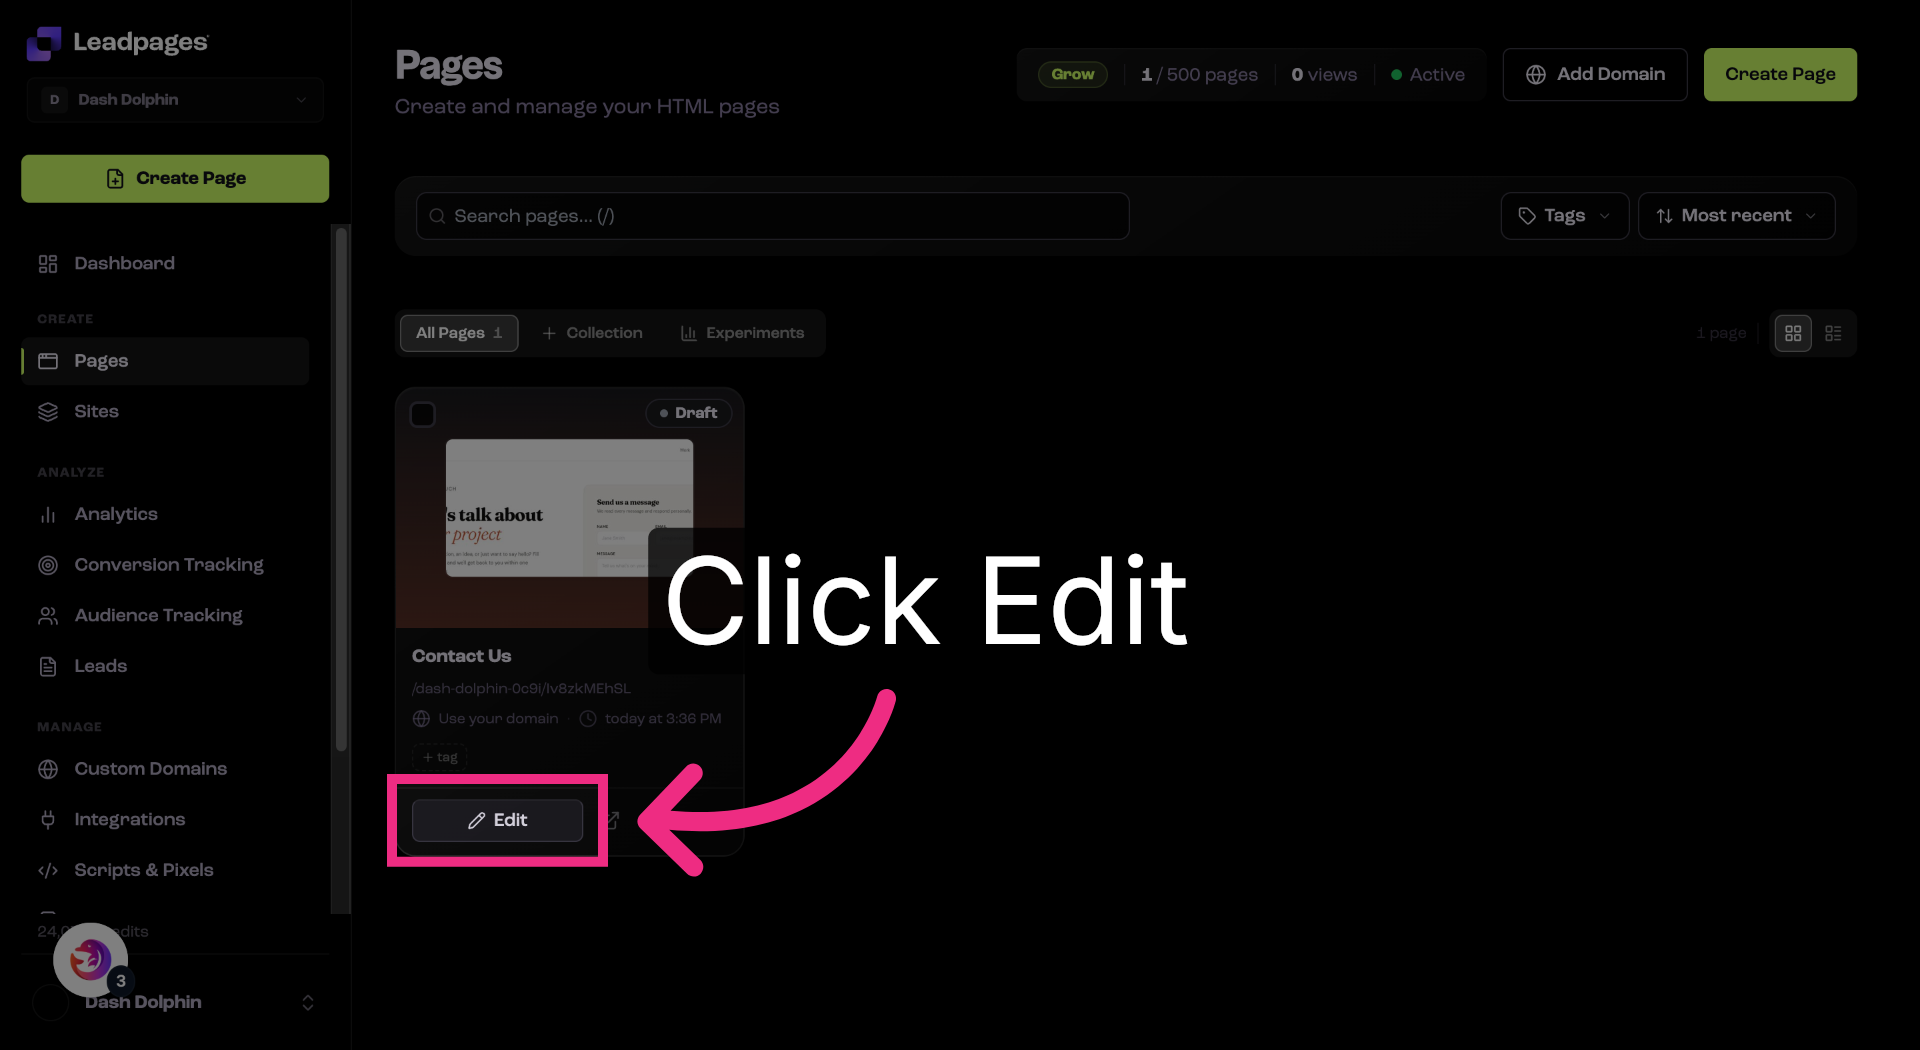
5. Edit Landing Page
Open the page that has your form.
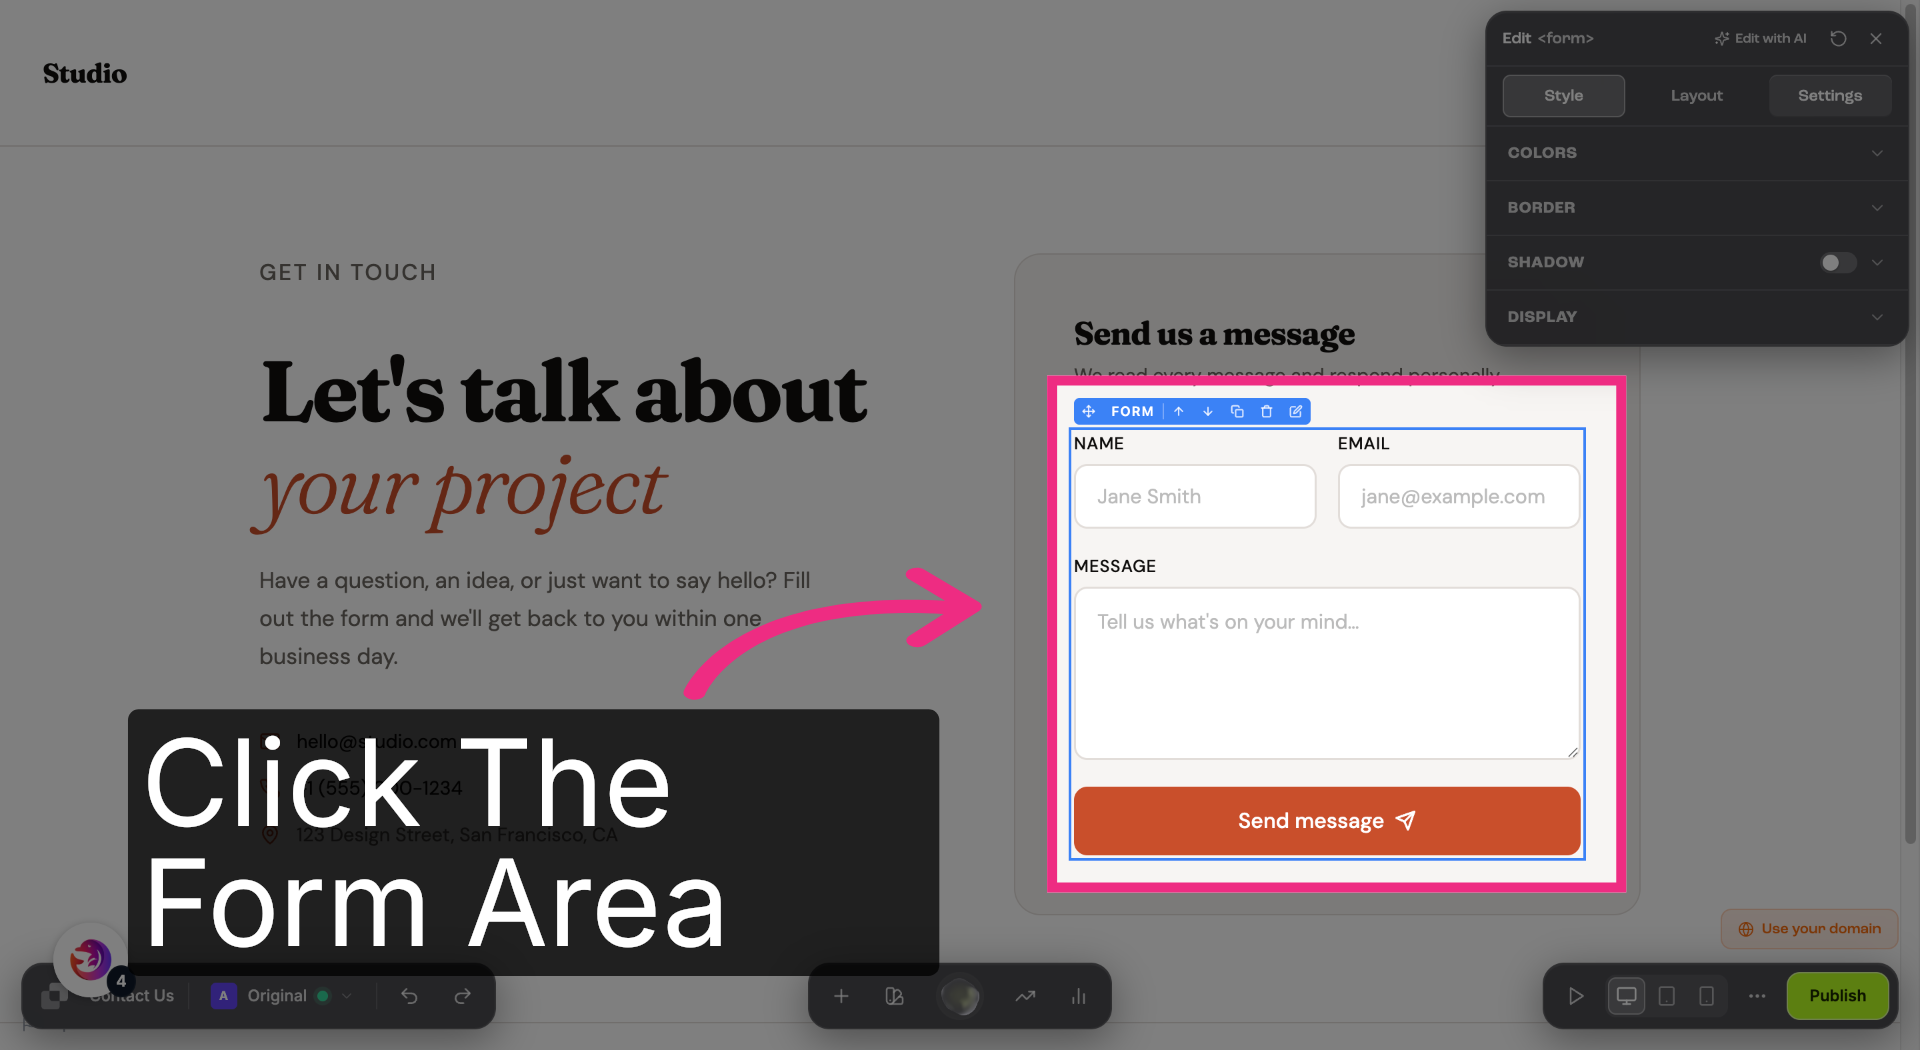
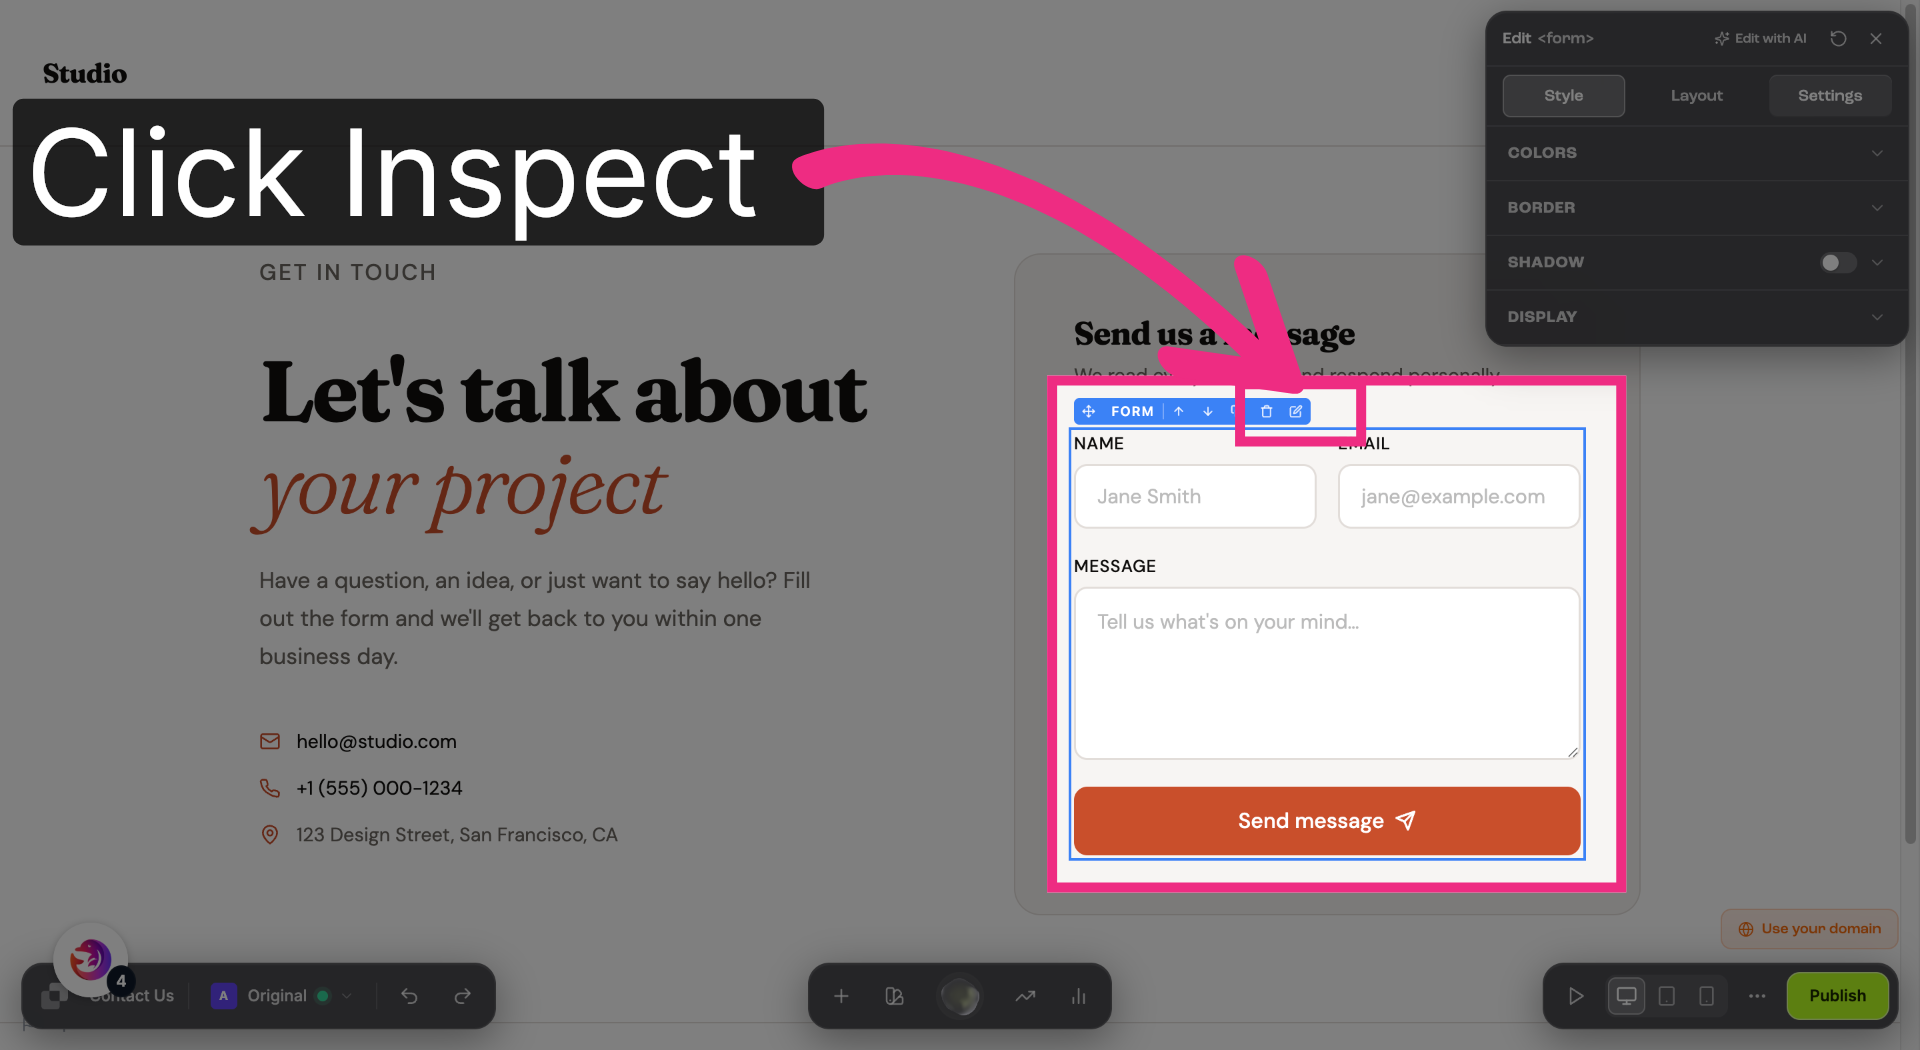
6. Access Page Settings
Select your form.
7. Access Page Settings
Open the form's settings panel.
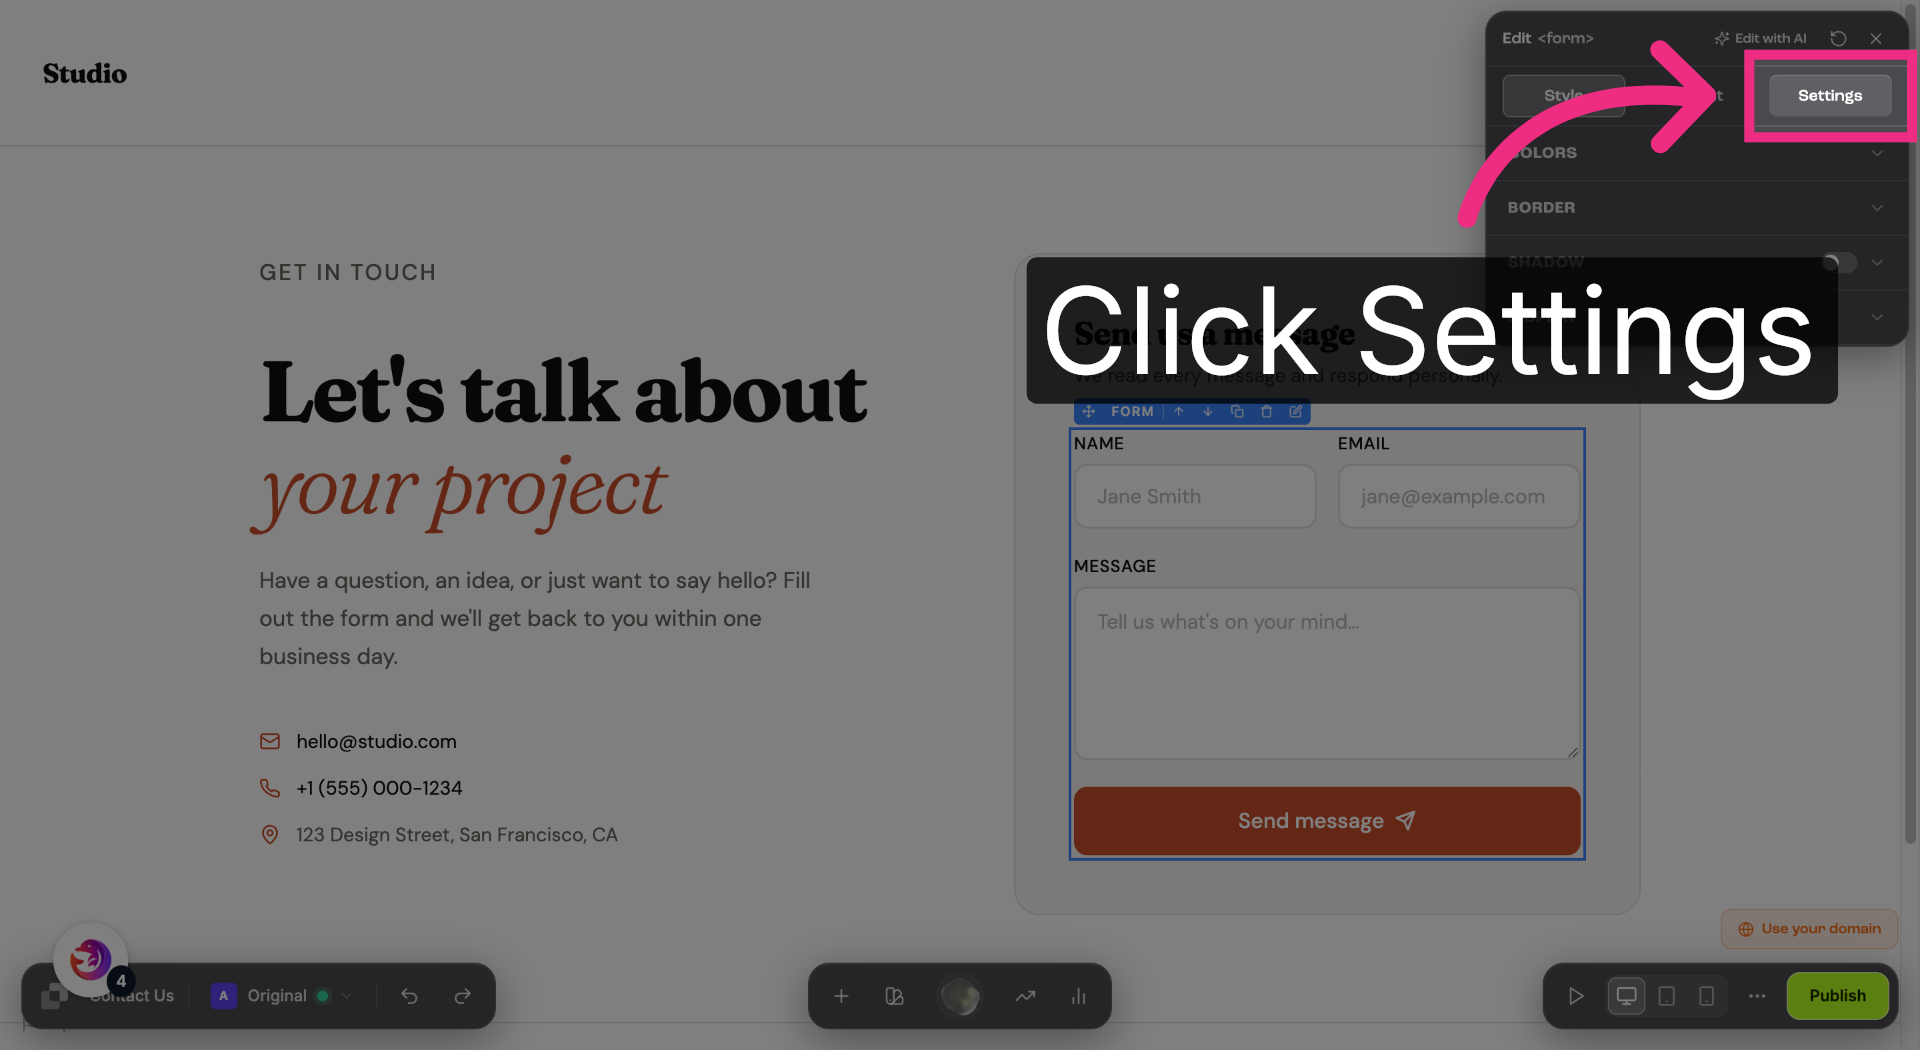
8. Access Page Settings
Switch to the Settings tab.
9. Open Integration Options
Expand the Integrations section.
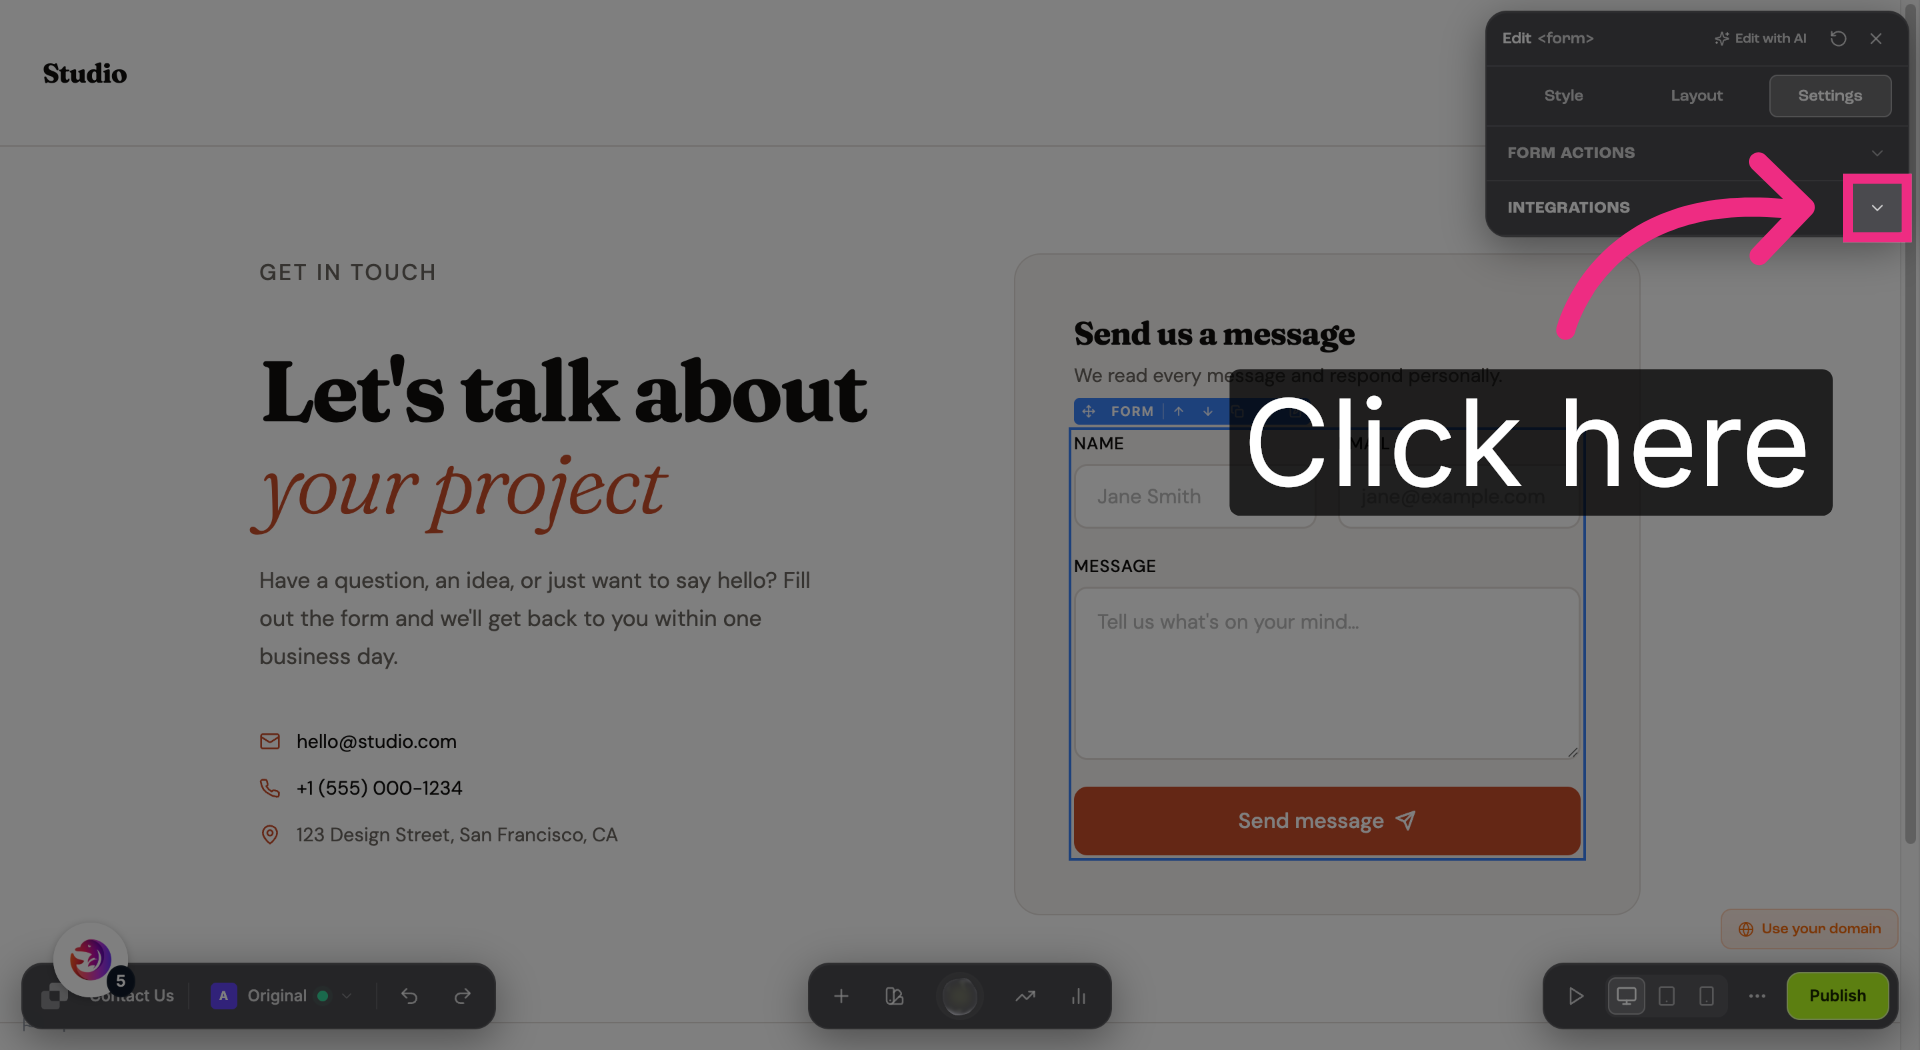
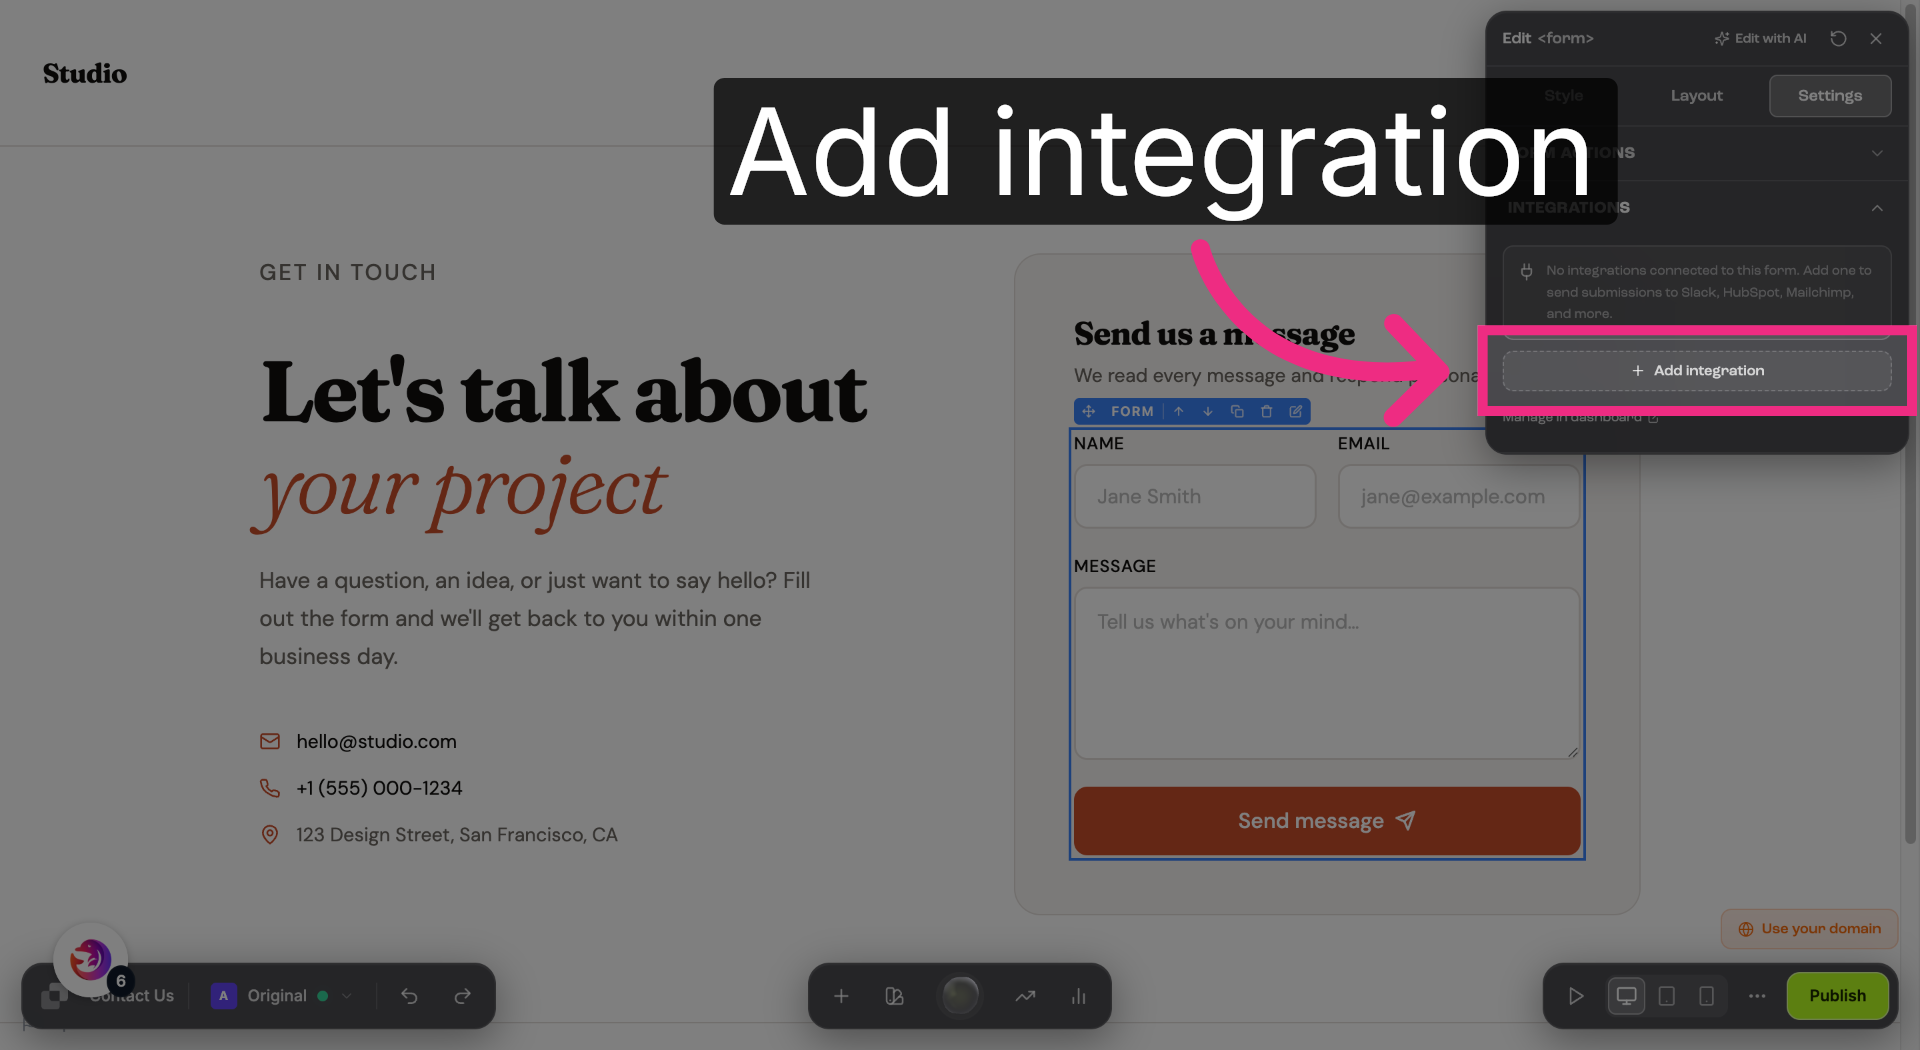
10. Add New Integration
Add a new integration.
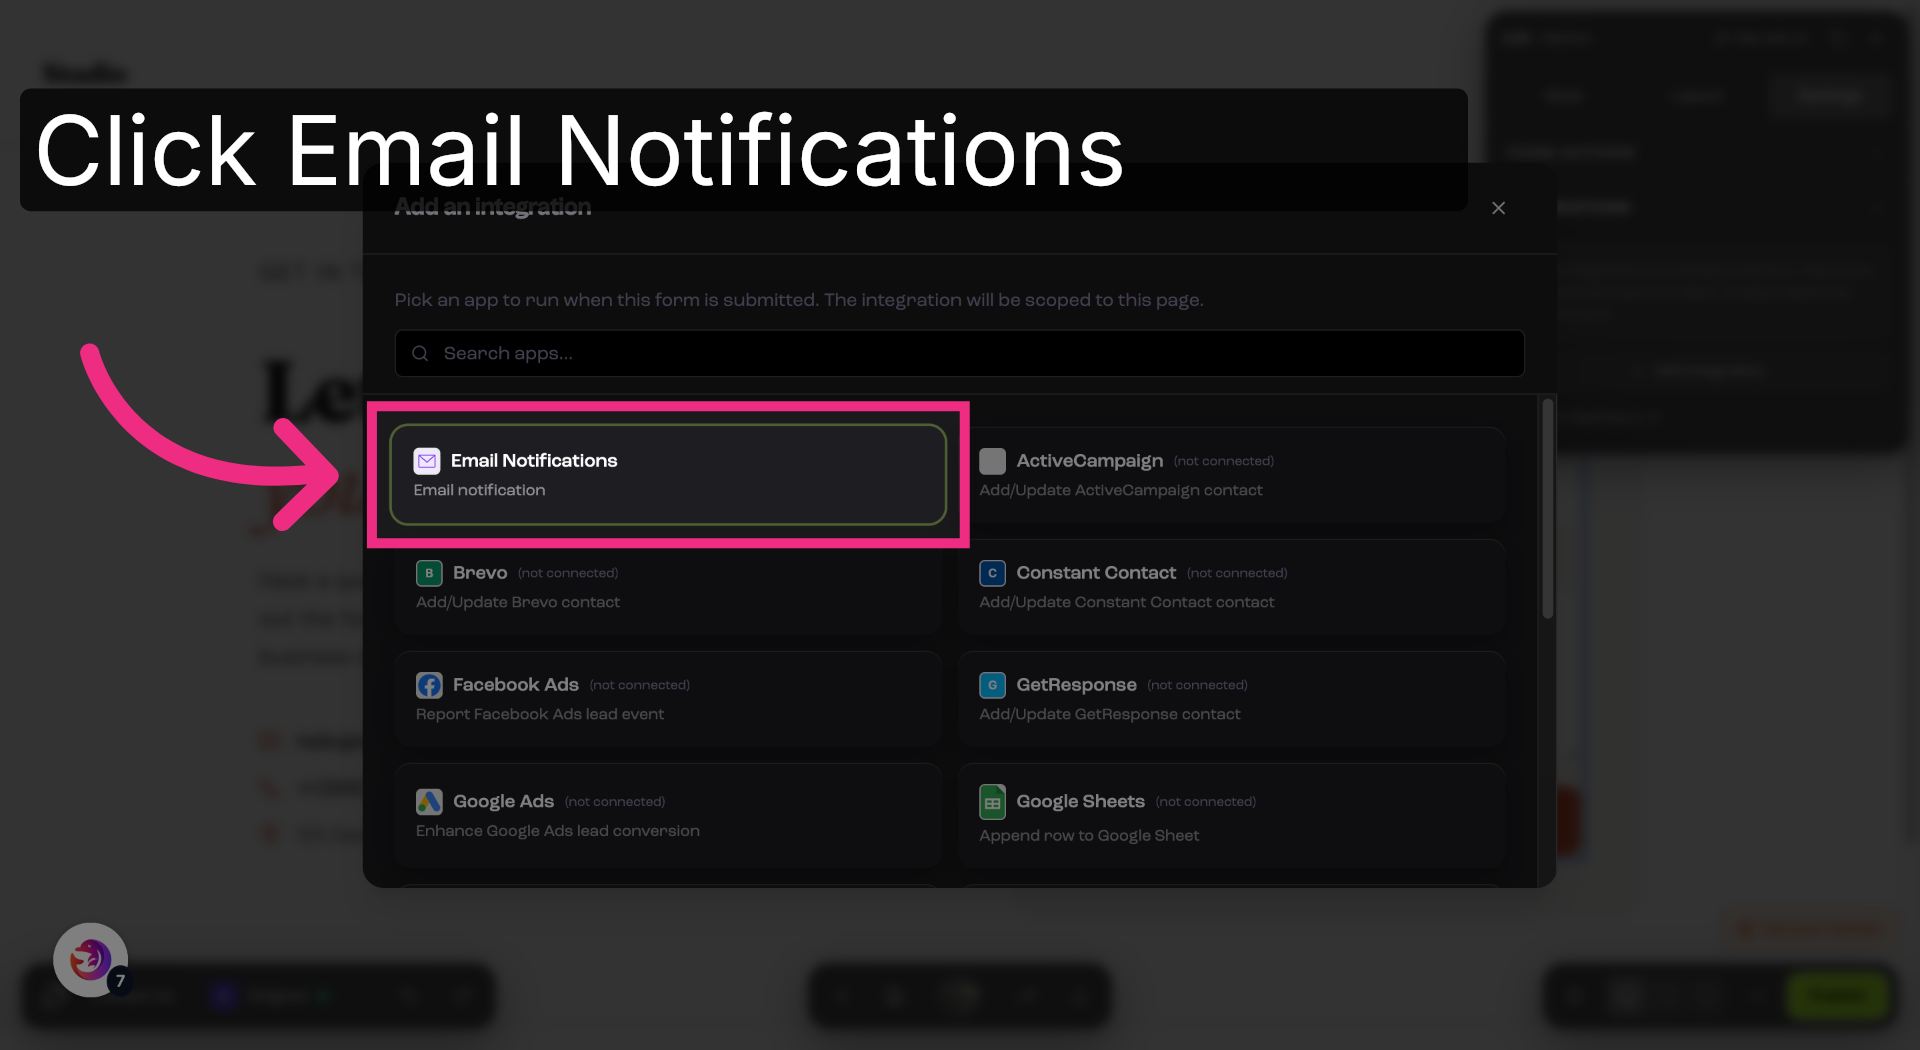
11. Select Email Notifications
Choose Email Notifications.
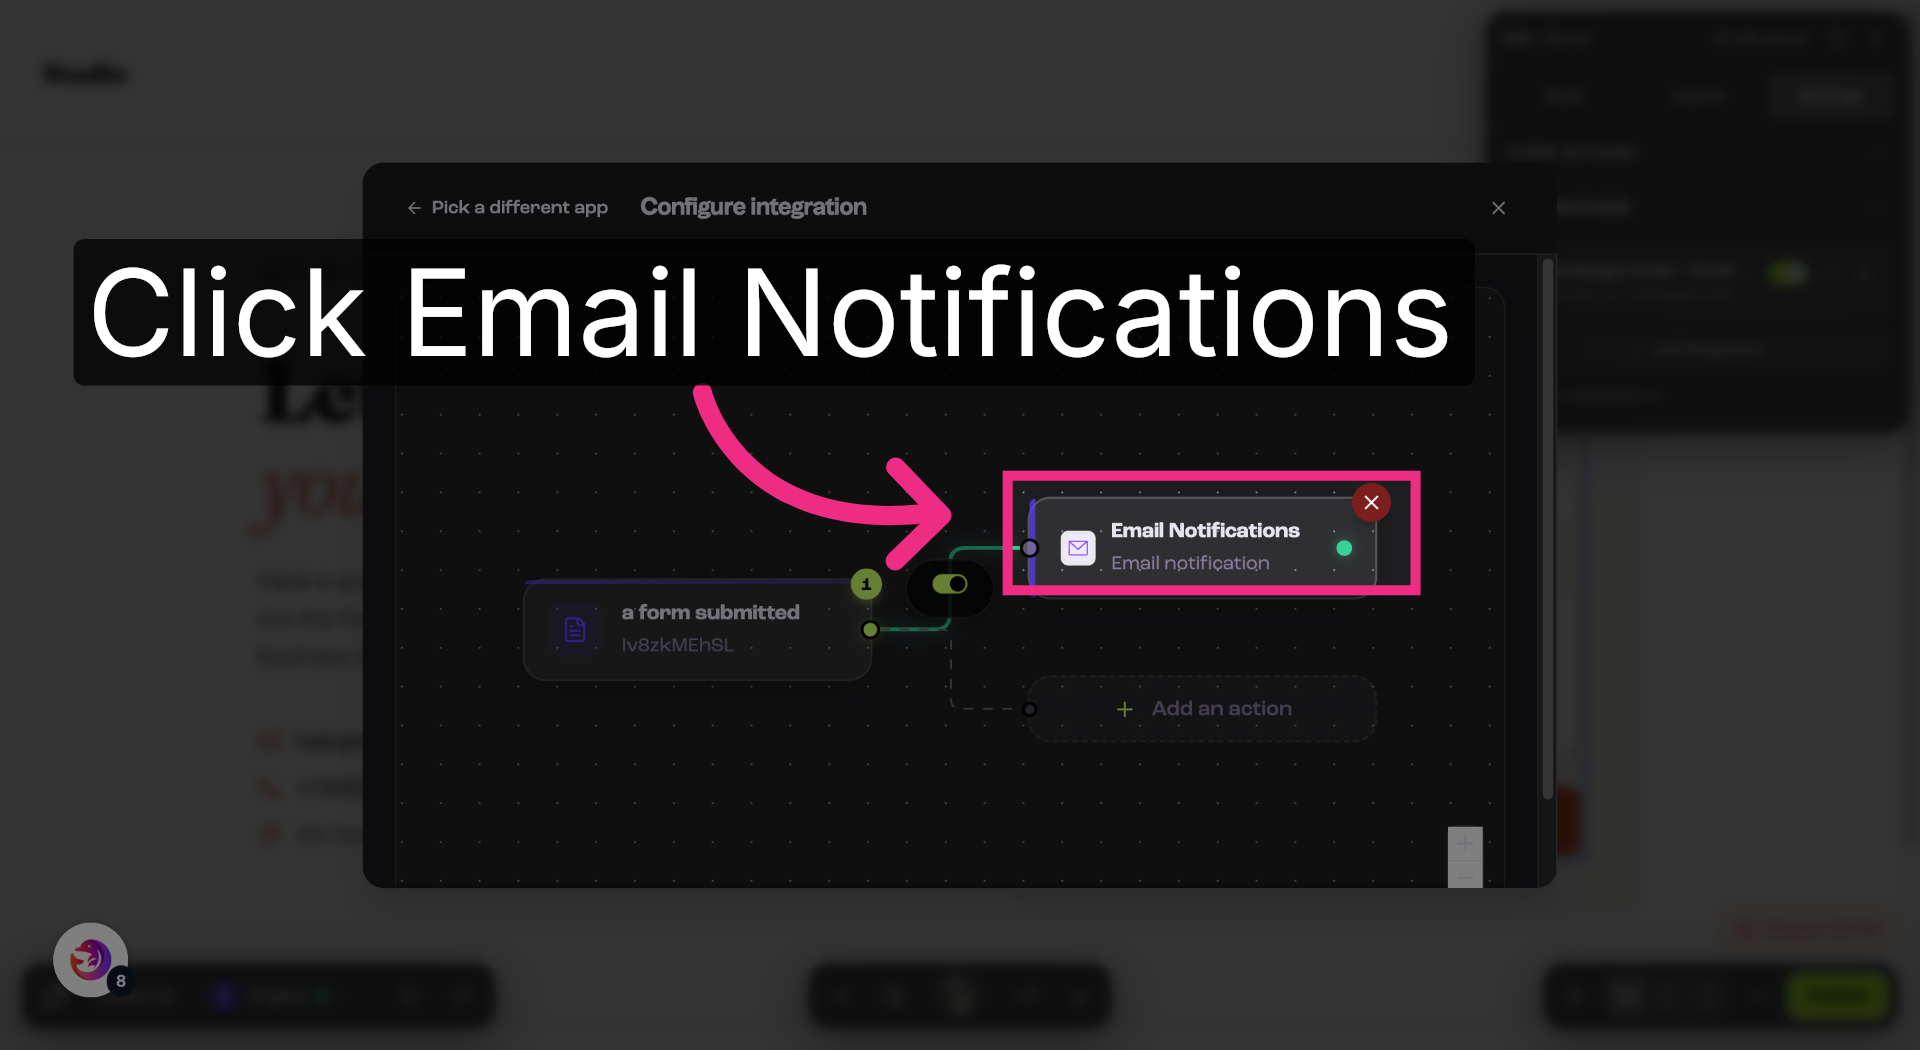
12. Manage Email Notifications
Open the Email Notifications action to configure recipients.
13. Open Notification Recipients
Click into the Notification recipients field.
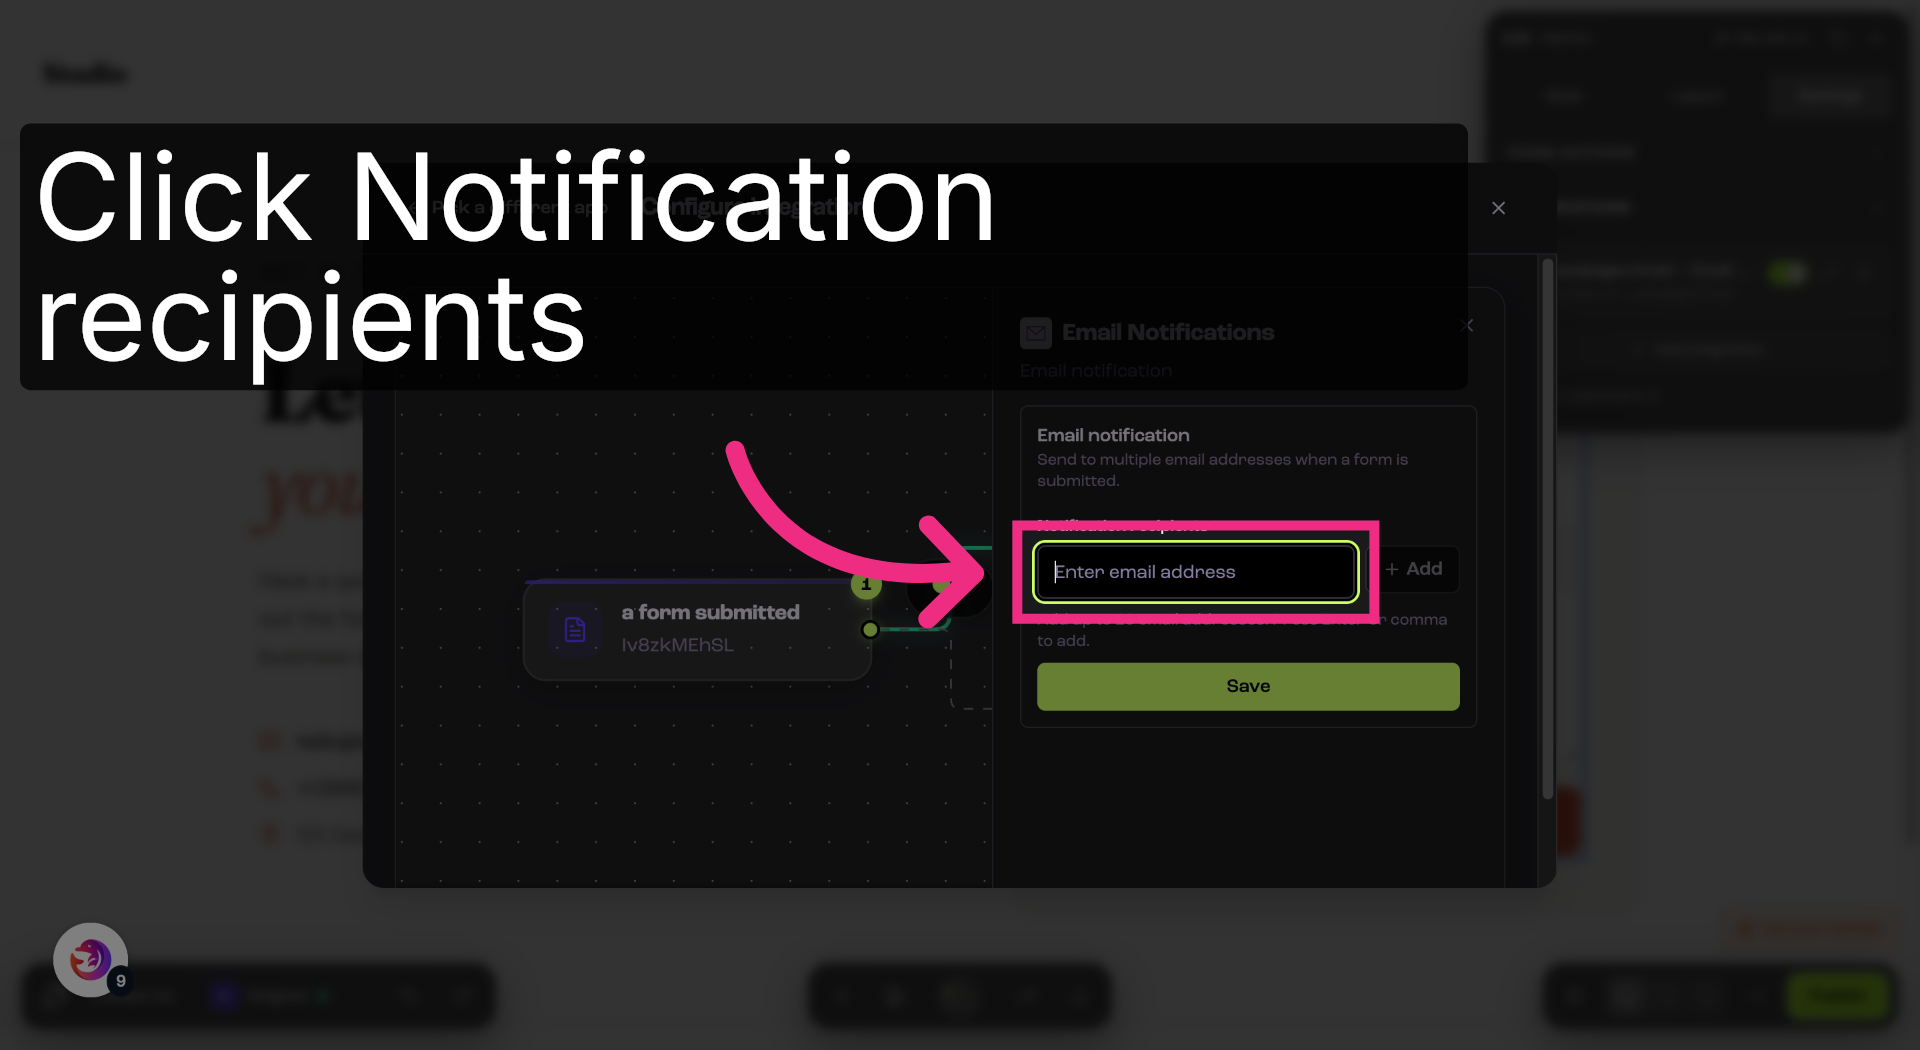
14. Enter Notification Email
Paste the Dash Dolphin notification email address.
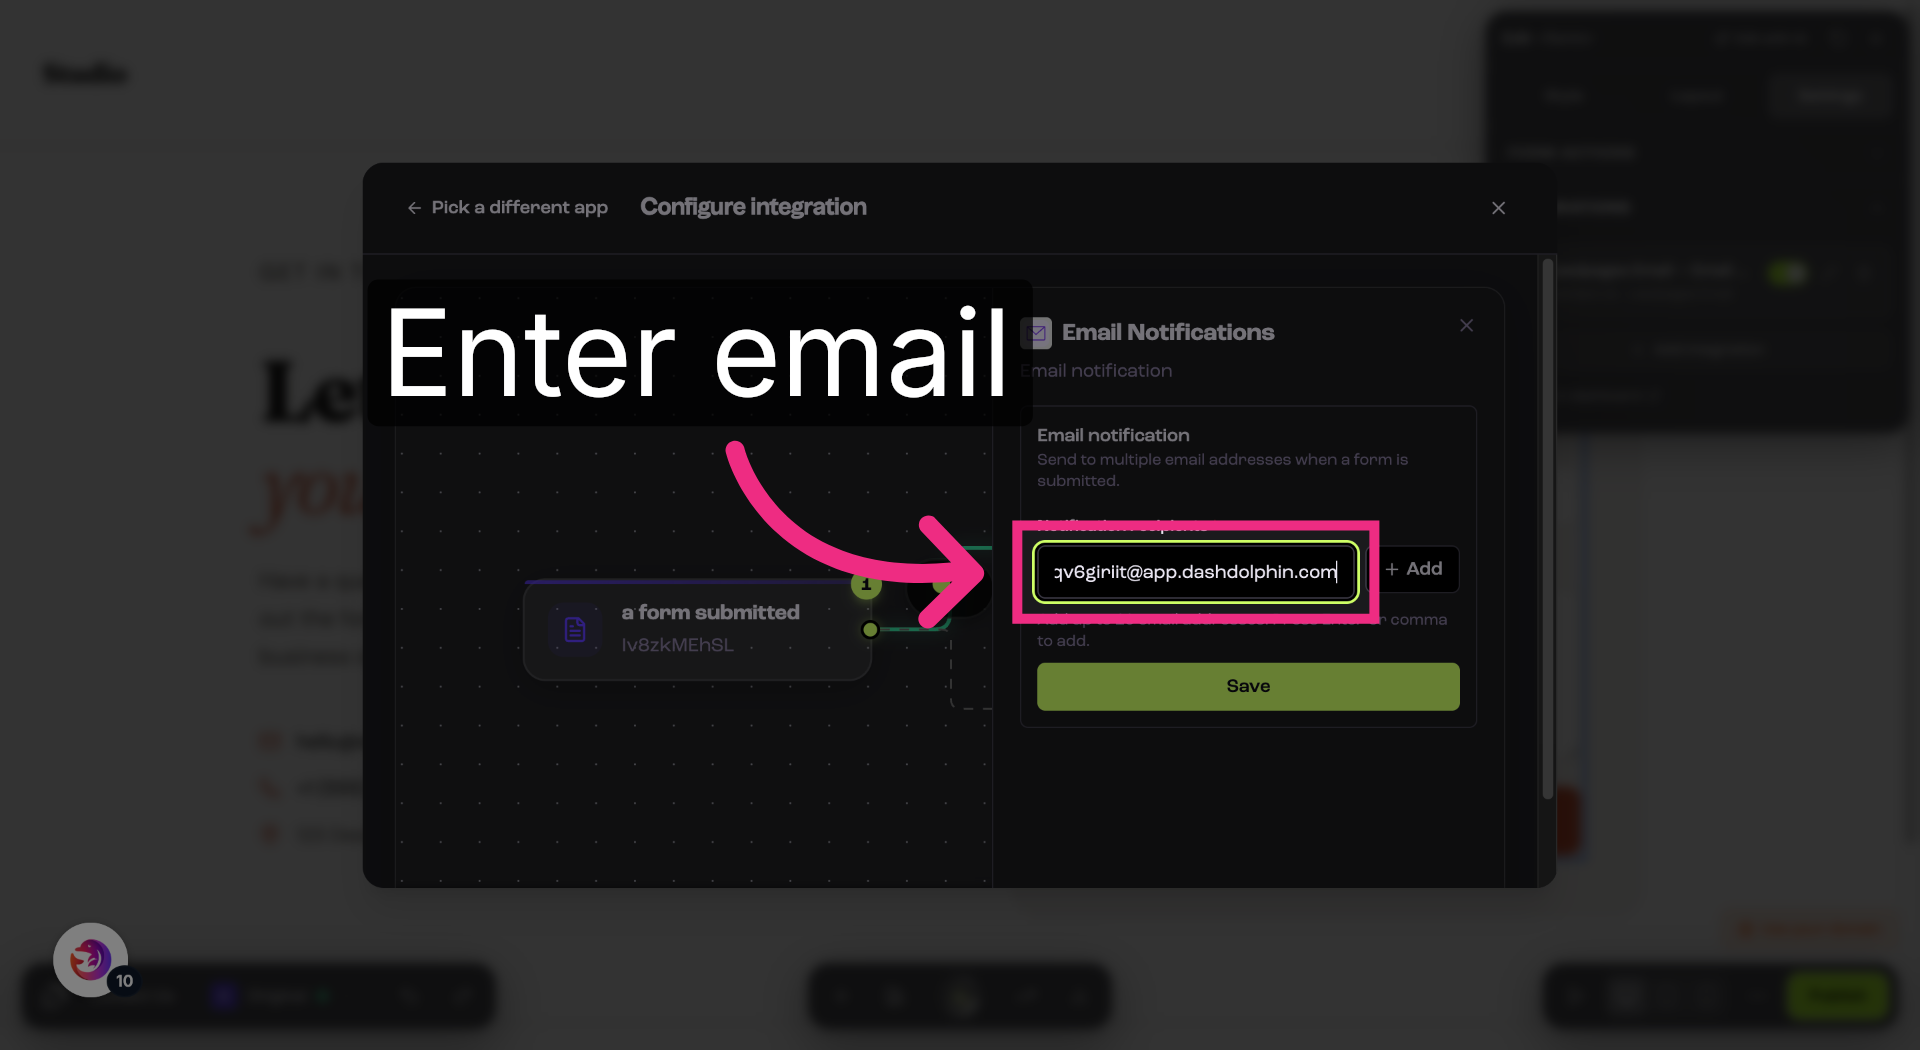
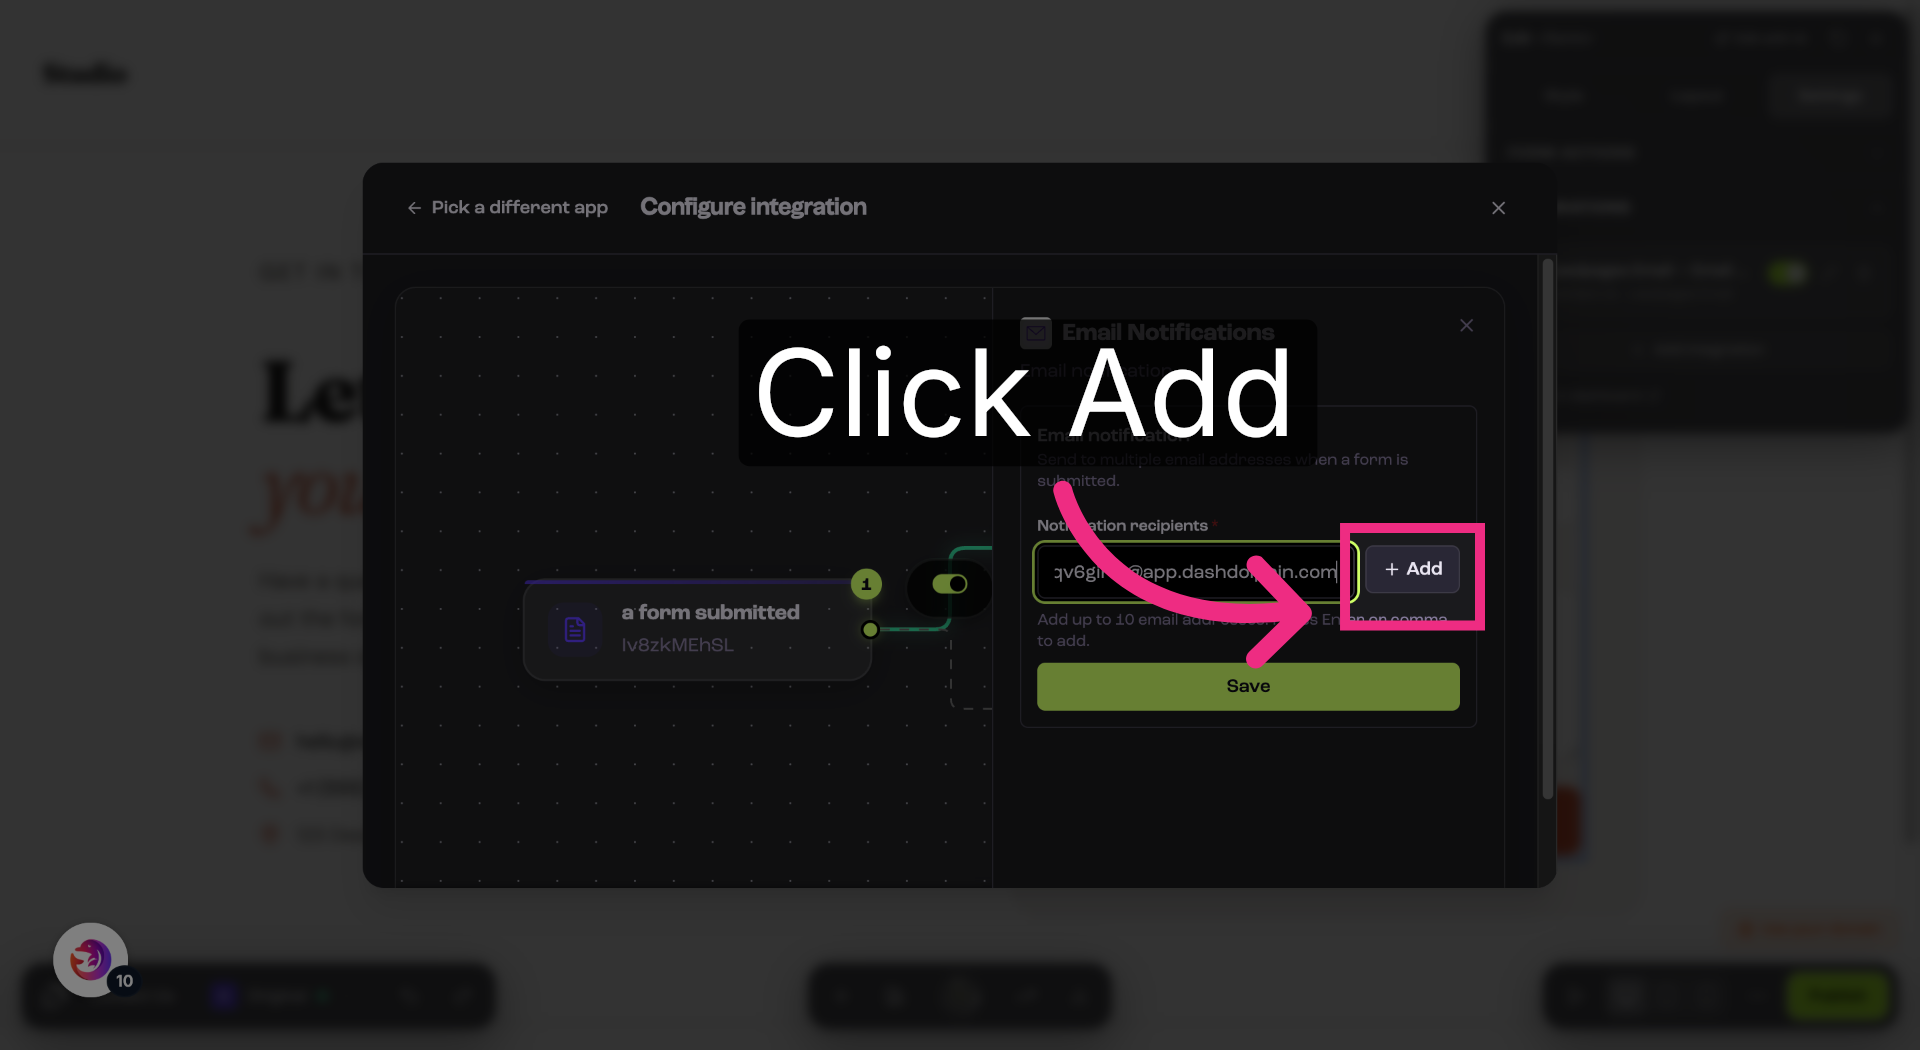
15. Add Recipient Email
Click Add to confirm the recipient.
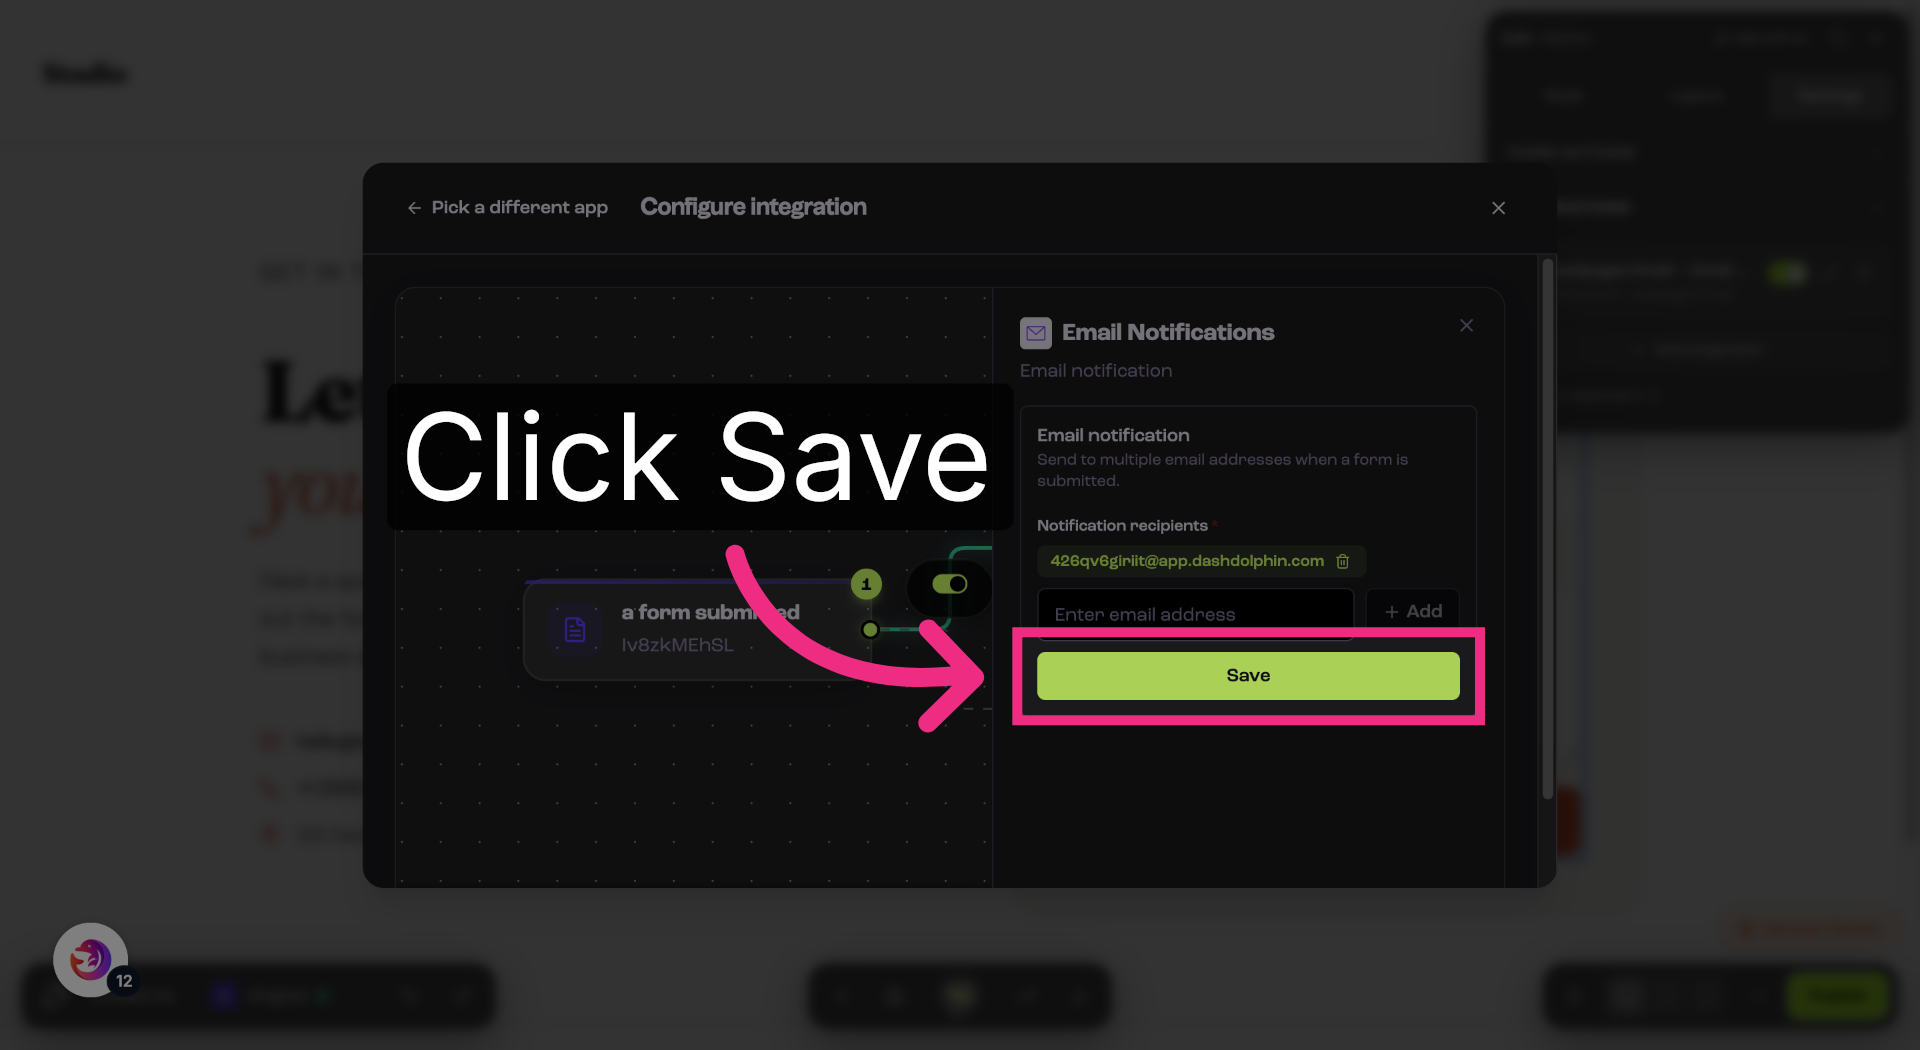
16. Save Notification Settings
Save your changes.
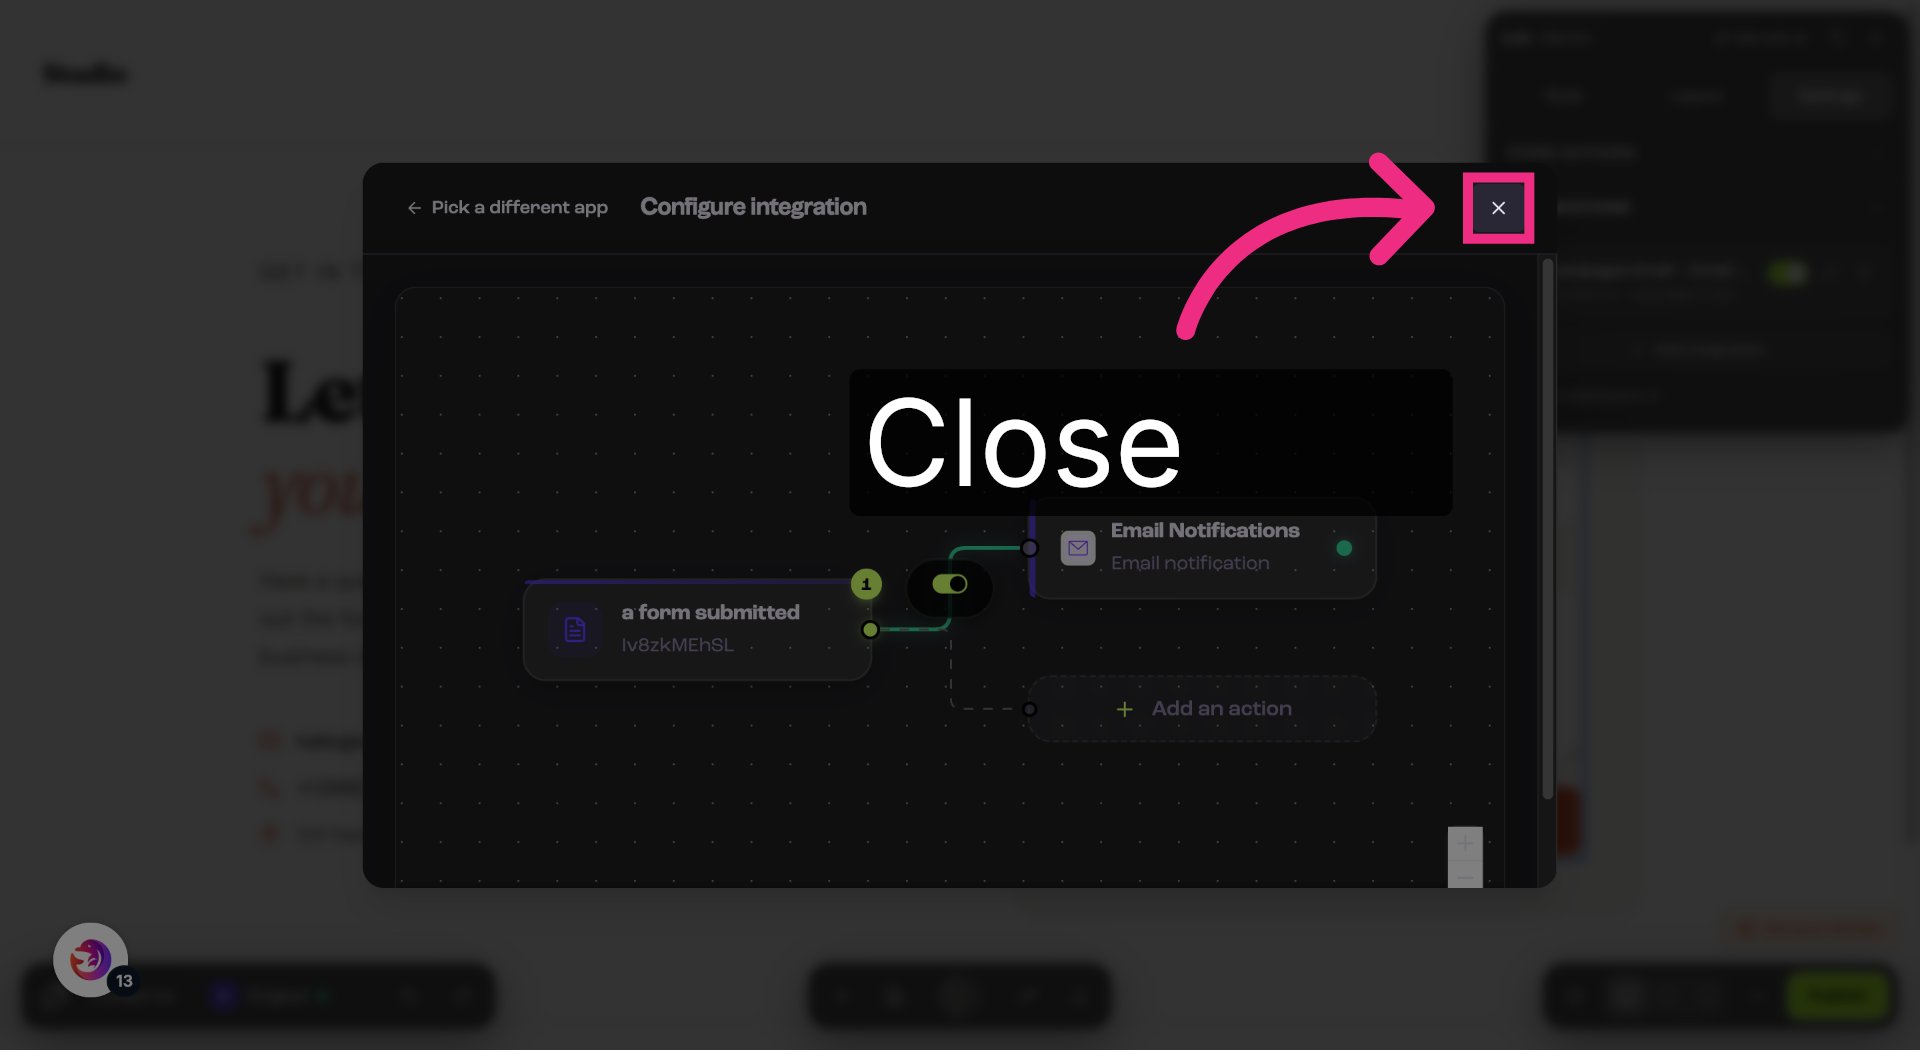
17. Return To Contact Page
Return to your form.
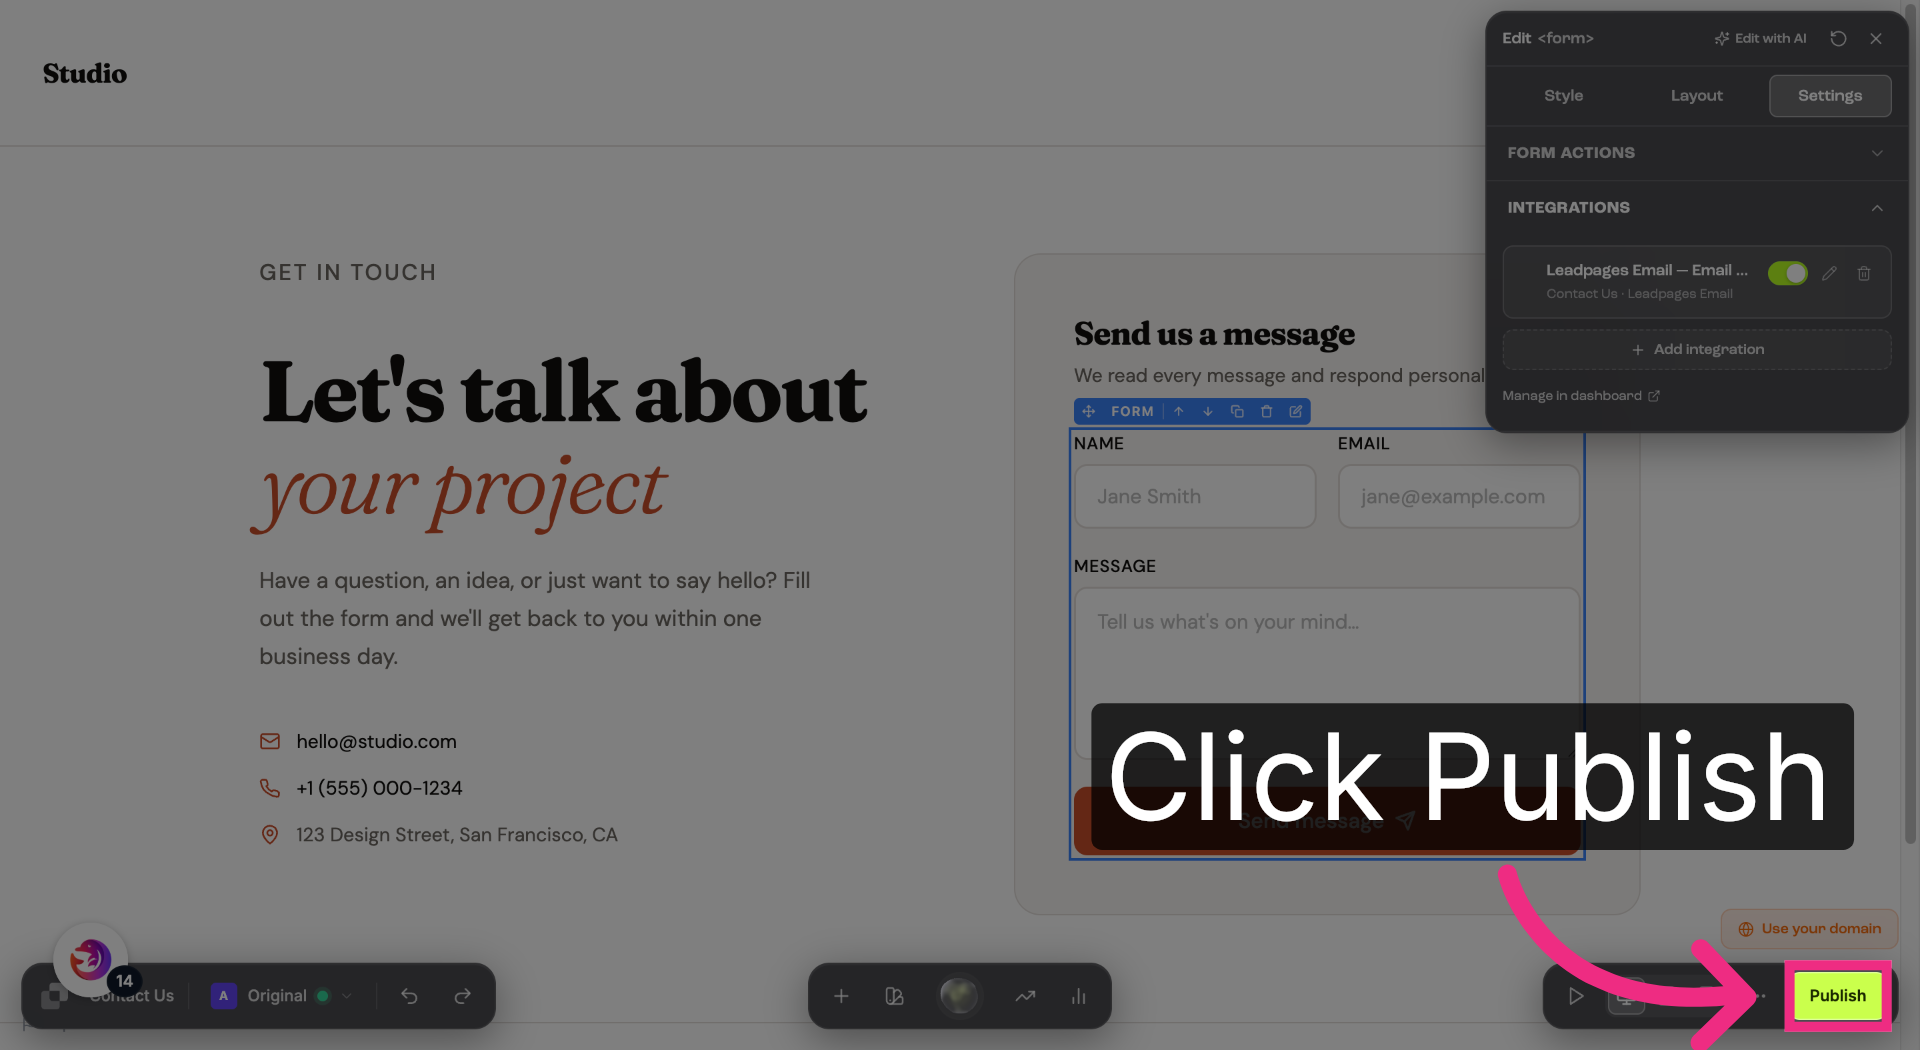
18. Publish Landing Page
Publish your landing page so the form can start receiving submissions.
You have successfully configured your Leadpages form to send notification emails to Dash Dolphin, enabling instant SMS alerts. Test the setup by submitting a form and verifying the SMS notification delivery.